Custom Wooden Mechanical Keyboard - Tauno Erik

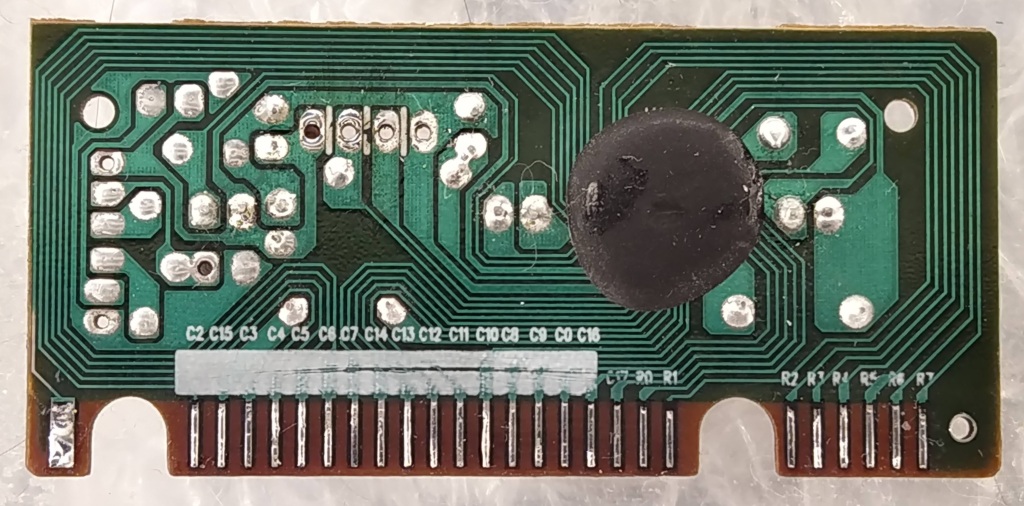
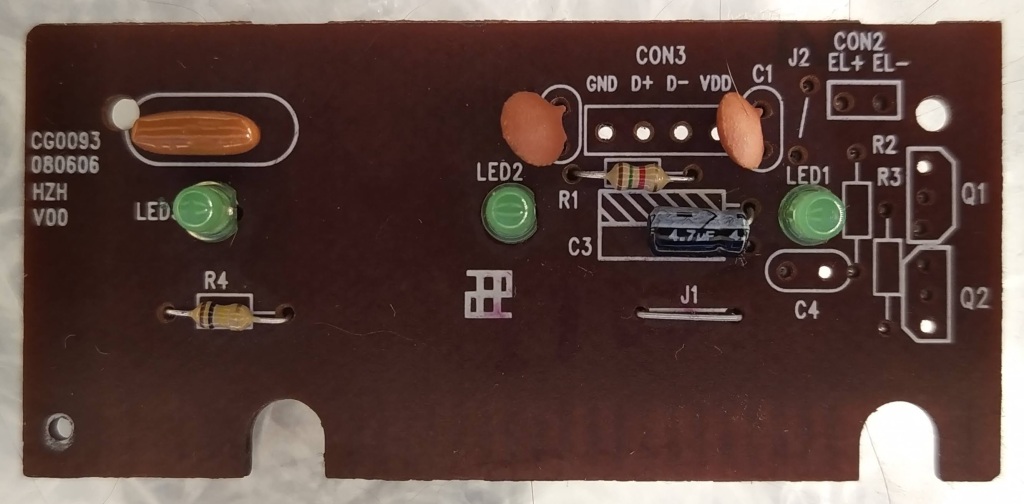
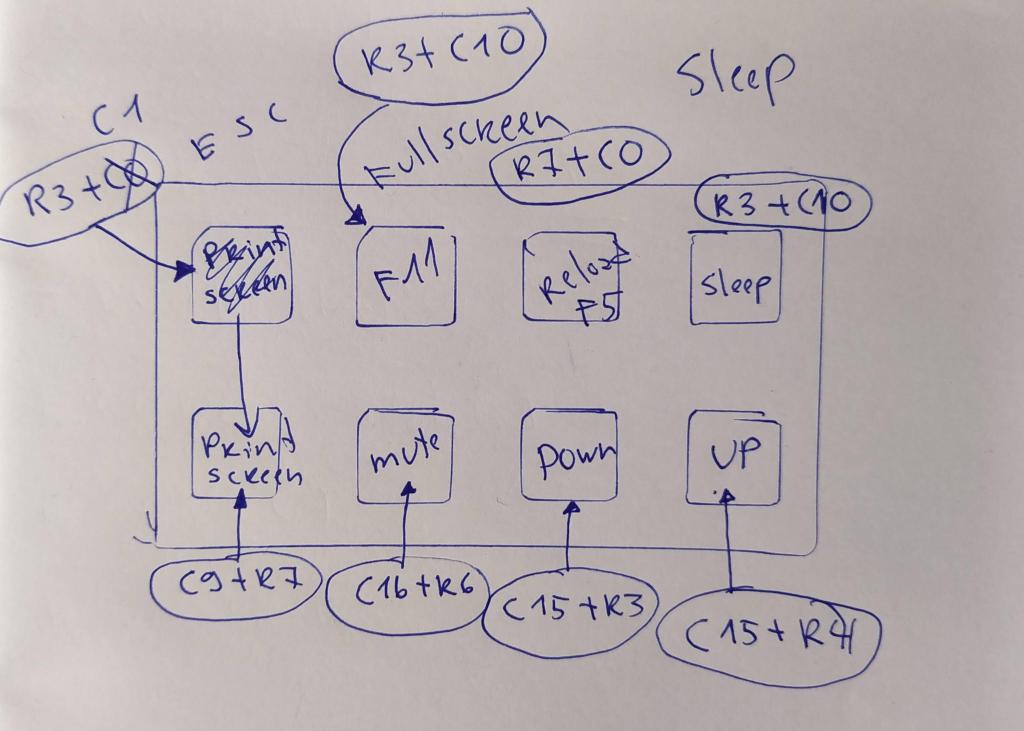
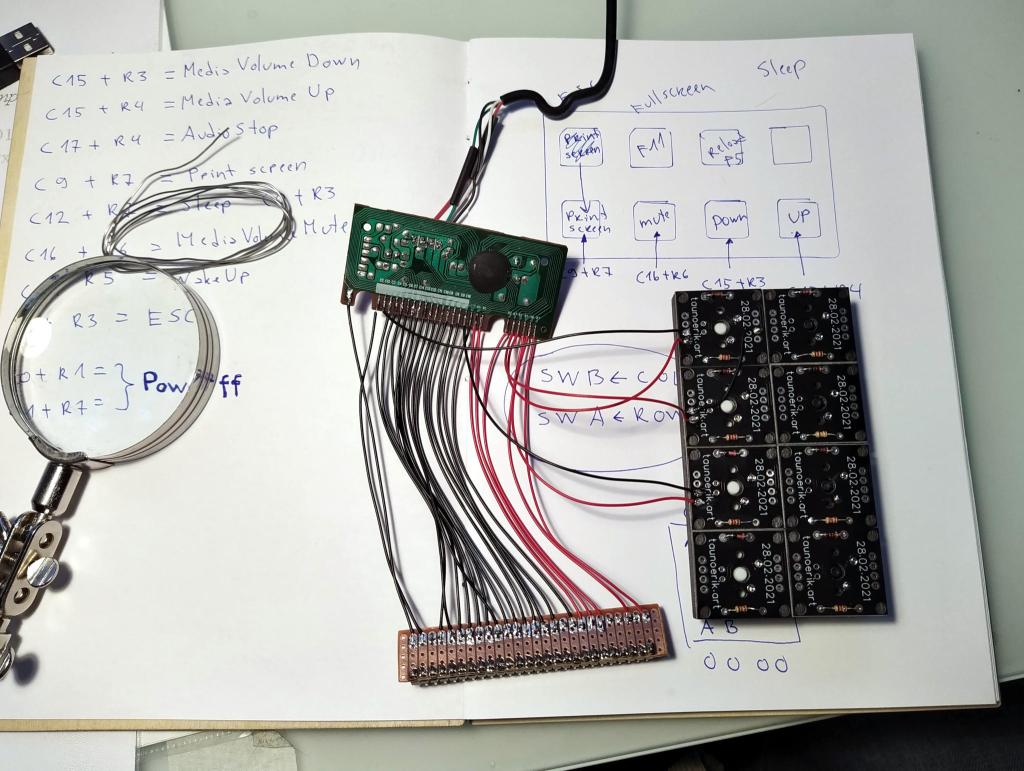
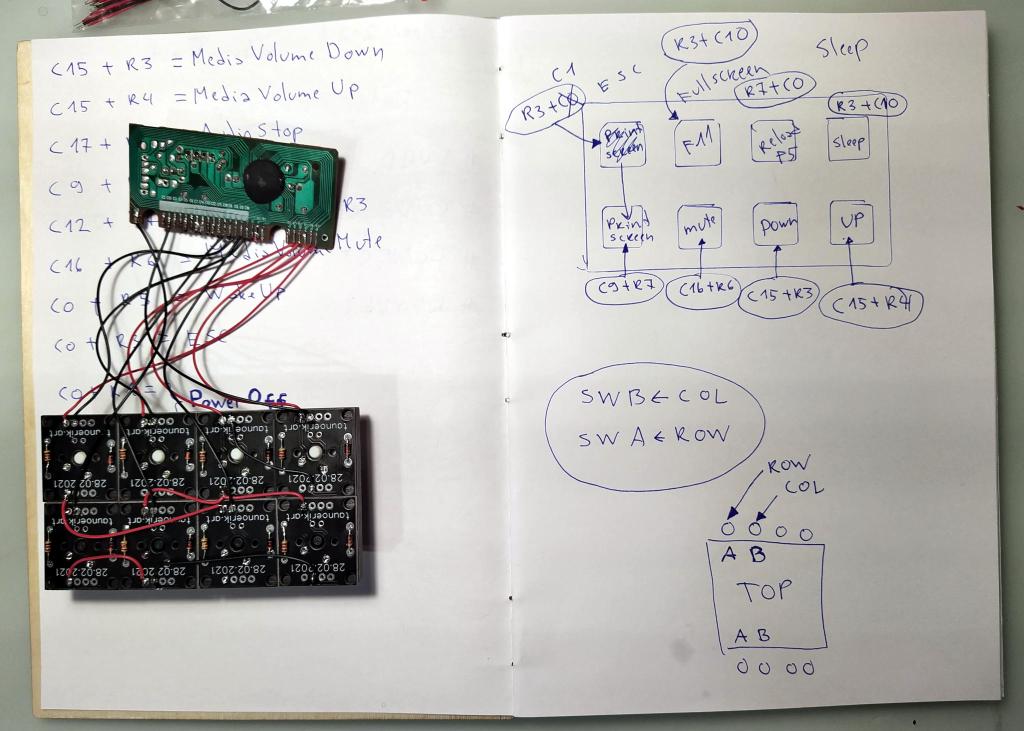
I had one old and cheap rubber dome keyboard with missing keys. So I take it apart and found this controller PCB board. The board pads were coated with graphite. I removed it and soldered wires on it. And put it on a breadboard. Then I mapped all rows and column combinations to find what scancode they output. For this, I have the python script to display which key is pressed.

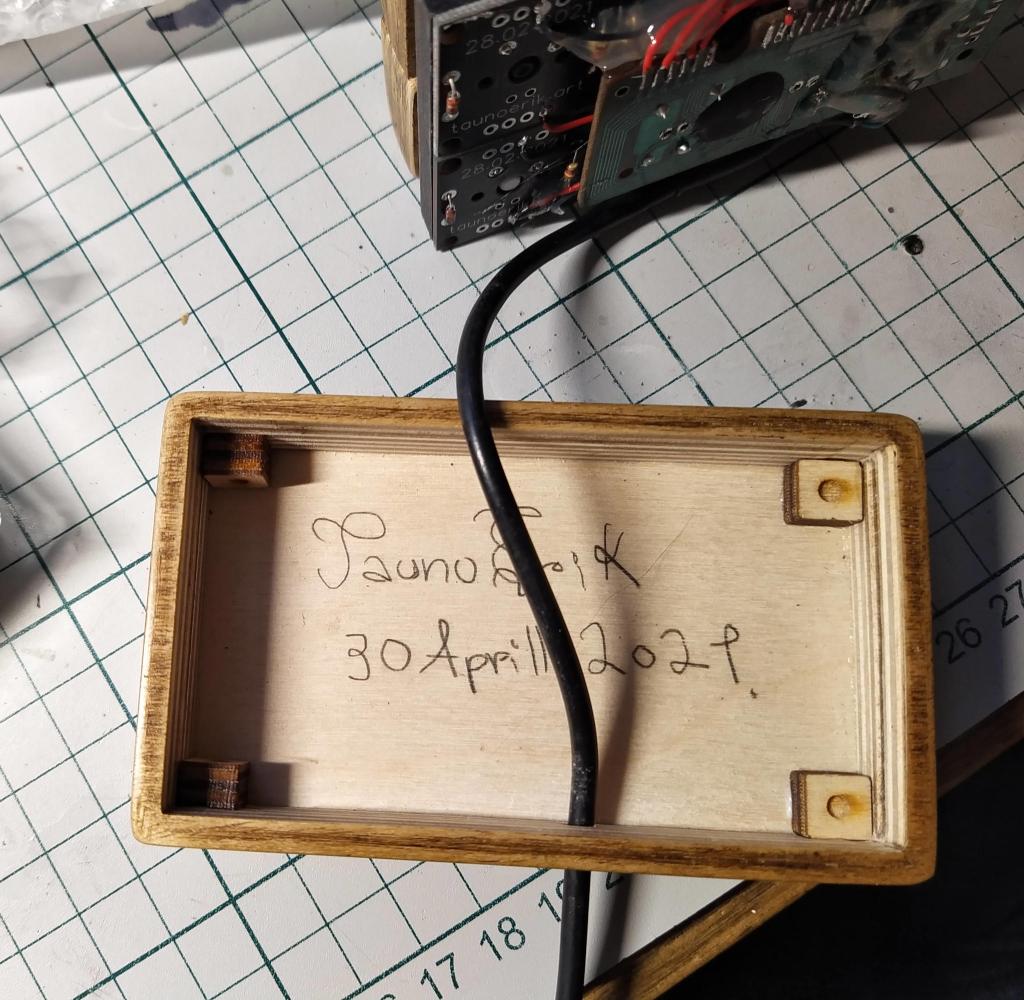
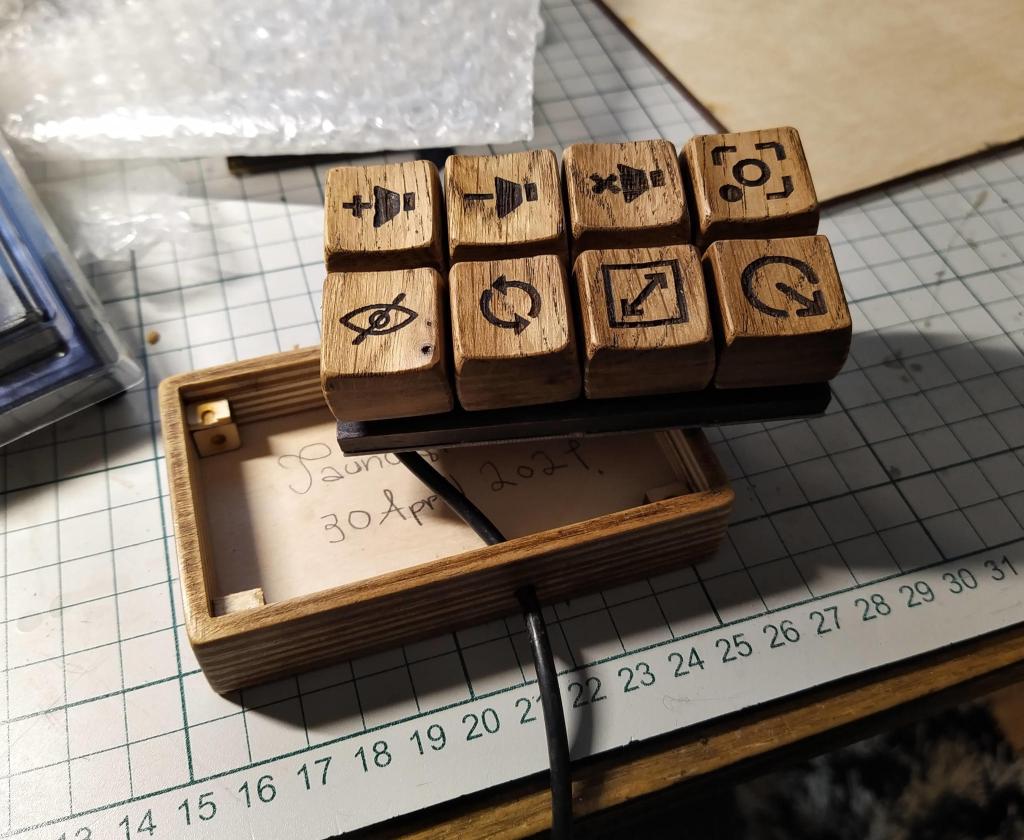
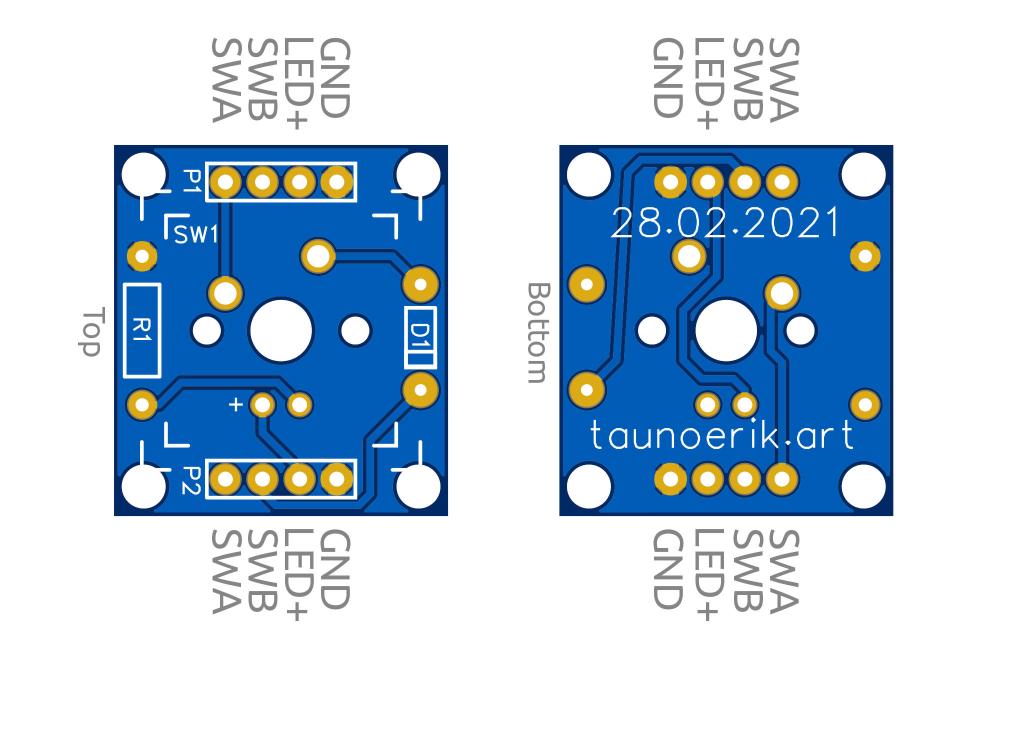
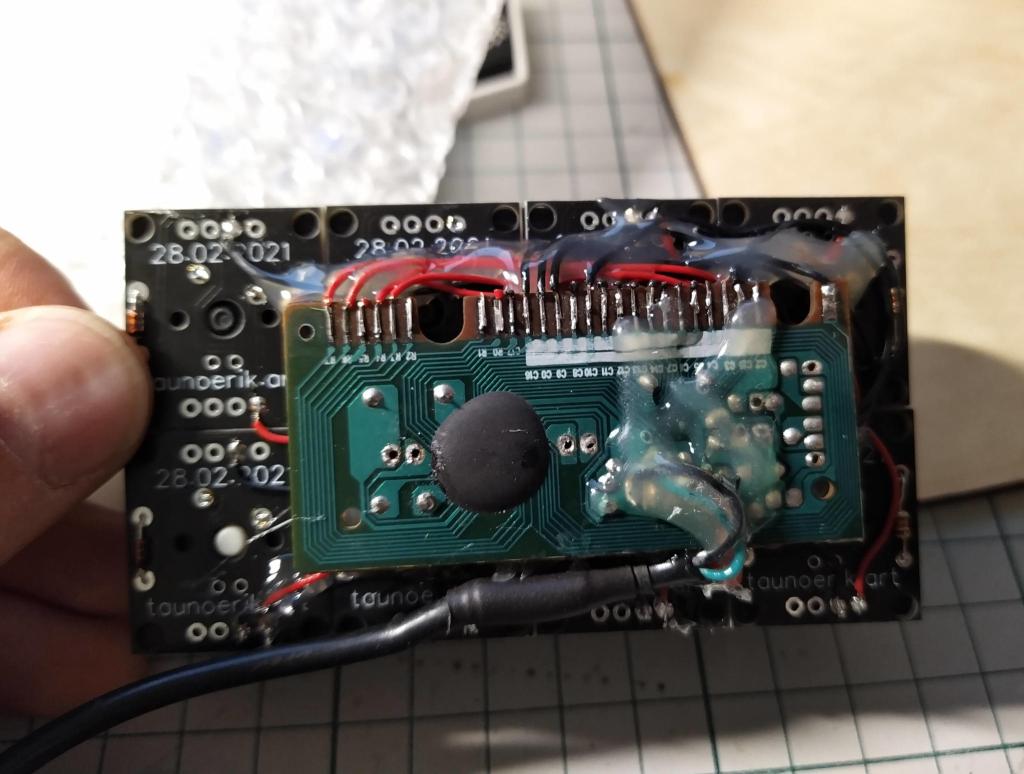
Then I designed PCB for one switch. It is with breadboard friendly layout and uses through-hole components. And made a plywood mounting plate, stained it black and lacquered. I connected the buttons through the mounting plate to the circuit boards.
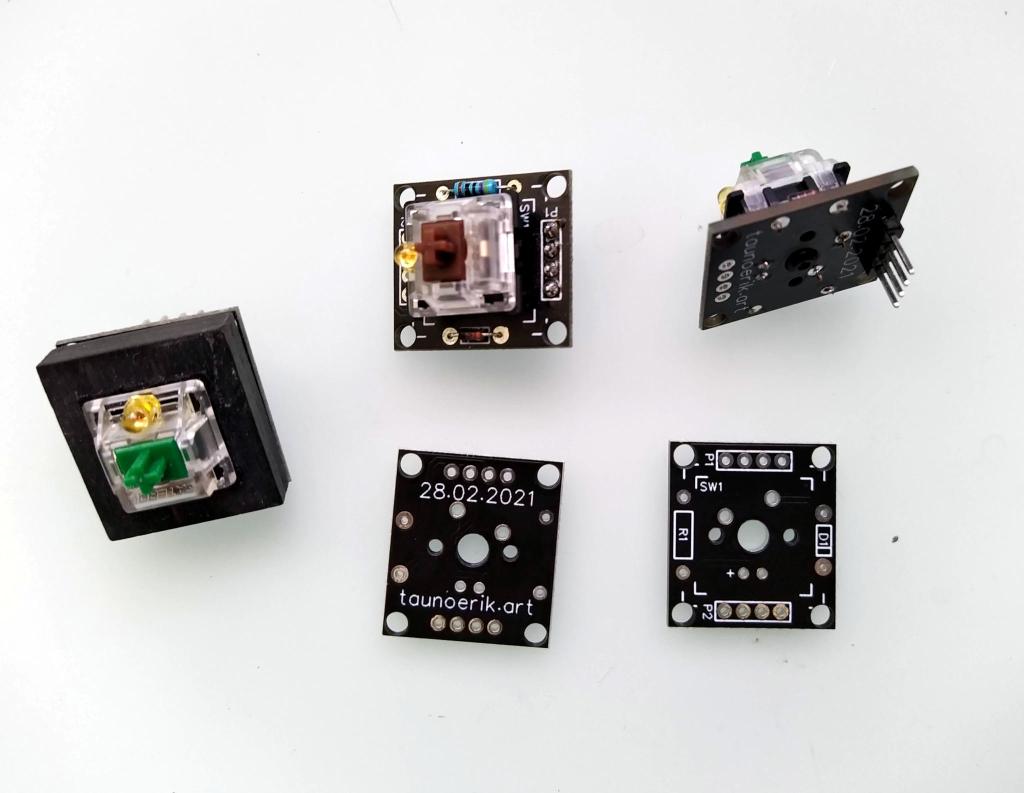
Then I figured out which buttons I wanted and soldered right C and R wires in the right places.
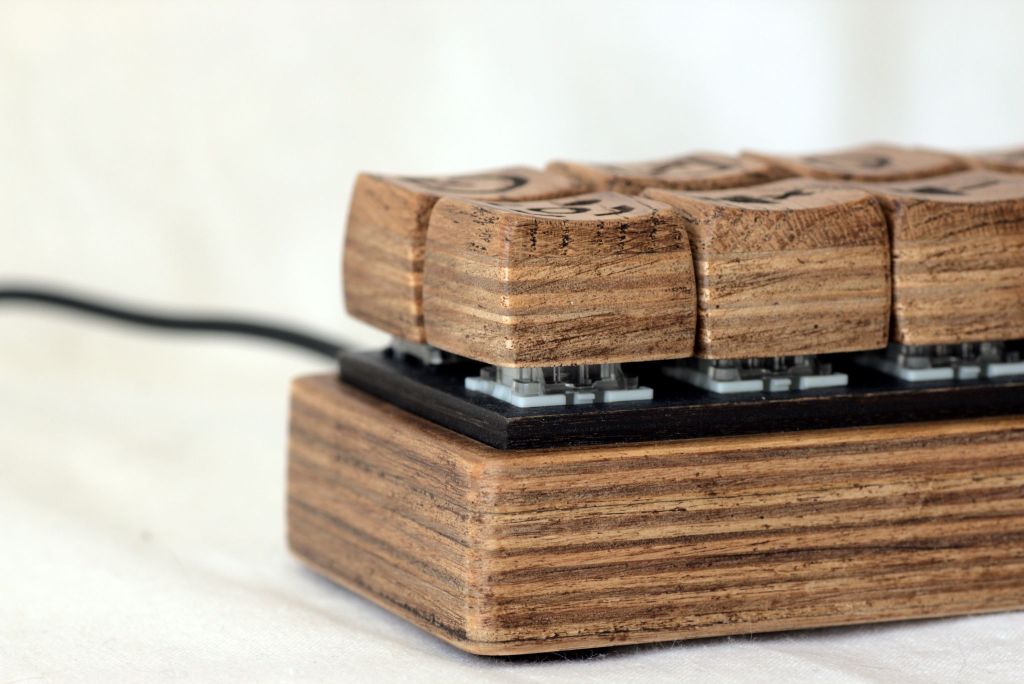
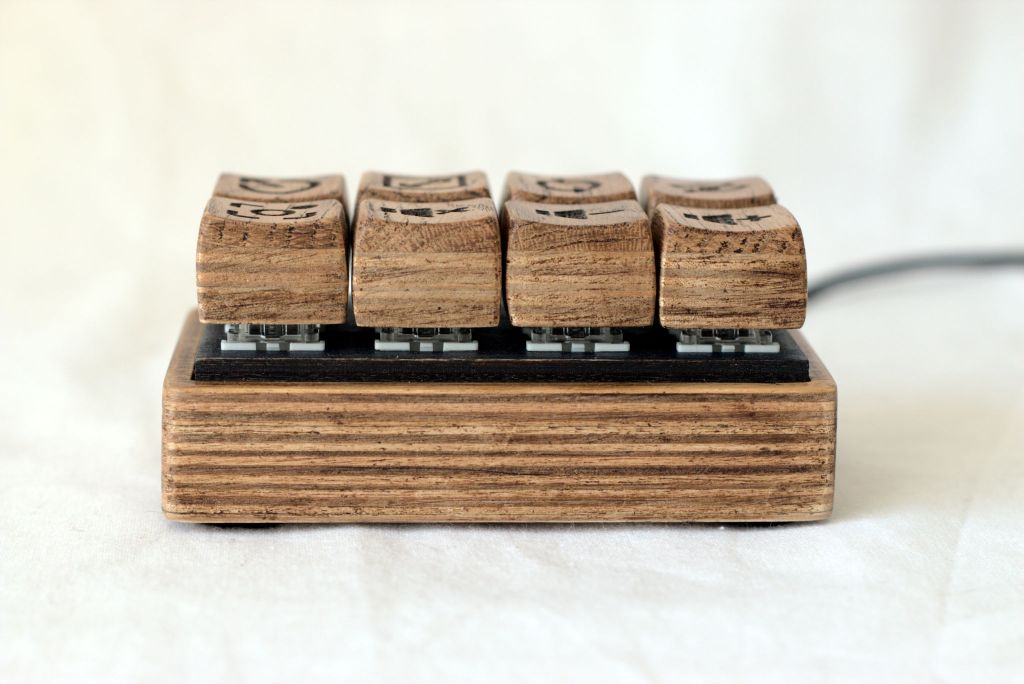
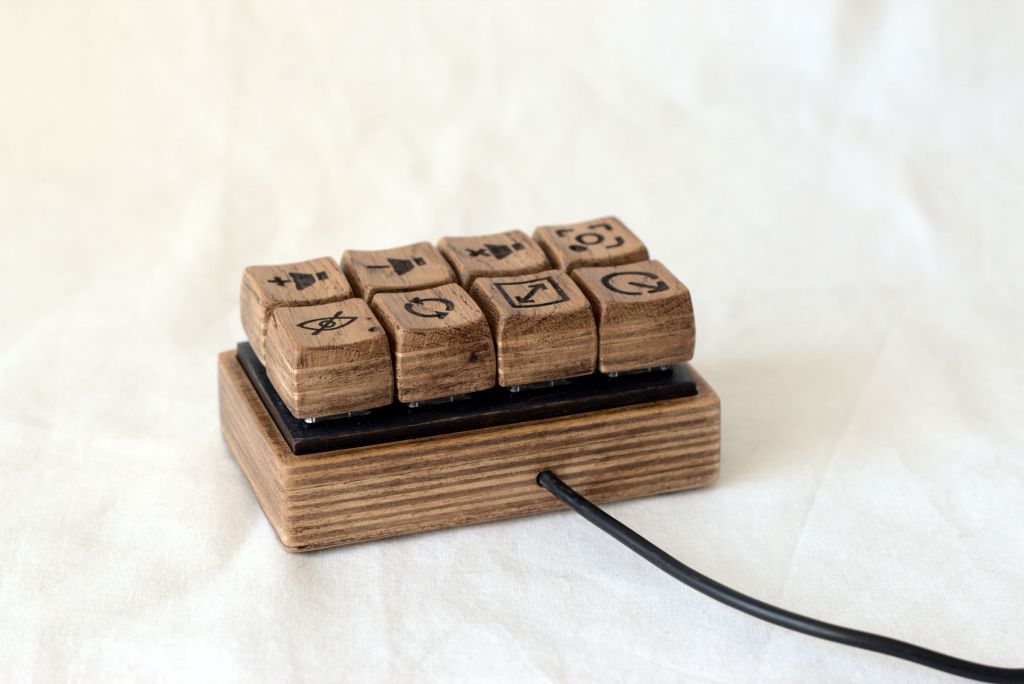
I also made a plywood case.
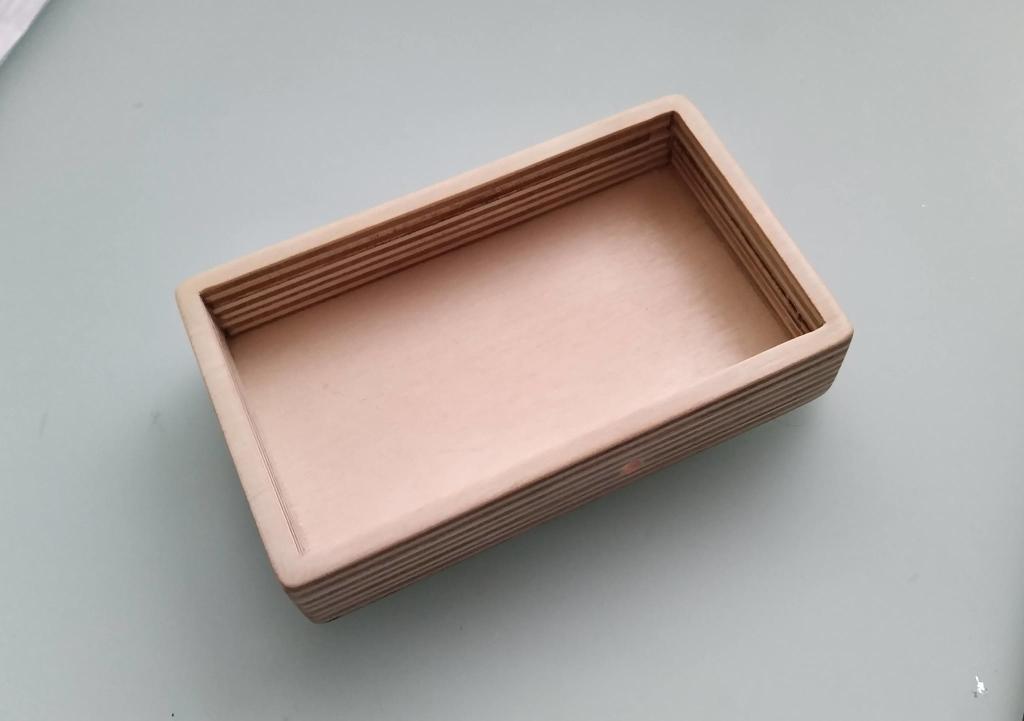

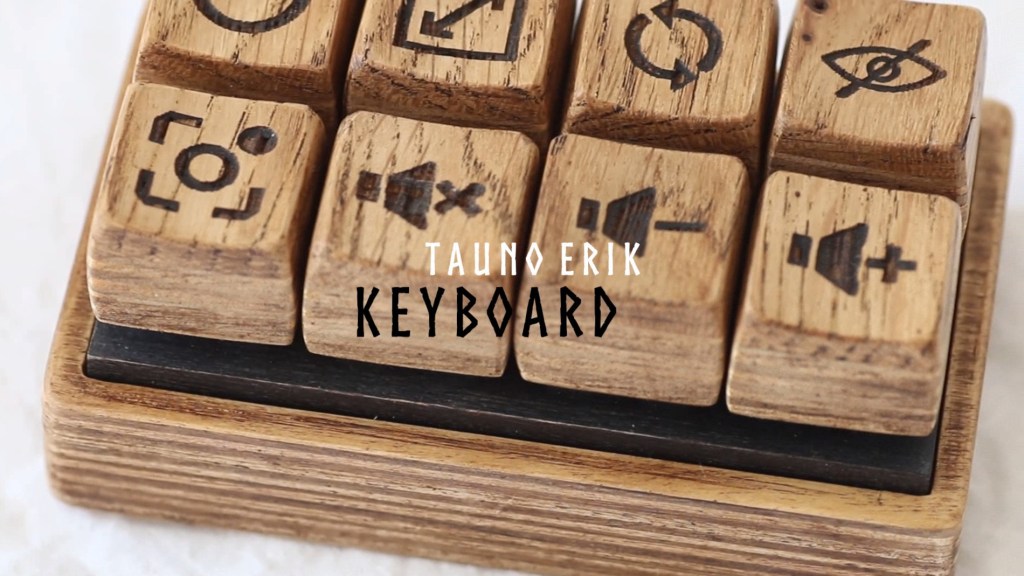
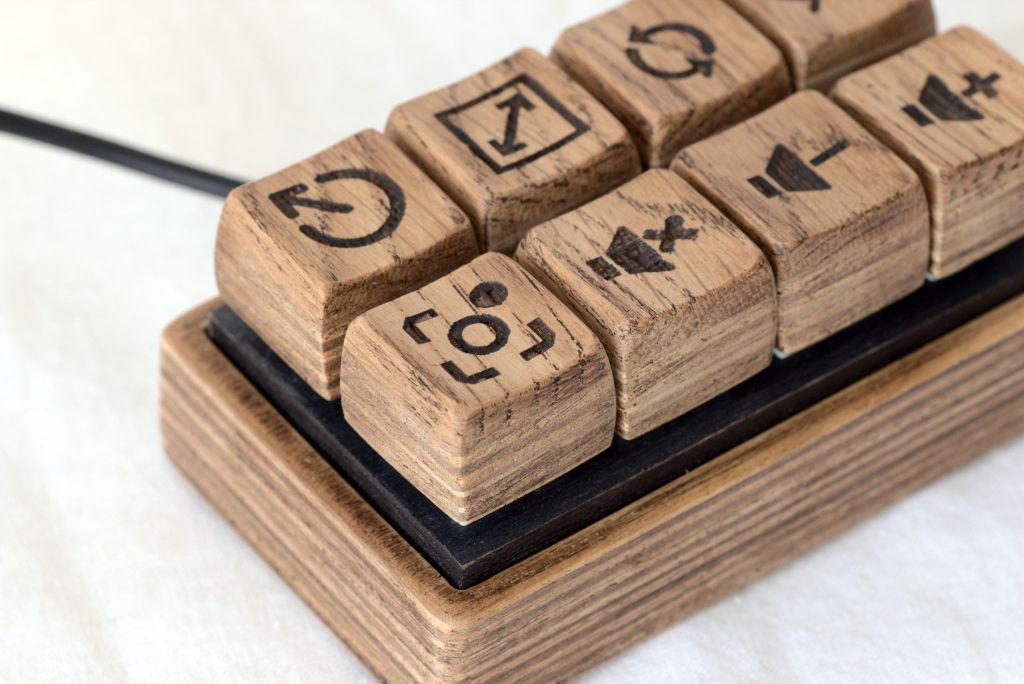
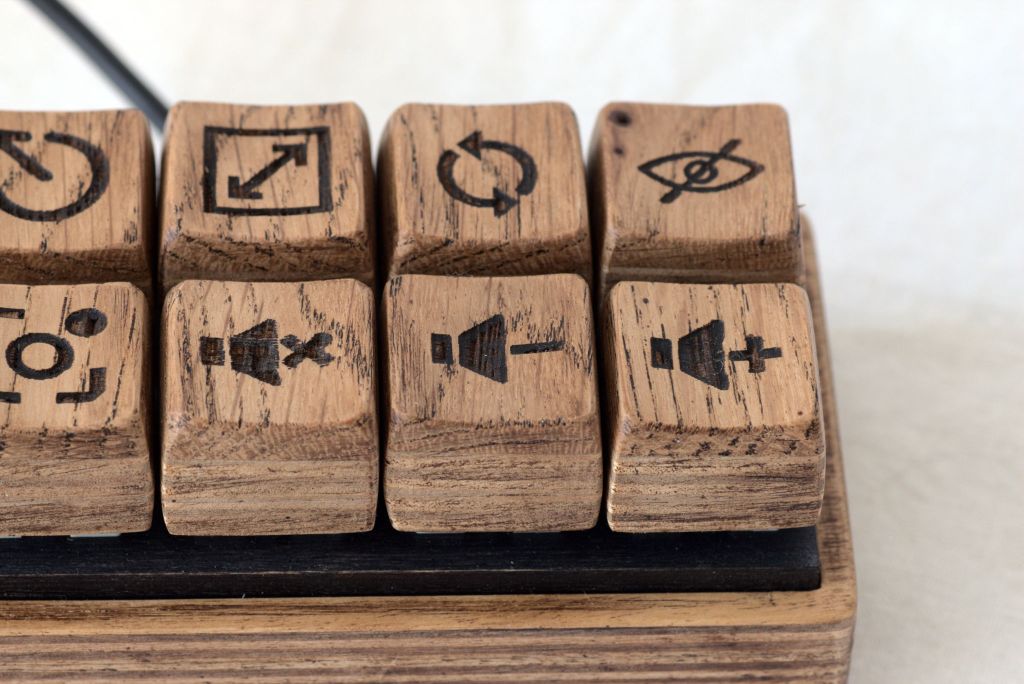
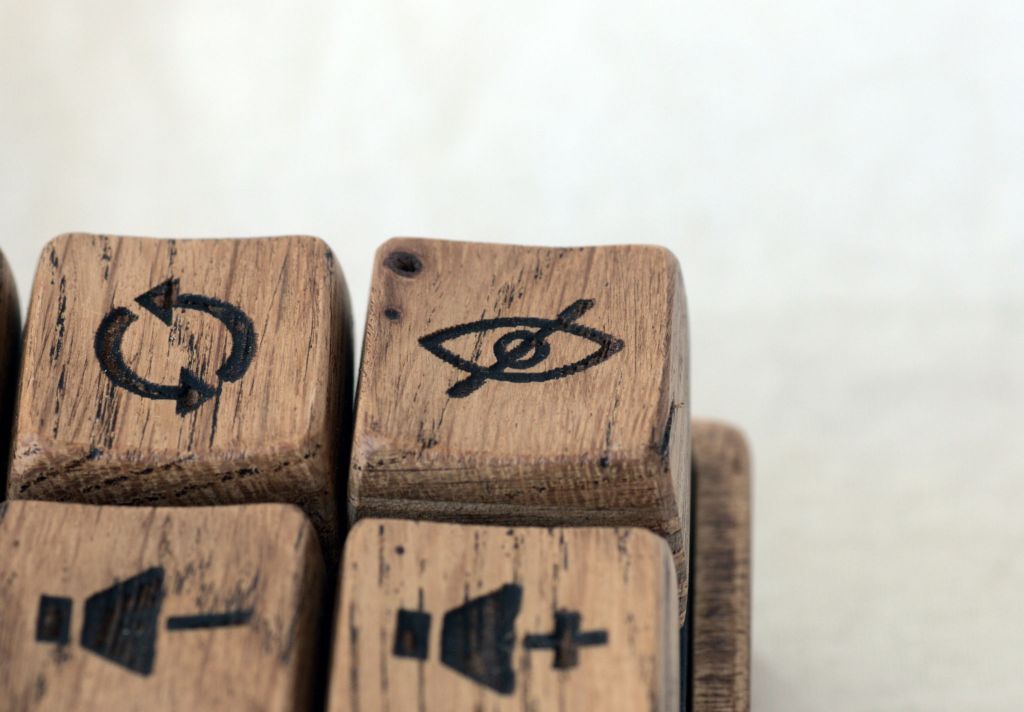
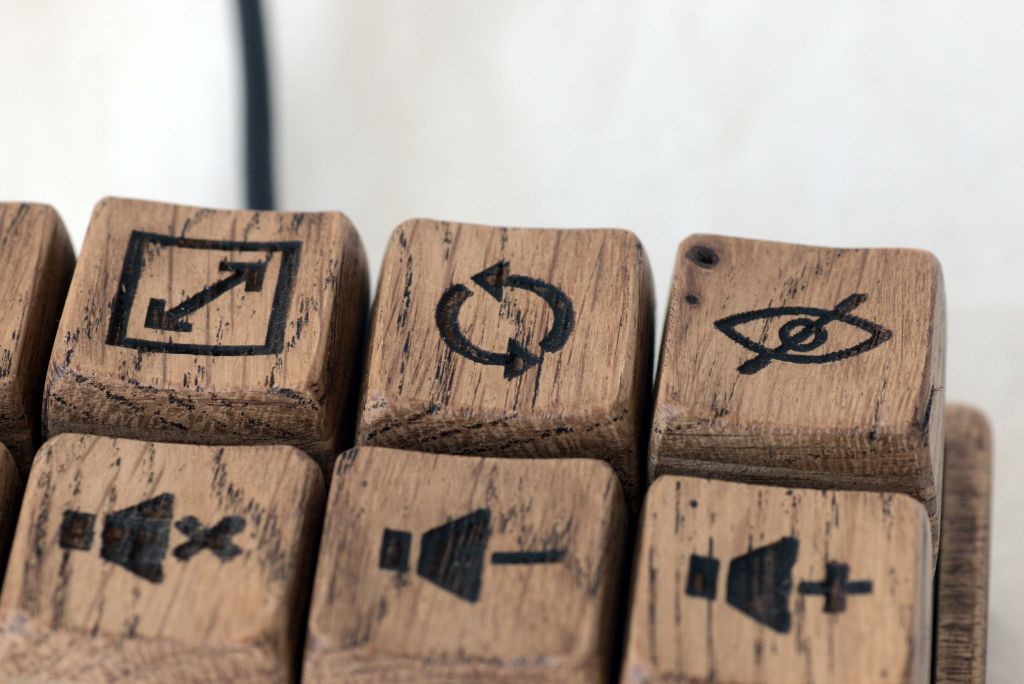
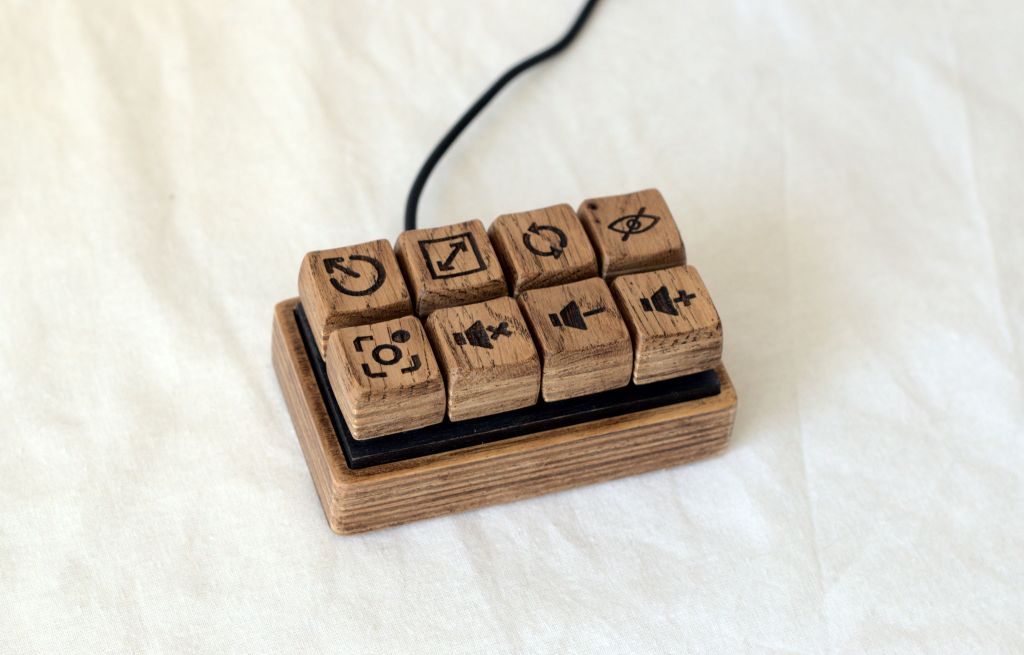
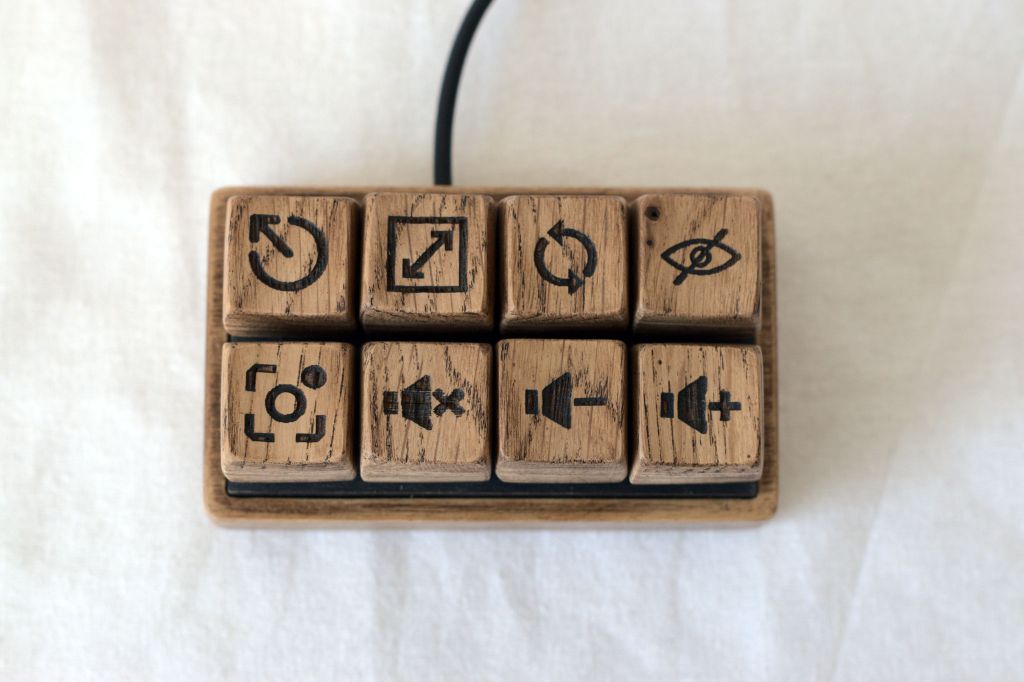
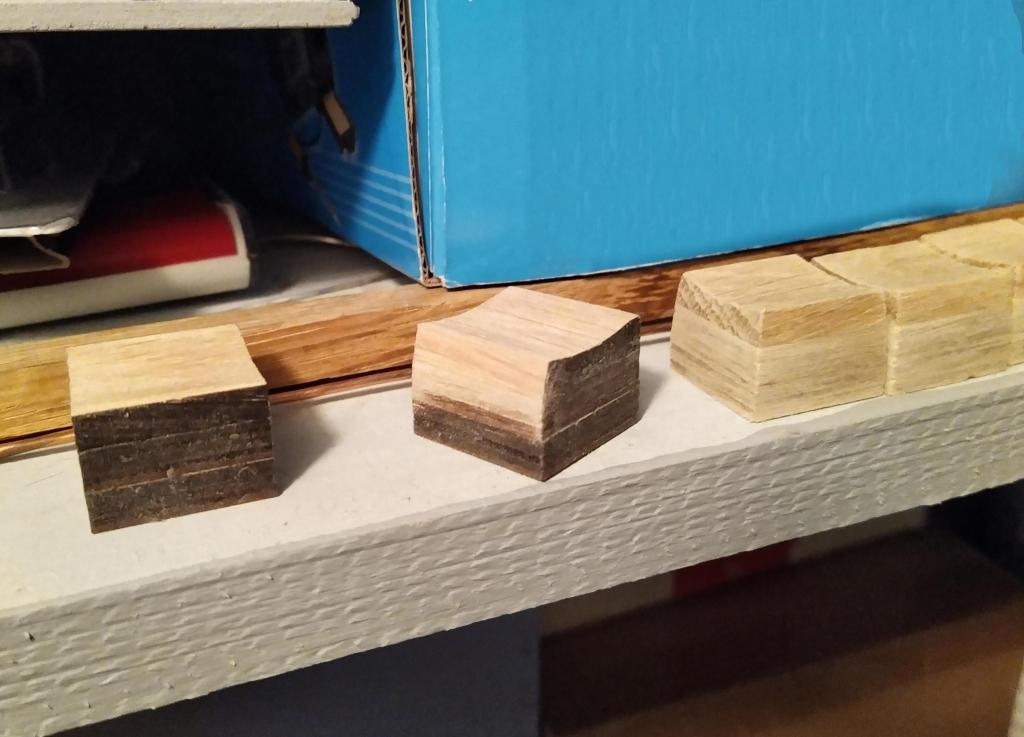
The next part was keycaps. I could use plastic ones. But I wanted them to be symmetrical and with symbols on them. So again I made them from plywood. The top layer is solid oak. Other is birch tree plywood. Laser cutting them and glued together. One part is 3D printed. Cross shape part that connects keycaps to switches. The hardest part was sanding the keycaps to the right shape. I did it by hand, but it should be mechanized process. And also my keycaps are larger than normal keycaps on the keyboard.
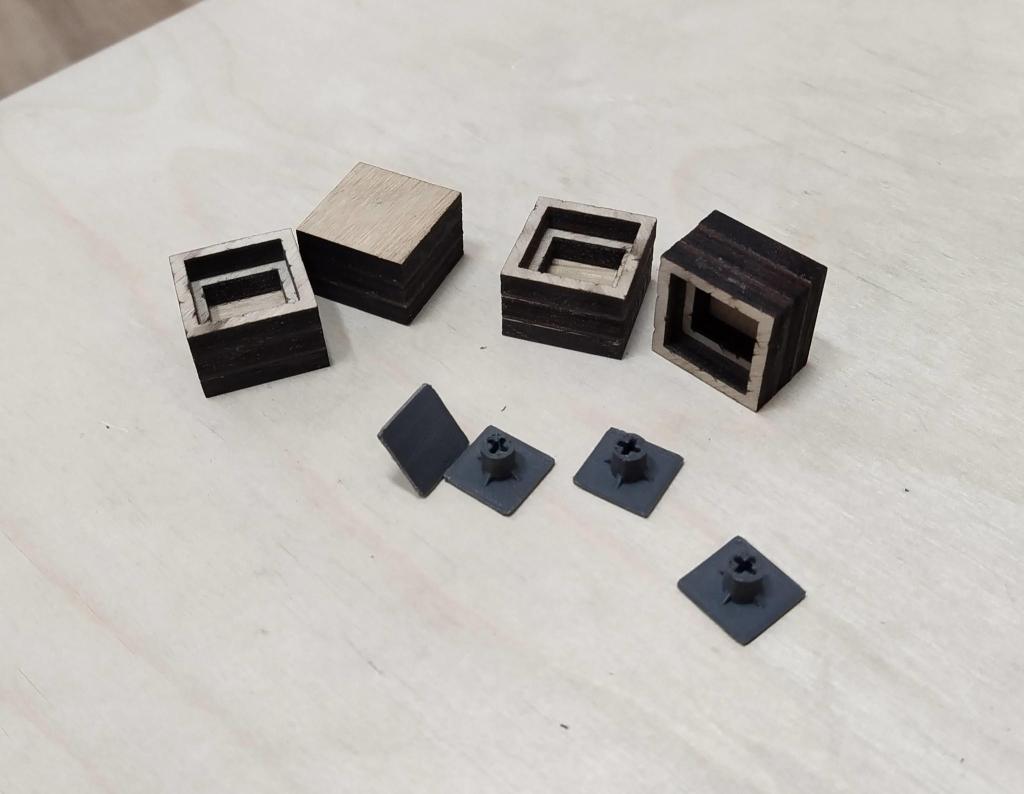
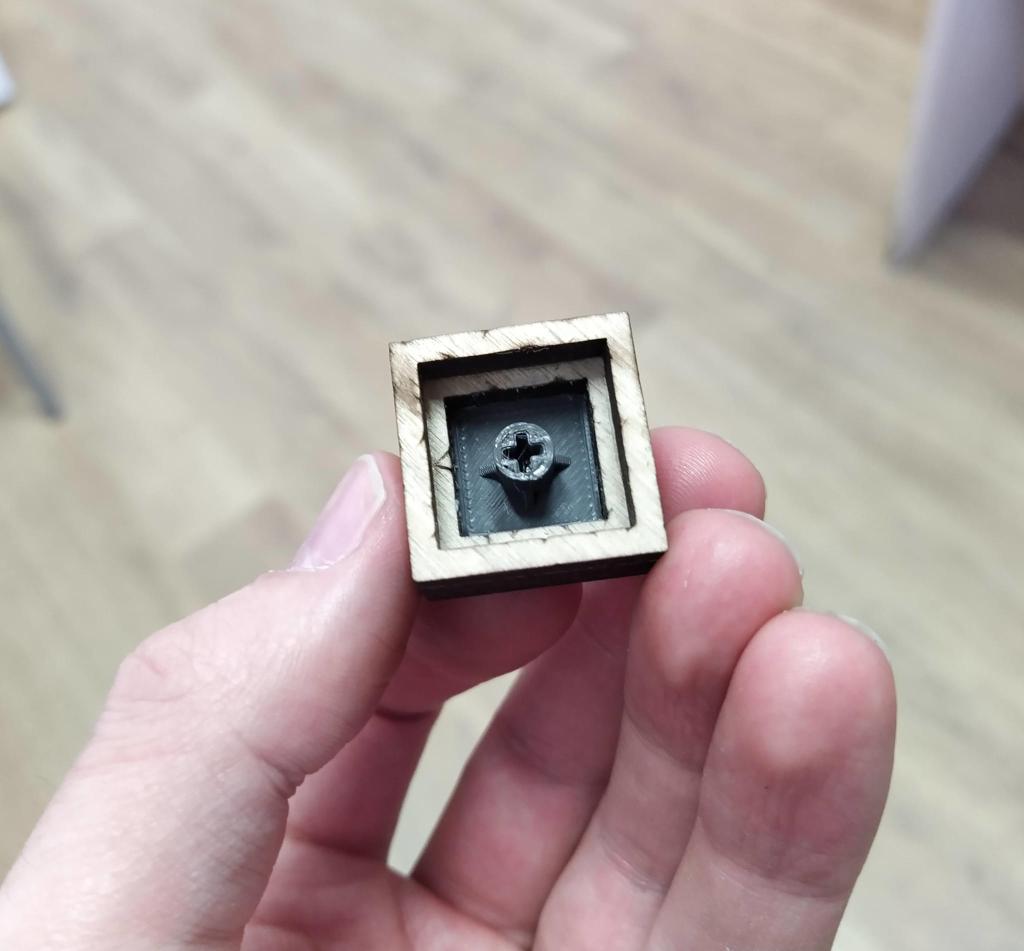
All wooden parts are finished with Liberon Black Bison Antikvax.
Links:


7 responses to “Custom Wooden Mechanical Keyboard”

  1. Chris Lovie-Tyler Avatar
    Chris Lovie-Tyler

    So cool.

  2. […] montado en una PCB personalizada junto con un diodo y una resistencia de extracción. puedes ver más fotos de construcción a [Tauno Erik]sitio y quédese para un recorrido visual de la construcción completa después del […]

  3. […] but each one is mounted on a custom PCB along with a diode and a pull-up resistor. You can see more build pictures at [Tauno Erik]’s site, and stick around for a visual tour of the completed build after the […]

  4. […] but each one is mounted on a custom PCB along with a diode and a pull-up resistor. You can see more build pictures at [Tauno Erik]’s site, and stick around for a visual tour of the completed build after the […]

  5. […] but each one is mounted on a custom PCB along with a diode and a pull-up resistor. You can see more build pictures at [Tauno Erik]’s site, and stick around for a visual tour of the completed build after the […]

  6. […] but each one is mounted on a custom PCB along with a diode and a pull-up resistor. You can see more build pictures at [Tauno Erik]’s site, and stick around for a visual tour of the completed build after the […]

  7. […] but each one is mounted on a custom PCB along with a diode and a pull-up resistor. You can see more build pictures at [Tauno Erik]’s site, and stick around for a visual tour of the completed build after the […]

Leave a Reply

This site uses Akismet to reduce spam. Learn how your comment data is processed.