To program the CH32V003 microcontroller, you will need a programming device that utilizes the proprietary single-wire serial debug interface (SDI). The WCH-LinkE (pay attention to the “E” in the name) is a suitable device for this purpose and can be purchased commercially. This debugging tool is compatible with the CH32V003 and other WCH RISC-V and ARM-based microcontrollers.
I bought mine from here.
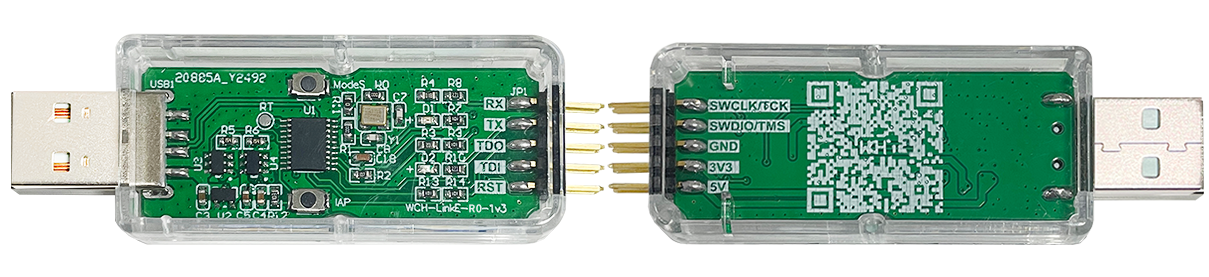
To upload the firmware you should make the following connections to the WCH-LinkE:
If the blue LED on the WCH-LinkE remains illuminated once it is connected to the USB port, it means that the device is currently in ARM mode and must be switched to RISC-V mode initially. There are a few ways to accomplish this:
- Hold down the ModeS button on the WCH-LinkE while plugging it into the USB port.
- Select “WCH-LinkRV” in the software provided by WCH, such as MounRiver Studio or WCH-LinkUtility.
- Utilize the Python tool called rvmode.py (By wagiminator)
Connecting Pins
It uses a 1-wire serial debug interface. So we need one pin (PD1) + GND and 3.3V.
| WCH-LinkE | Board |
| SWIO/TMS | PD1/SWIO/ |
| GND | GND |
| 3V3 | 3V |
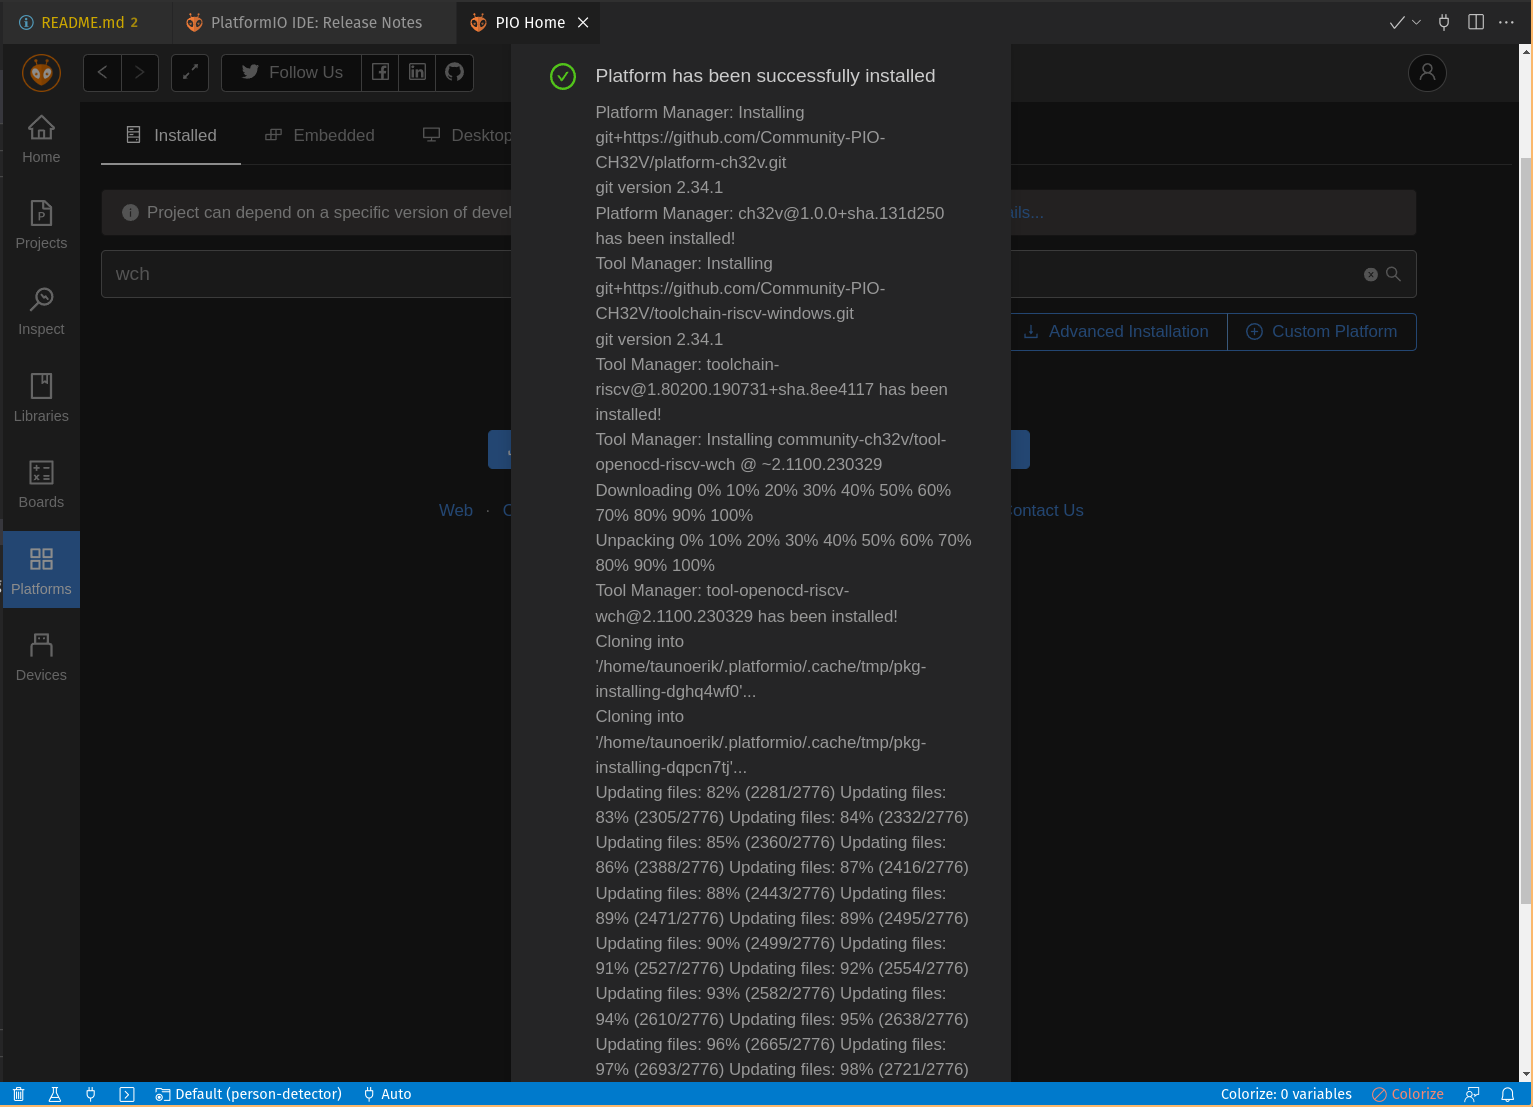
PlatformIO
PIO Home -> Platforms -> Advanced platform installation
Add this URL and install.
https://github.com/Community-PIO-CH32V/platform-ch32v.git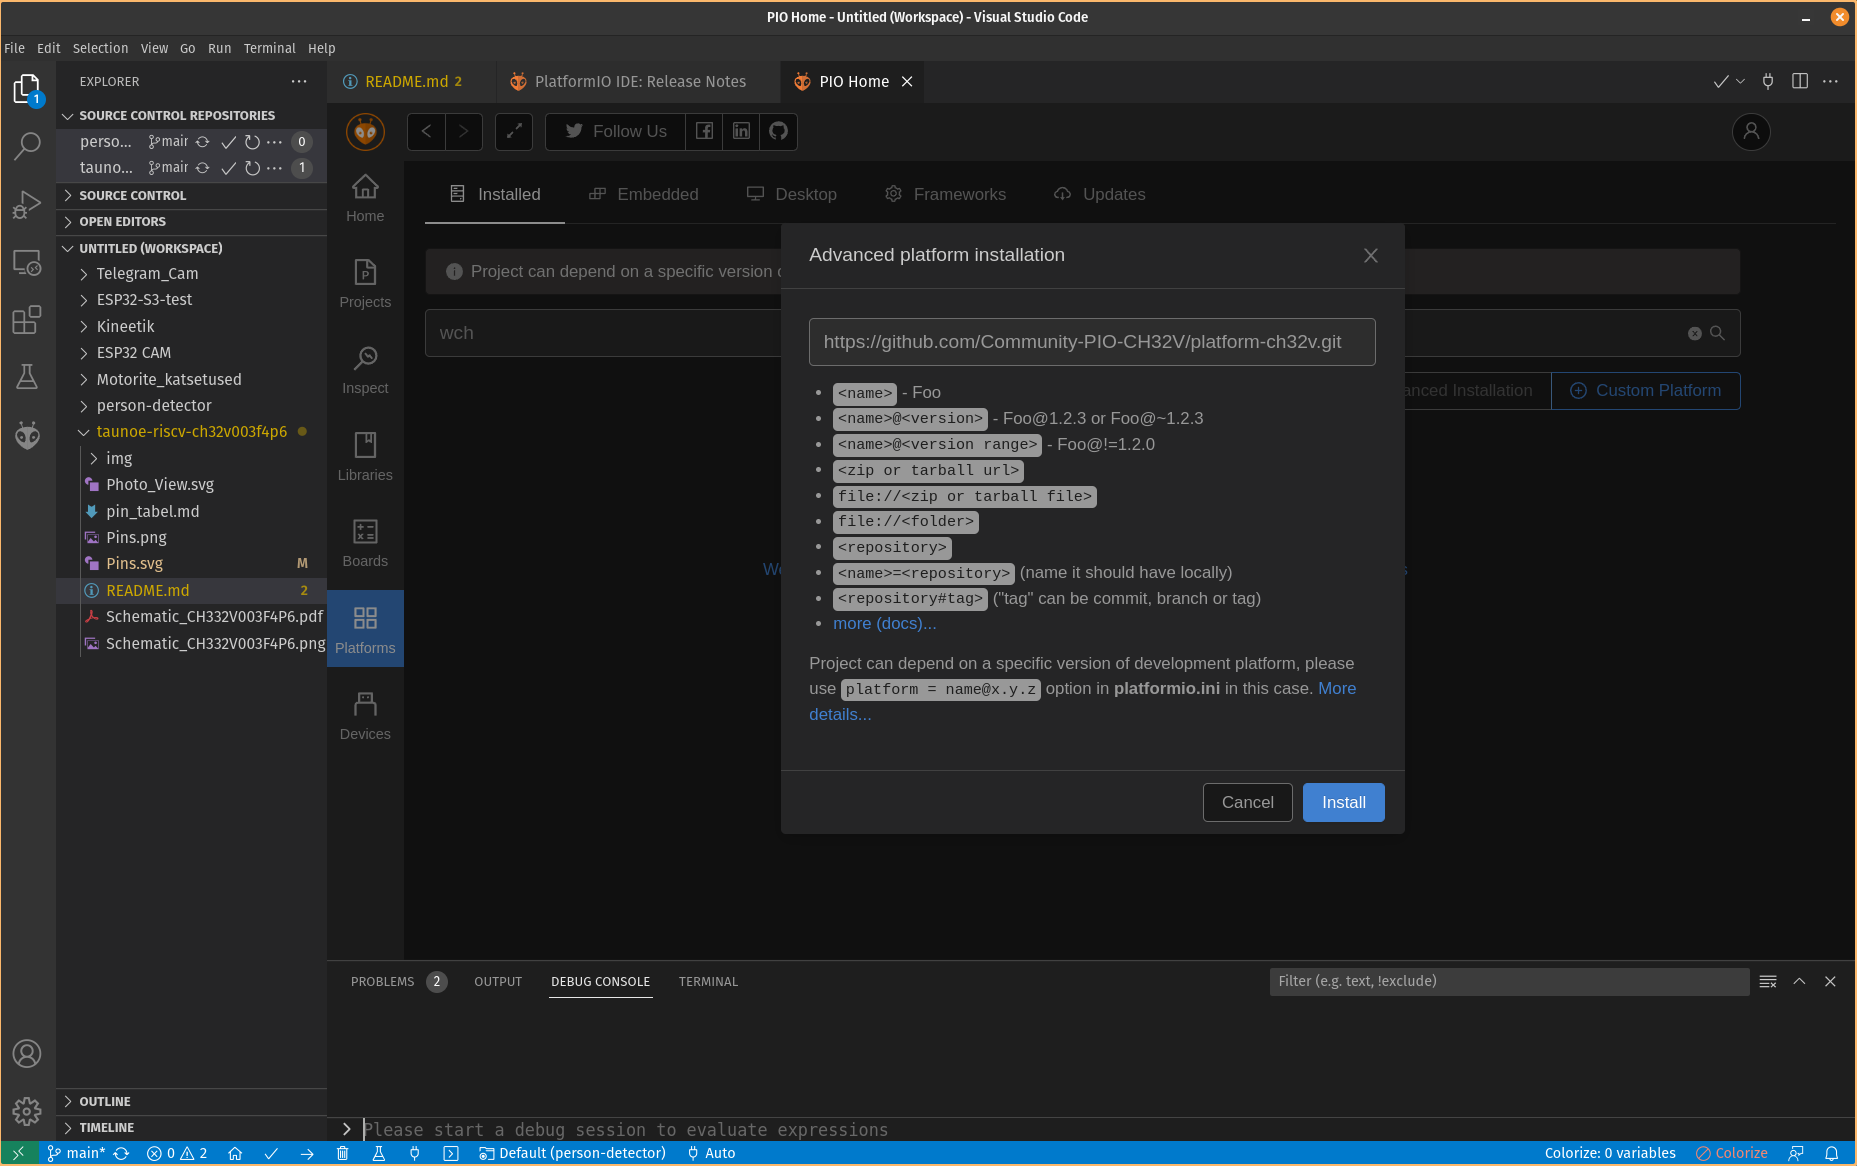
Linux udev Rules
Open and edit /etc/udev/rules.d/99-platformio-udev.rules file:
sudo gedit /etc/udev/rules.d/99-platformio-udev.rulesAdd:
SUBSYSTEM=="usb", ATTR{idVendor}="1a86", ATTR{idProduct}=="8010", GROUP="plugdev"
SUBSYSTEM=="usb", ATTR{idVendor}="4348", ATTR{idProduct}=="55e0", GROUP="plugdev"
SUBSYSTEM=="usb", ATTR{idVendor}="1a86", ATTR{idProduct}=="8012", GROUP="plugdev"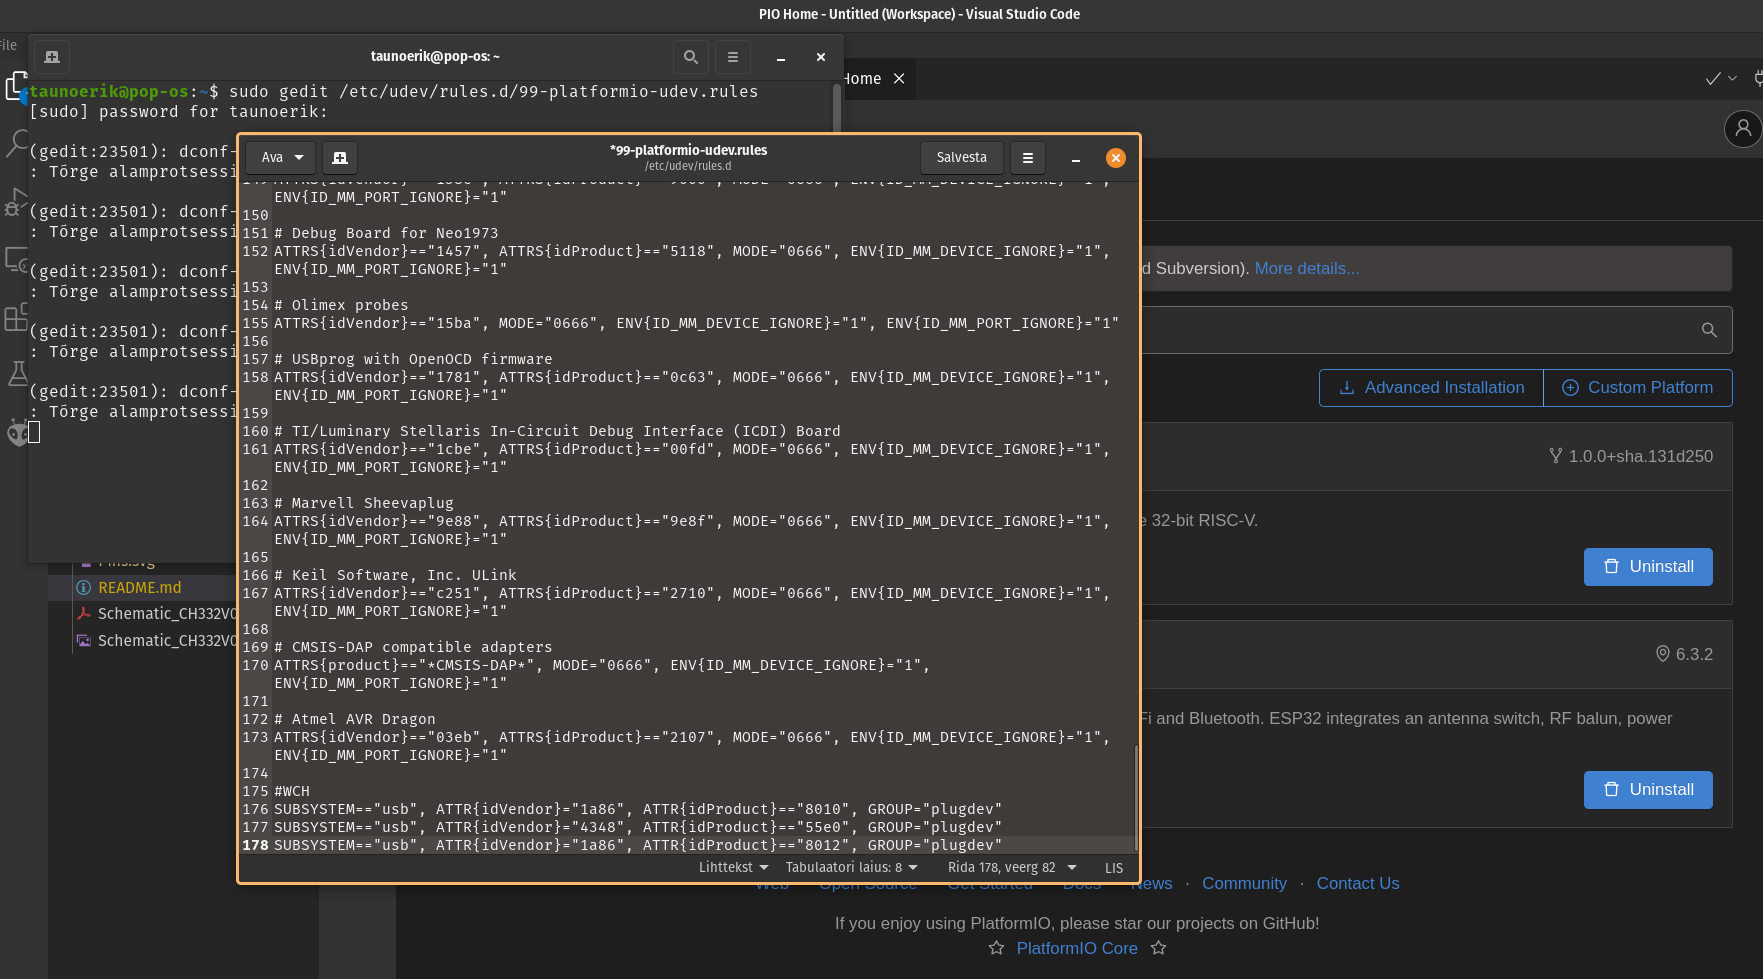
Restart “udev” management tool:
sudo service udev restartStart project:
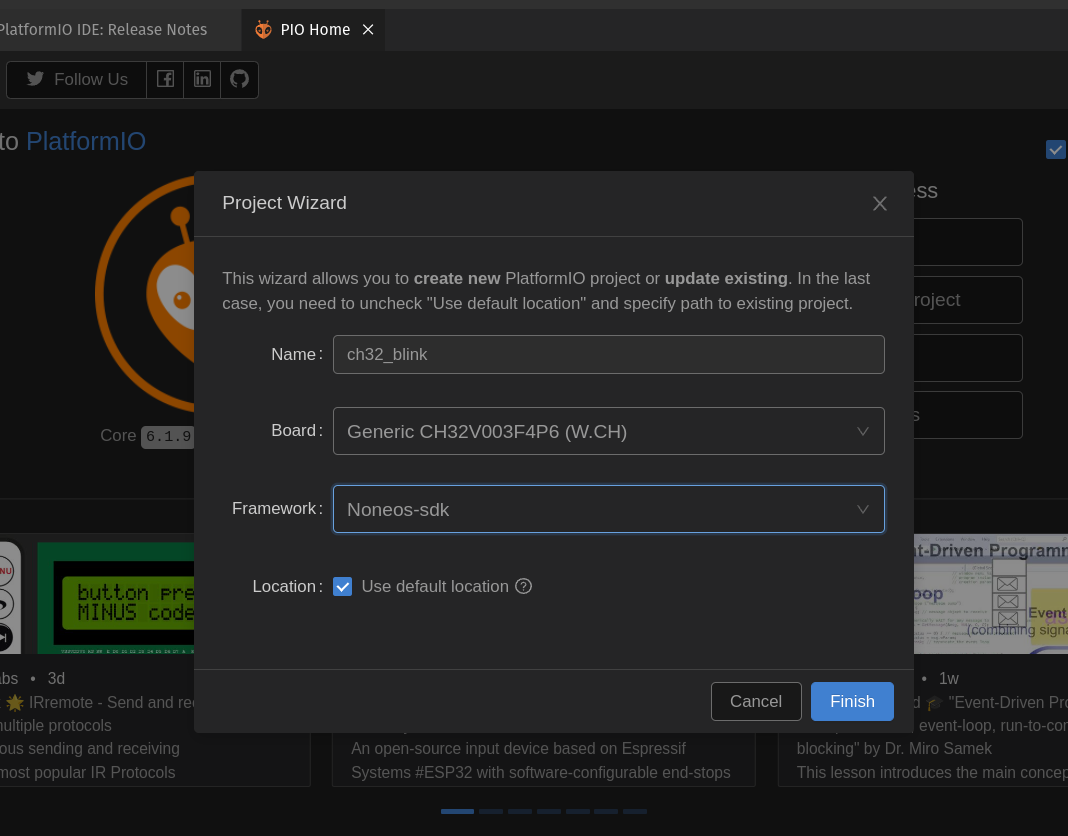
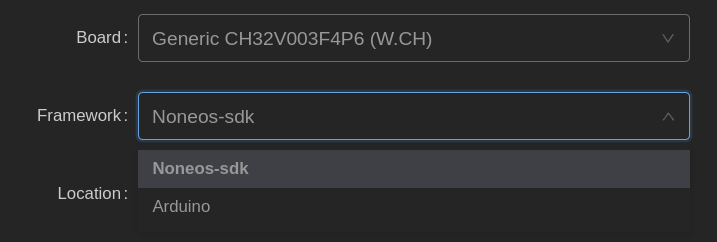
There are available two frameworks for CH32V003F4P6: Noneos-SDK and Arduino
Noneos-SDK Blink code:
#if defined(CH32V00X)
#include <ch32v00x.h>
#elif defined(CH32V10X)
#include <ch32v10x.h>
#elif defined(CH32V20X)
#include <ch32v20x.h>
#elif defined(CH32V30X)
#include <ch32v30x.h>
#endif
#include <debug.h>

#define BLINKY_GPIO_PORT GPIOC
#define BLINKY_GPIO_PIN GPIO_Pin_0
#define BLINKY_CLOCK_ENABLE RCC_APB2PeriphClockCmd(RCC_APB2Periph_GPIOC, ENABLE)

void NMI_Handler(void) __attribute__((interrupt("WCH-Interrupt-fast")));
void HardFault_Handler(void) __attribute__((interrupt("WCH-Interrupt-fast")));
void Delay_Init(void);
void Delay_Ms(uint32_t n);

int main(void)
{
	NVIC_PriorityGroupConfig(NVIC_PriorityGroup_2);
	SystemCoreClockUpdate();
	Delay_Init();

	GPIO_InitTypeDef GPIO_InitStructure = {0};

	BLINKY_CLOCK_ENABLE;
	GPIO_InitStructure.GPIO_Pin = BLINKY_GPIO_PIN;
	GPIO_InitStructure.GPIO_Mode = GPIO_Mode_Out_PP;
	GPIO_InitStructure.GPIO_Speed = GPIO_Speed_50MHz;
	GPIO_Init(BLINKY_GPIO_PORT, &GPIO_InitStructure);

	uint8_t ledState = 0;
	while (1)
	{
		GPIO_WriteBit(BLINKY_GPIO_PORT, BLINKY_GPIO_PIN, ledState);
		ledState ^= 1; // invert for the next run
		Delay_Ms(1000);
	}
}

void NMI_Handler(void) {}
void HardFault_Handler(void)
{
	while (1)
	{
	}
}
Setting up Arduino IDE (only Windows is supported now)
Add CH32 Board Manager URL:
https://raw.githubusercontent.com/openwch/board_manager_files/main/package_ch32v_index.json
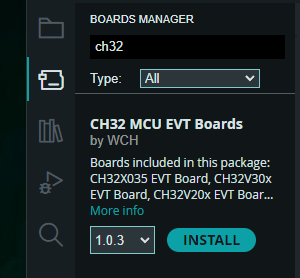
Open Board Manager and Search: CH32 MCU EVT Boards and install it
Blink code
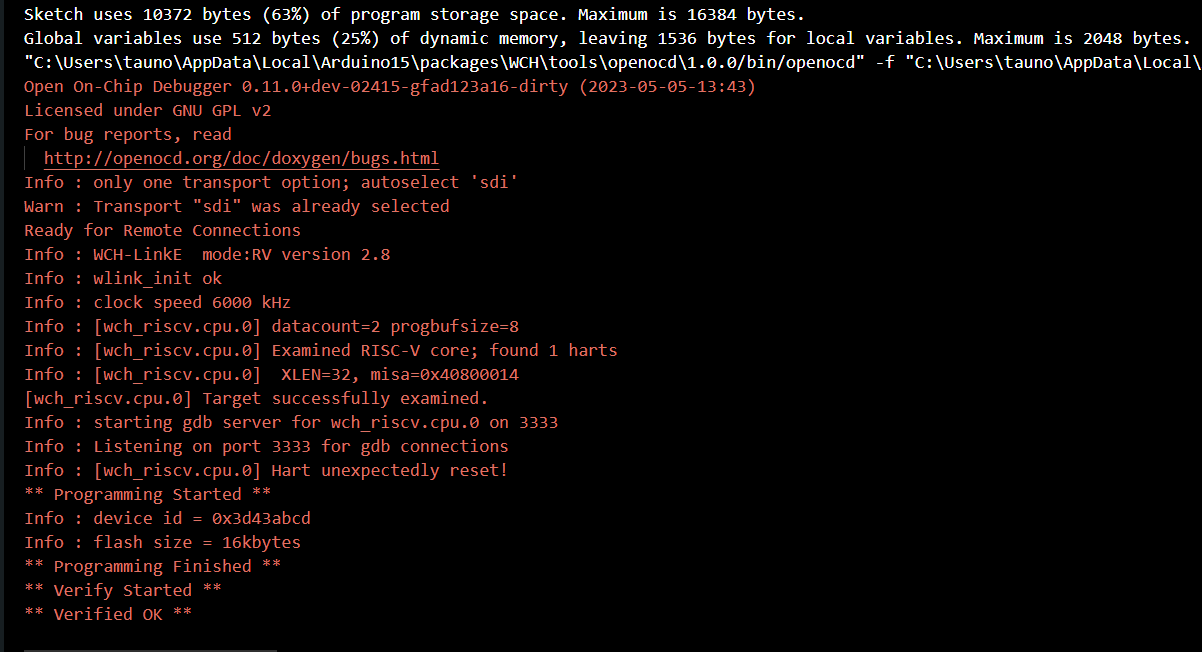
After upload I need to reset the board to make it blink.
#define LED_BUILTIN PC0

// the setup function runs once when you press reset or power the board
void setup() {
  // initialize digital pin LED_BUILTIN as an output.
  pinMode(LED_BUILTIN, OUTPUT);
}

// the loop function runs over and over again forever
void loop() {
  digitalWrite(LED_BUILTIN, HIGH);
  delay(500);
  digitalWrite(LED_BUILTIN, LOW);
  delay(500);
}

Awesome! Yeah, so far this is the only place I have found where the electrical connections for debugging/programing are explicitly defined. TY! +1
I would love to see more explanation about your blink code, however.
In my case, on WCH’s recommended IDE, the handler lines (16, 17, and 44-50 in “Noneos-SDK Blink code”) throw compilation errors. It seems that their provided template code already defines these? I am seeing similar names in the a template assembler file named “startup_ch32V00x.S” Simply commenting the offending lines out lets the code compile and run, I’m just somewhat concerned that I have taken away some safety that is going to bite me in the end.
Enlightenment on this point would be cool.
I have never used WCH IDE MounRiver Studio(MRS). Mainly only PlatformIO. The blink codes are from links under the article.
It is difficult to download MounRiver IDE from India, looks like site is most of the time inaccessible. Not sure may due it is in china.
anyone has download link which works?
I really liked the CH32V003 MCU and I have started creating a series of Articles on CH32V003 Programming where I will cover all the interfaces (GPIO as output, GPIO Input polling and interrupt, UART, I2C, SPI, etc.)
Here is the link if you might be interested: https://pallavaggarwal.in/2023/09/20/ch32v003-programming-guide/