New Instagram account @ella_and_lion.

I recently i’m experimenting with Blender to 2D animations.
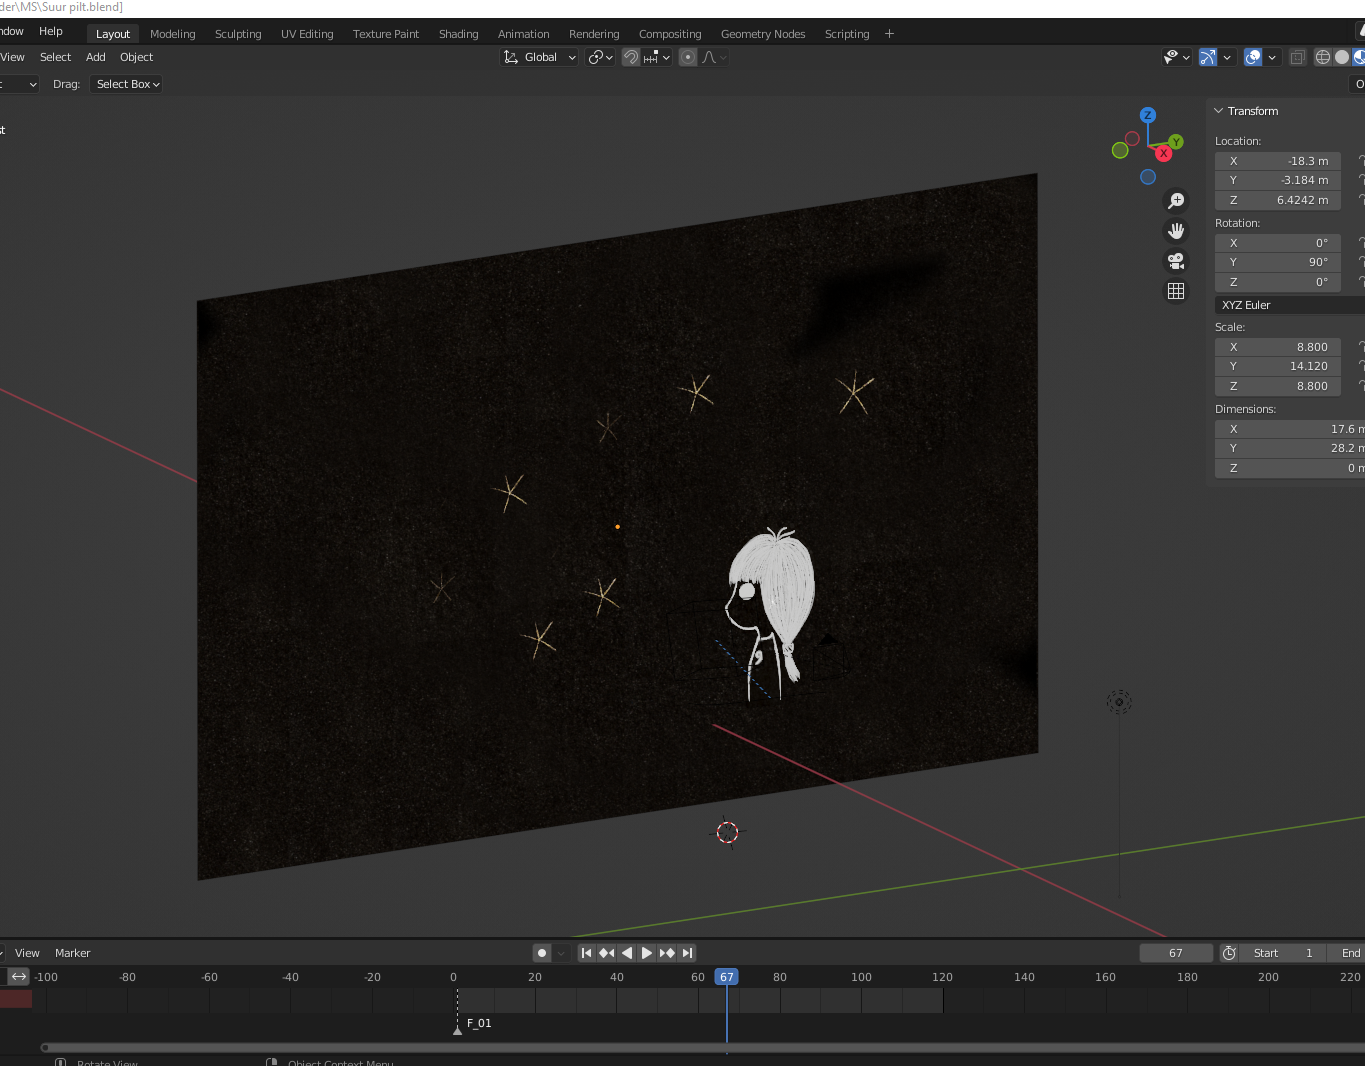
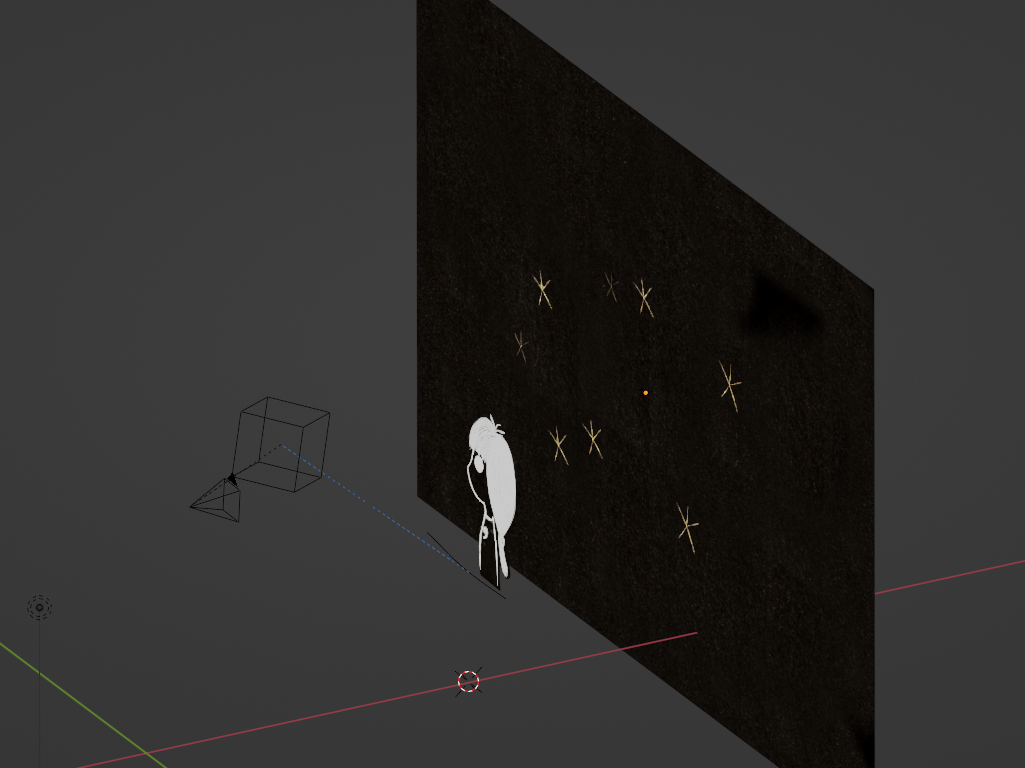
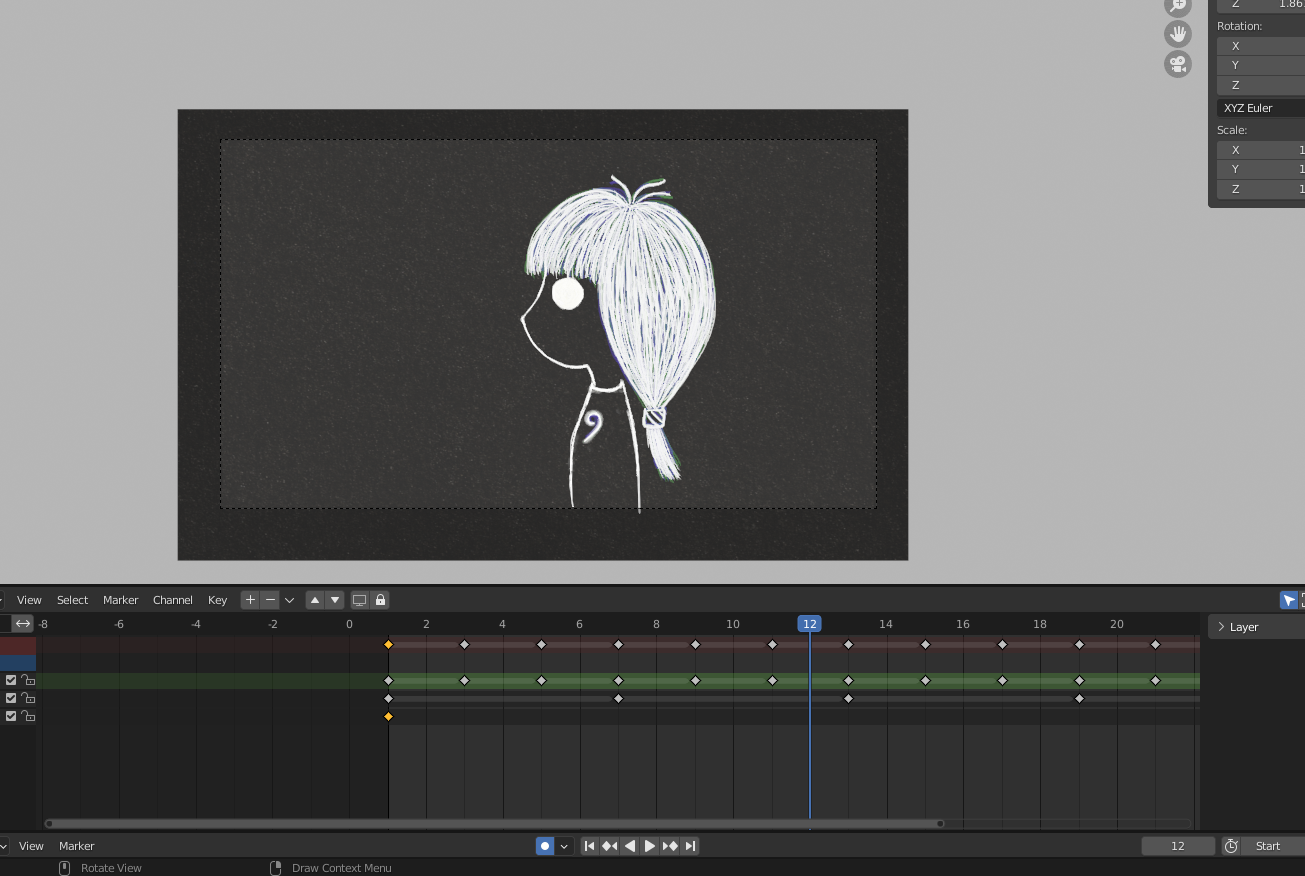
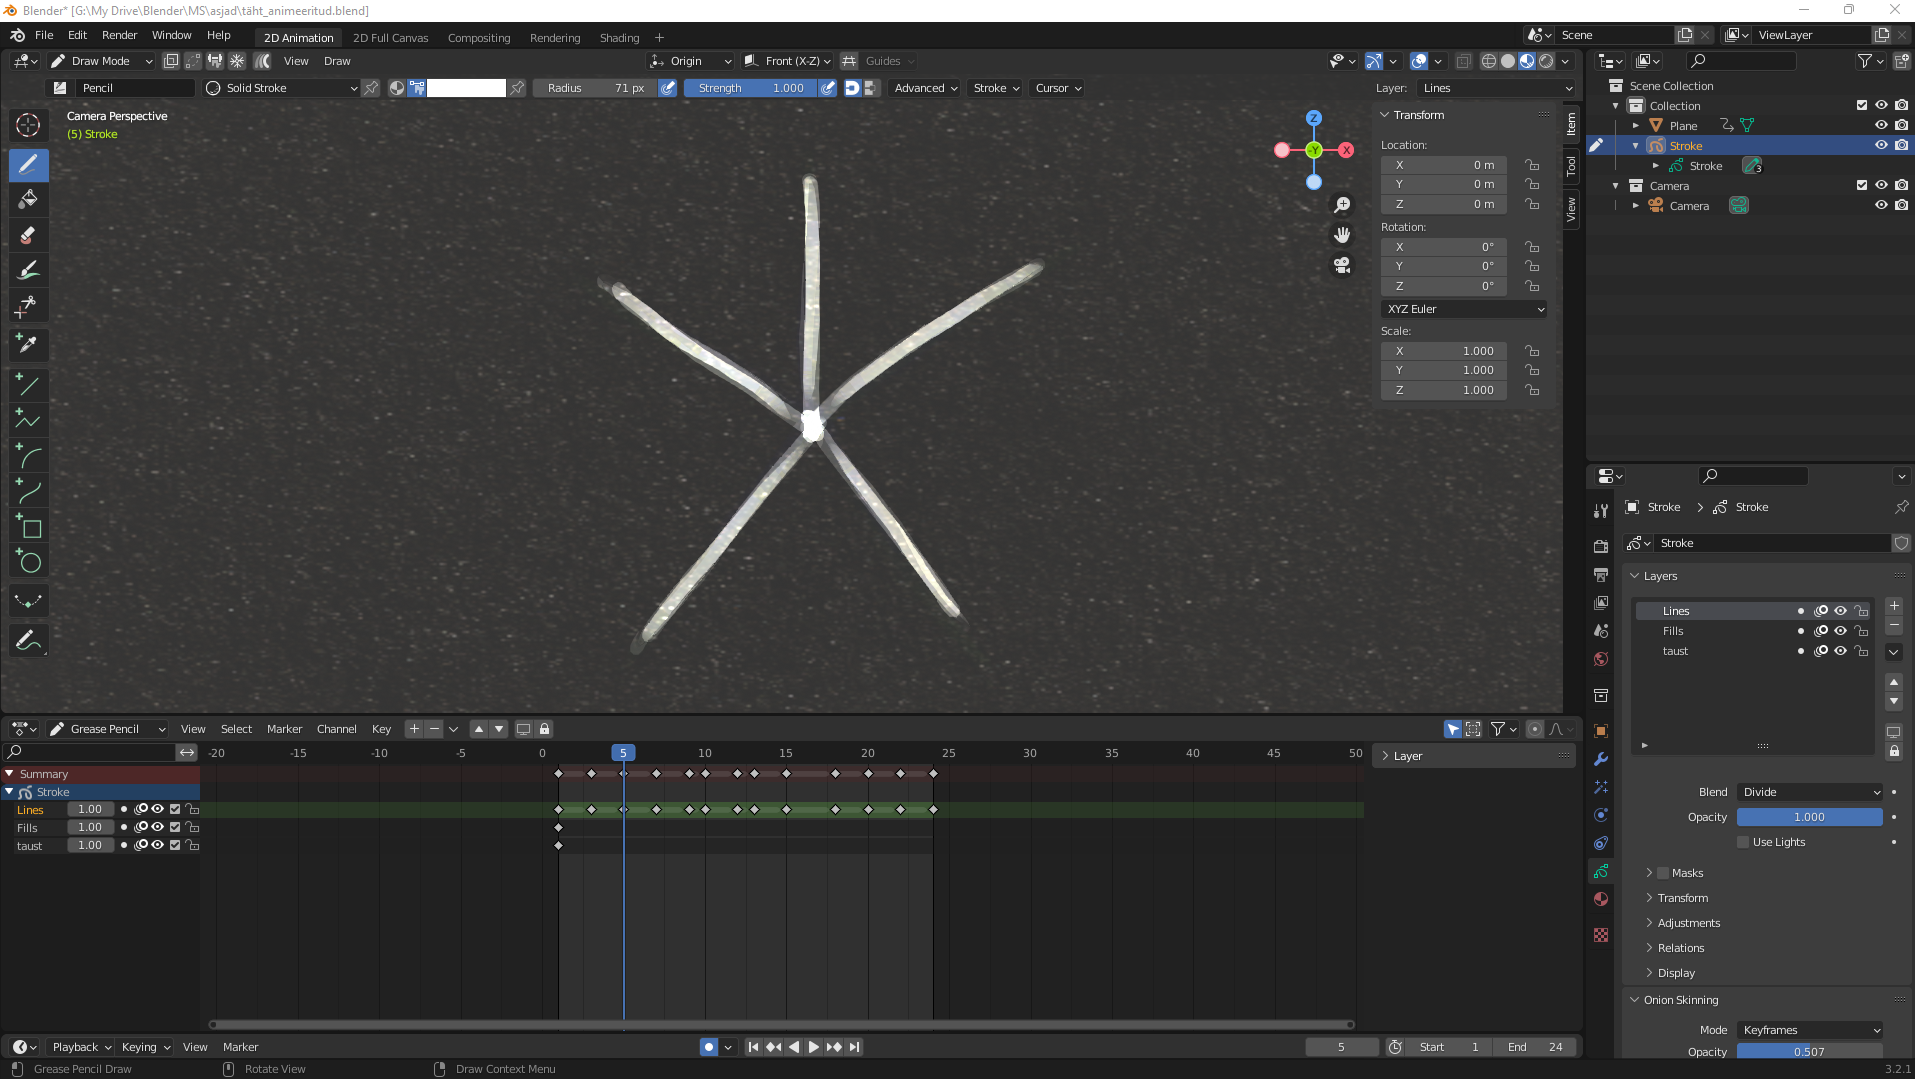
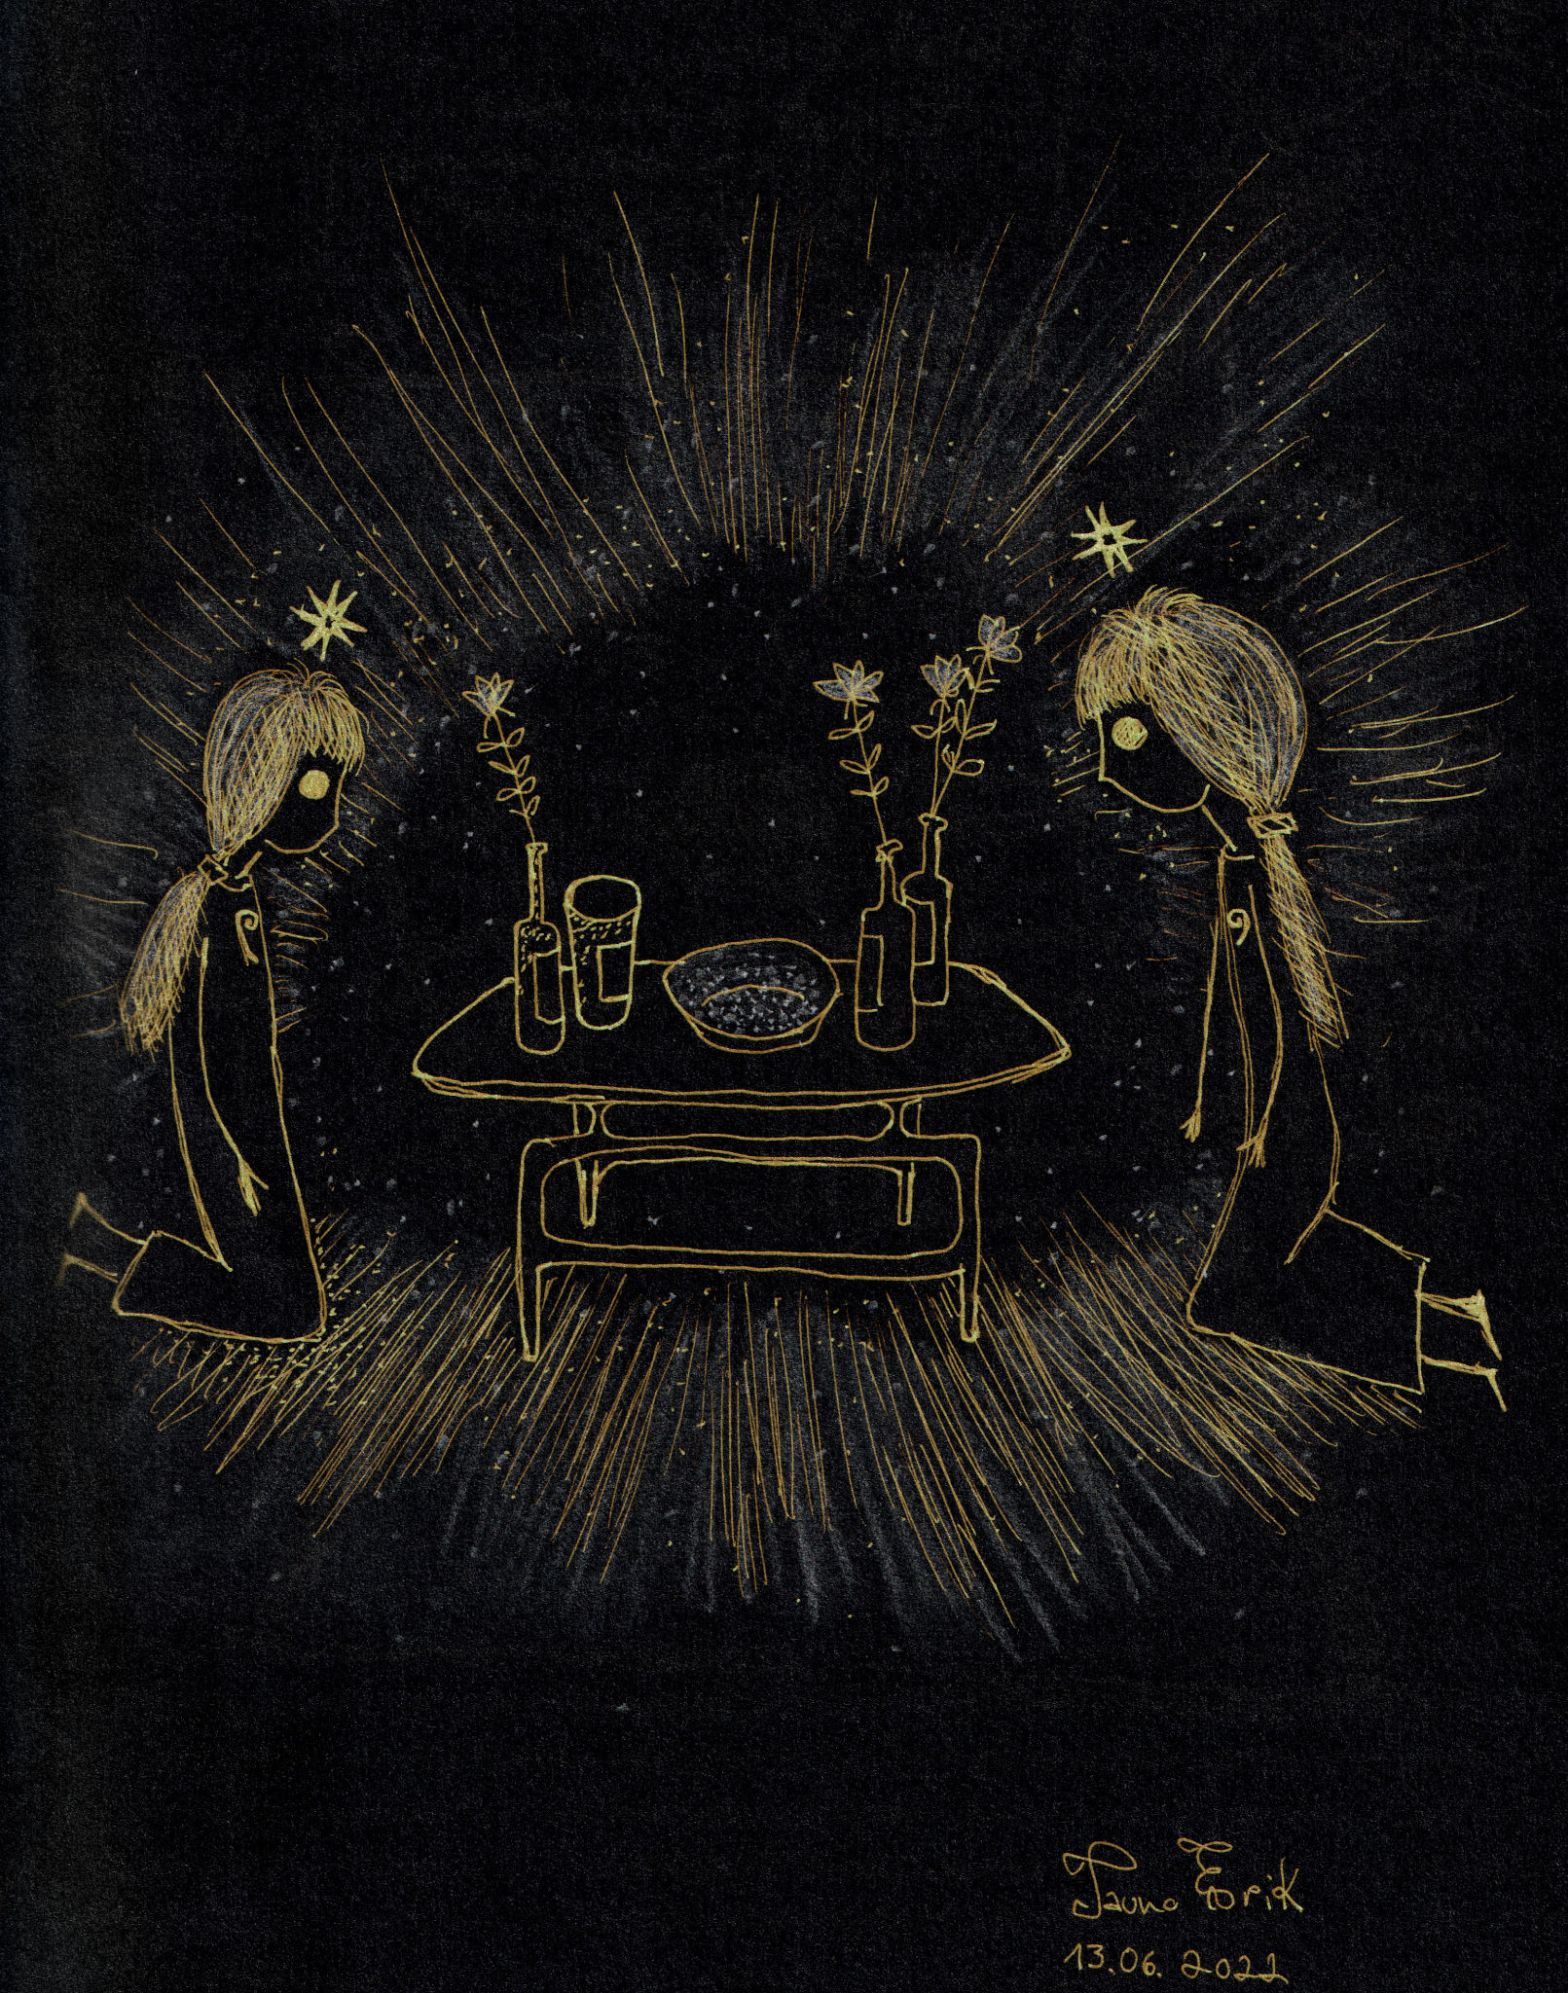
I also made Instagram account for this drawings @ella_and_lion


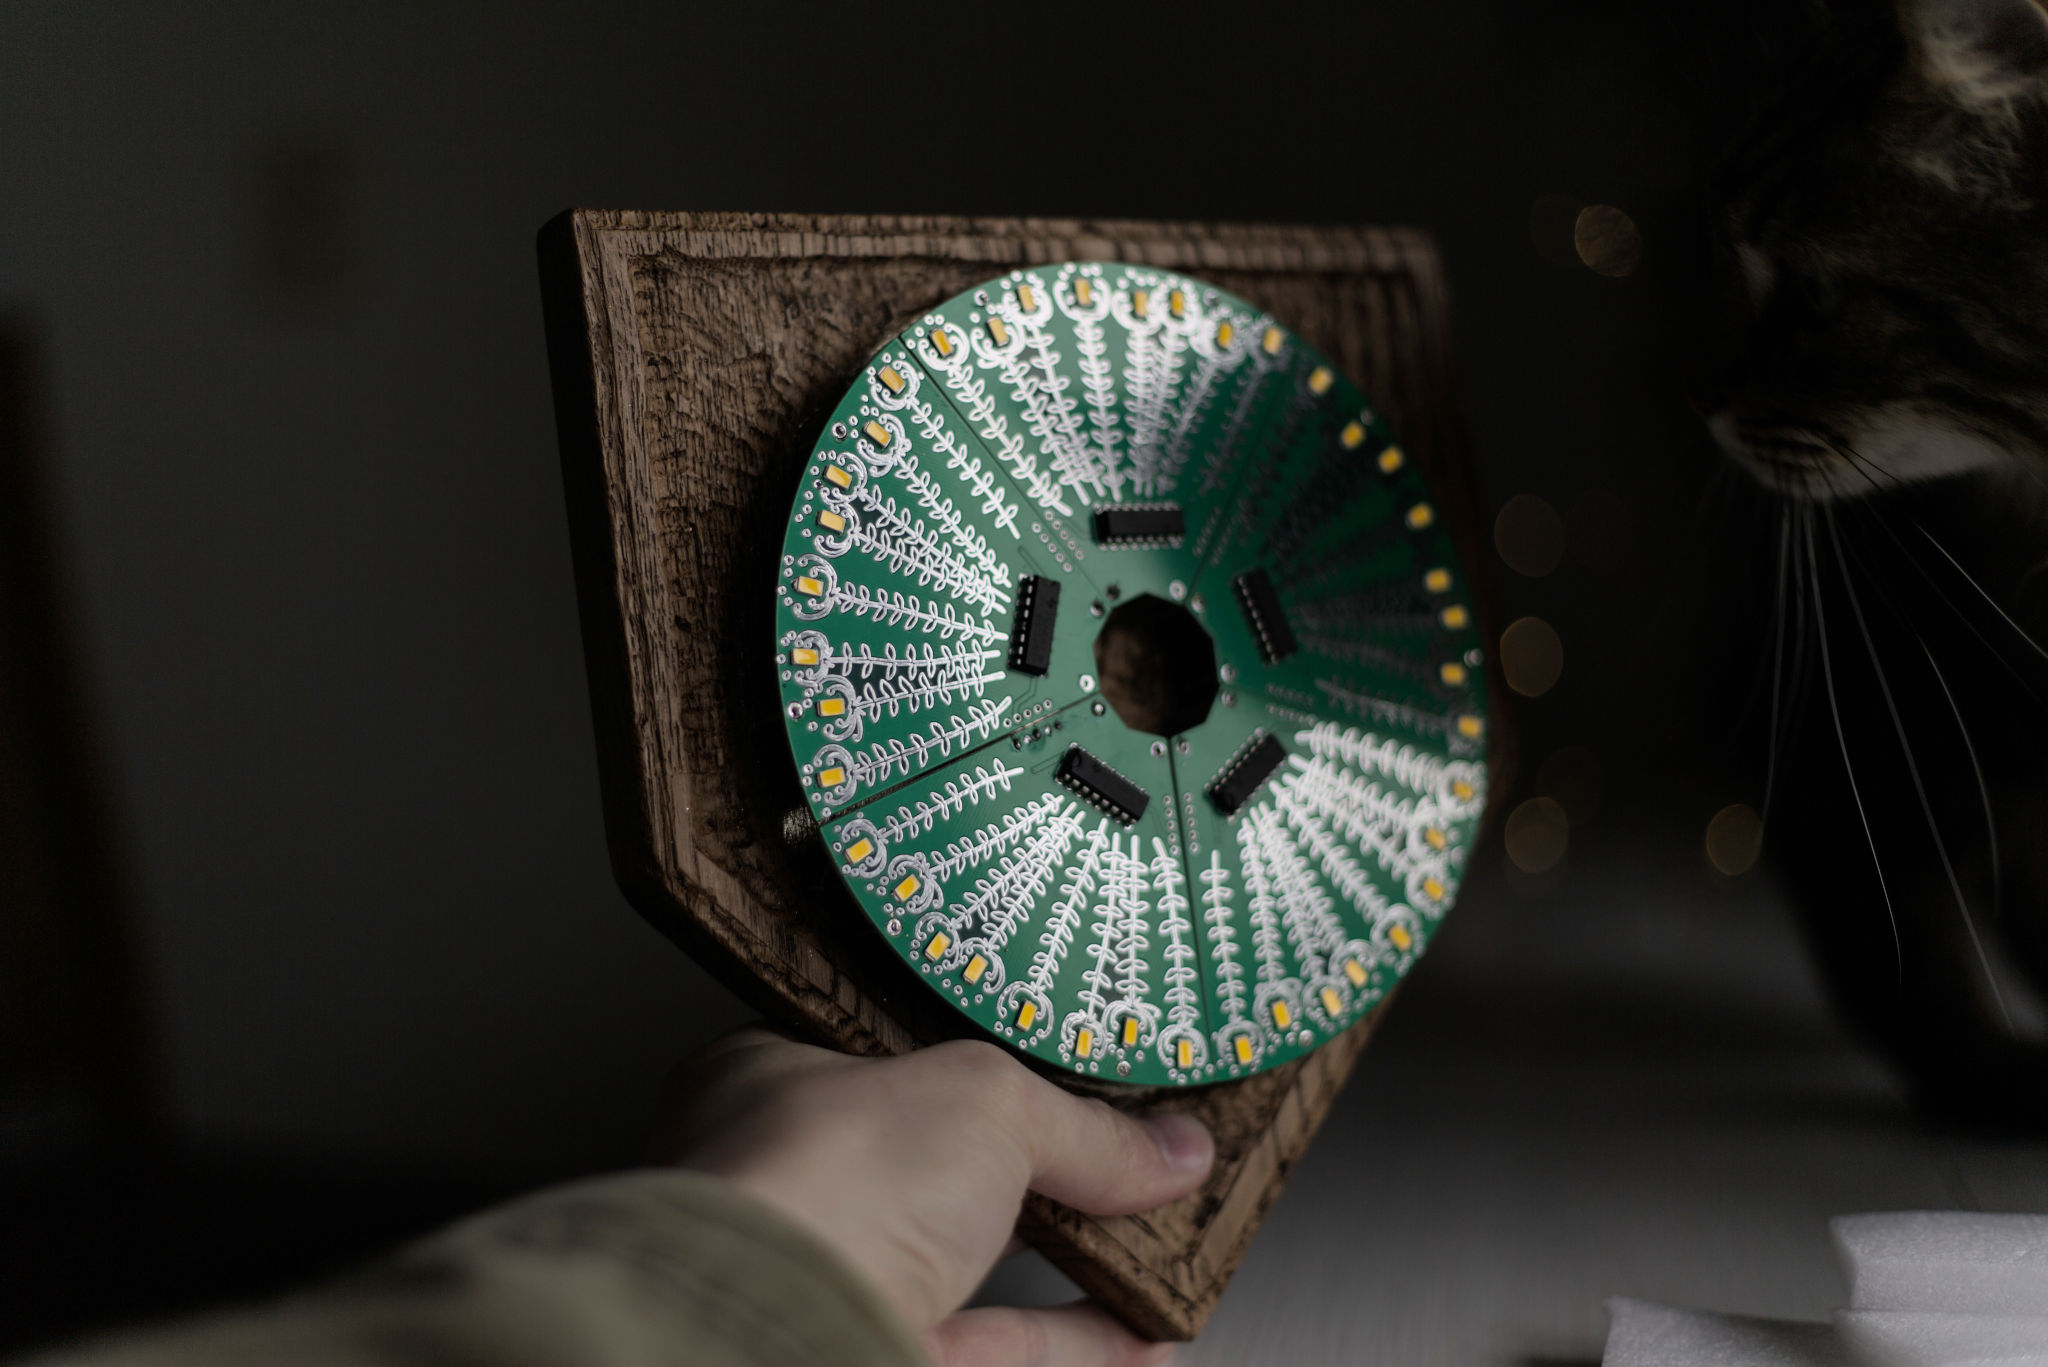
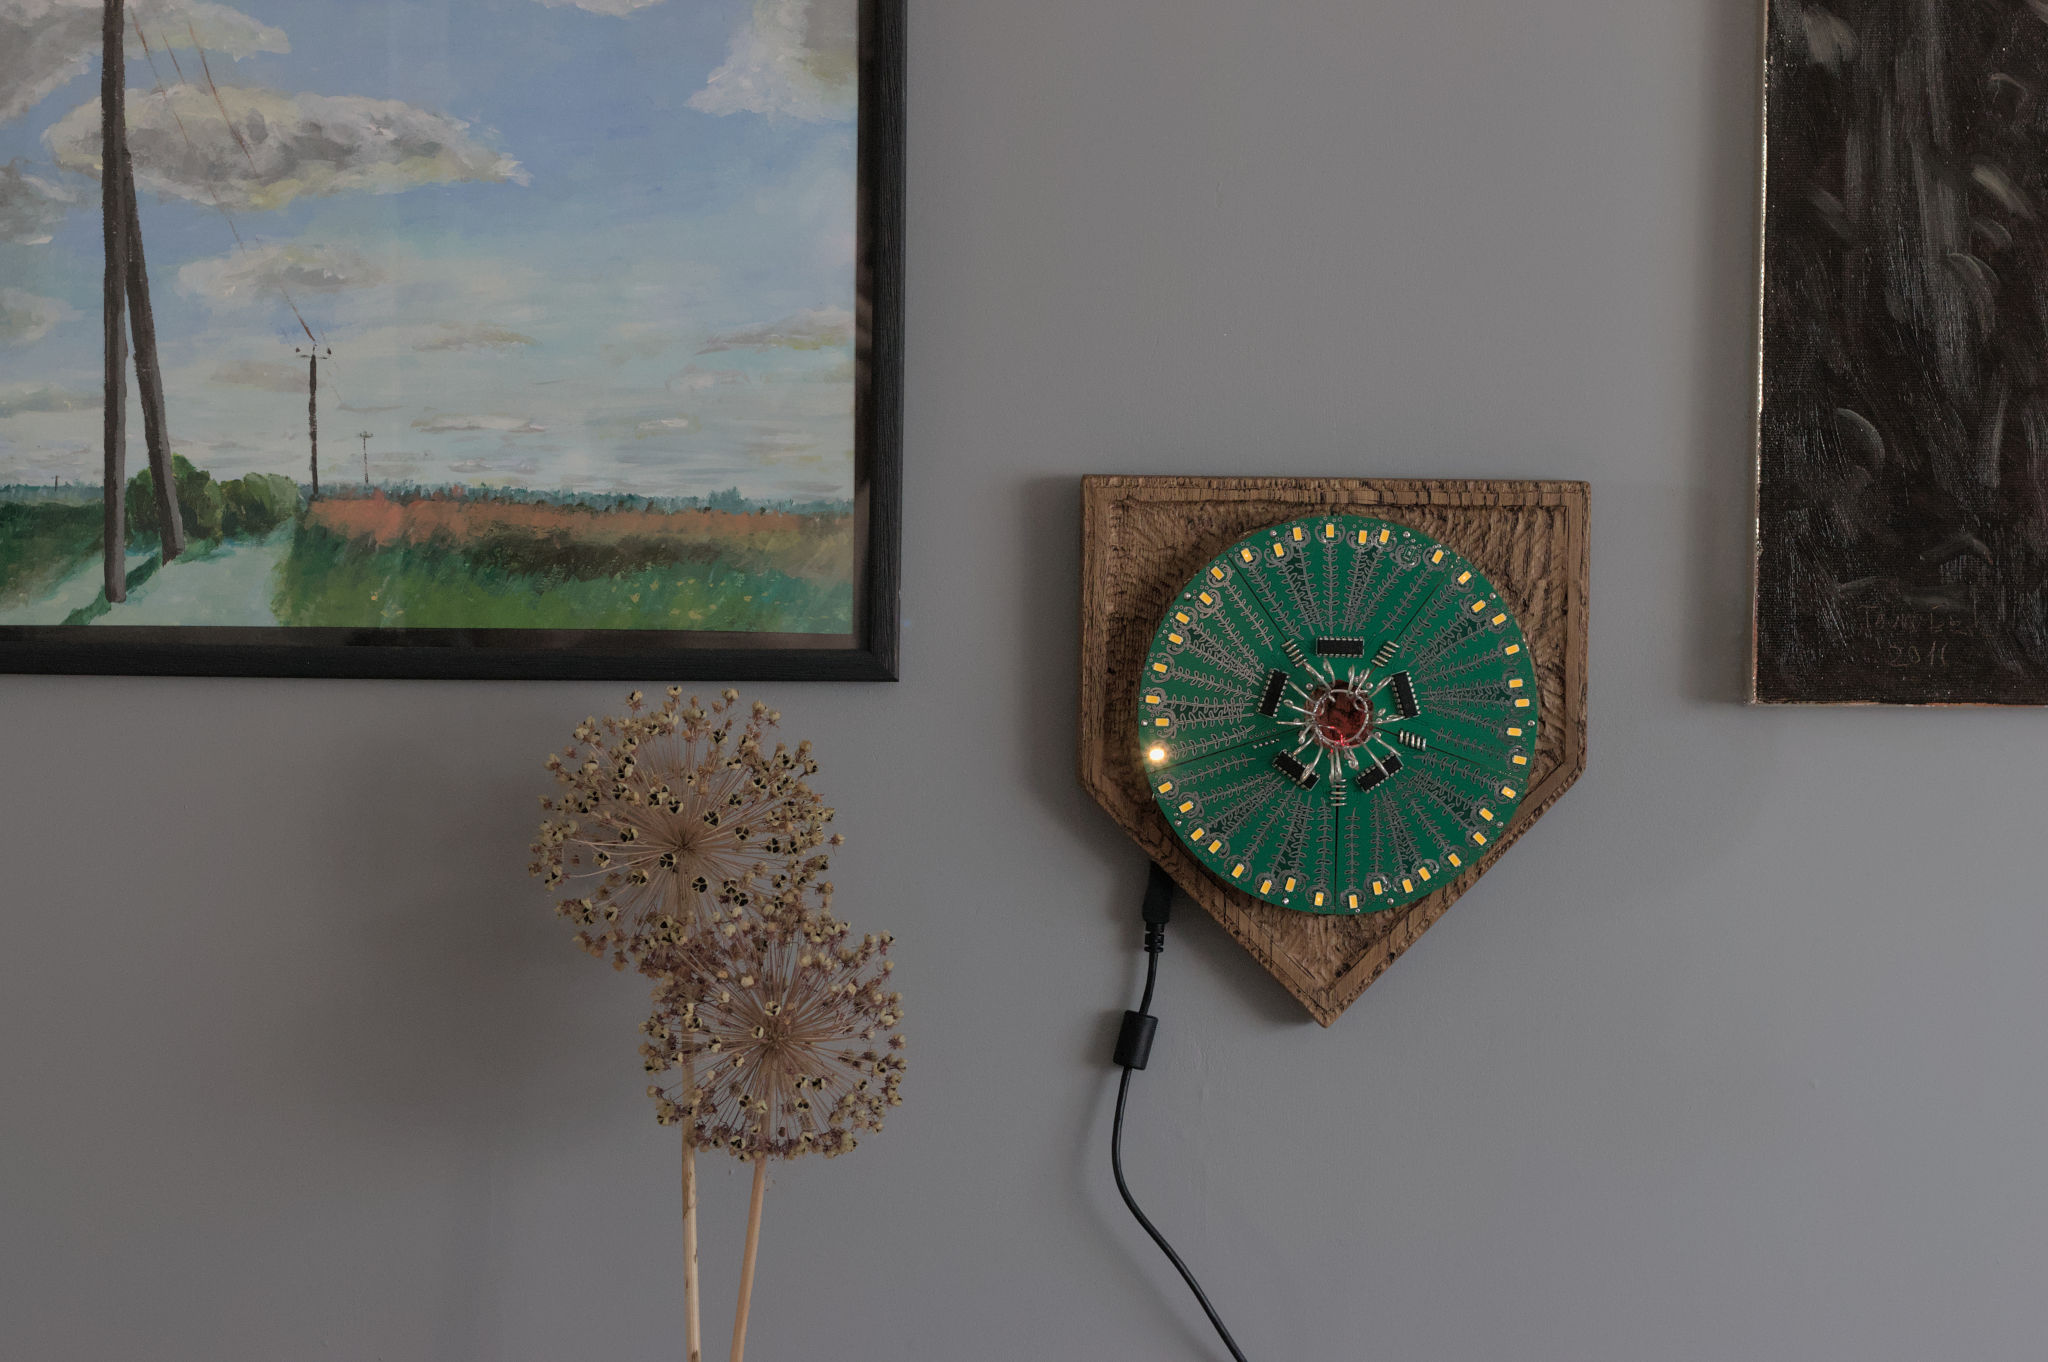
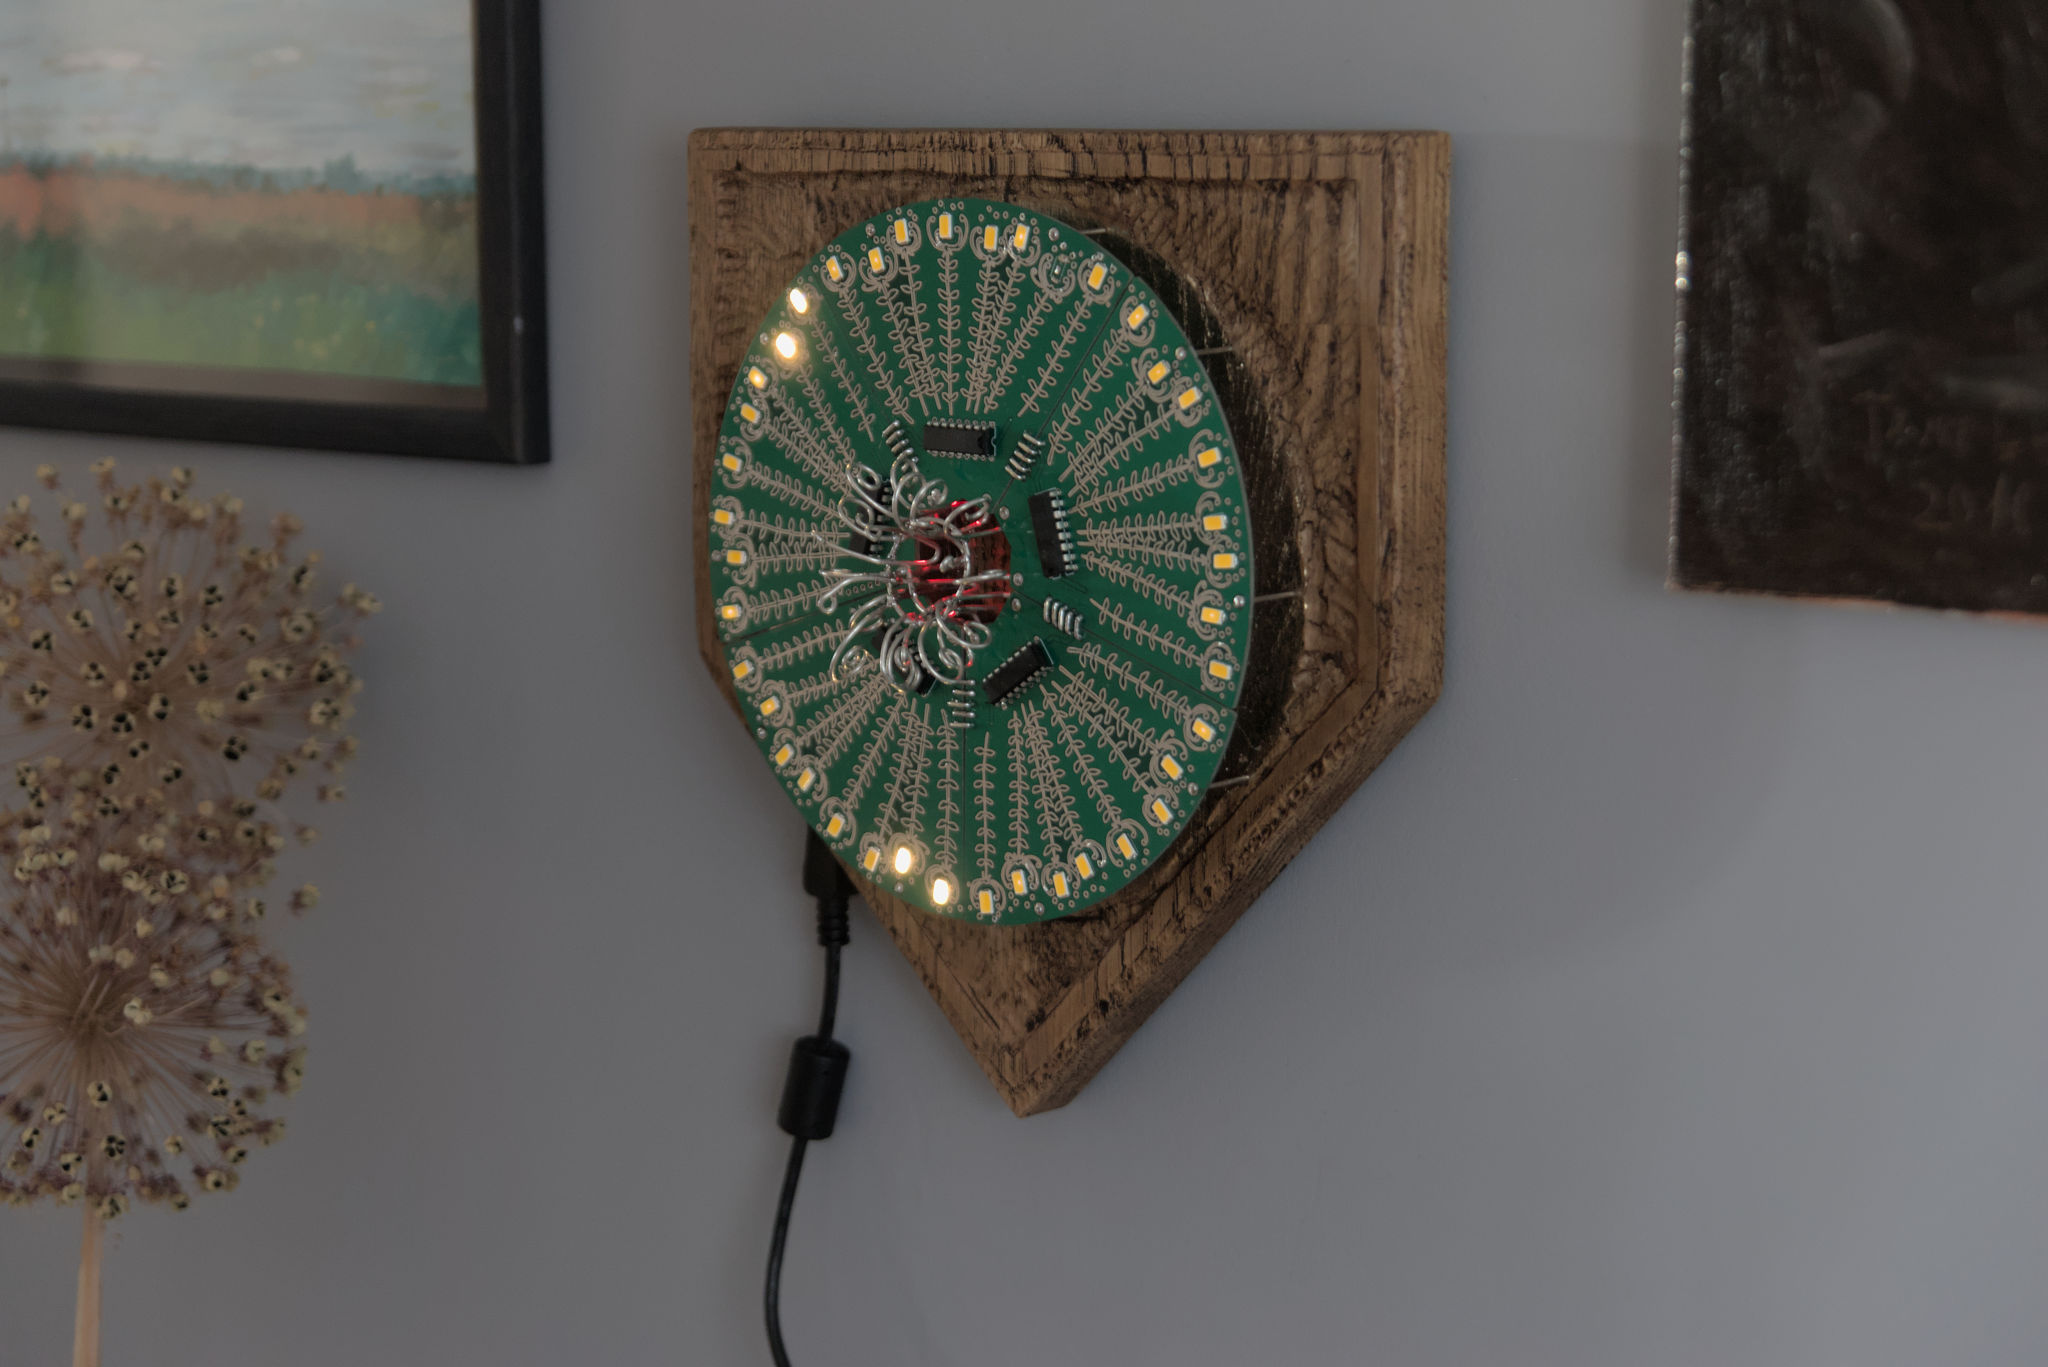
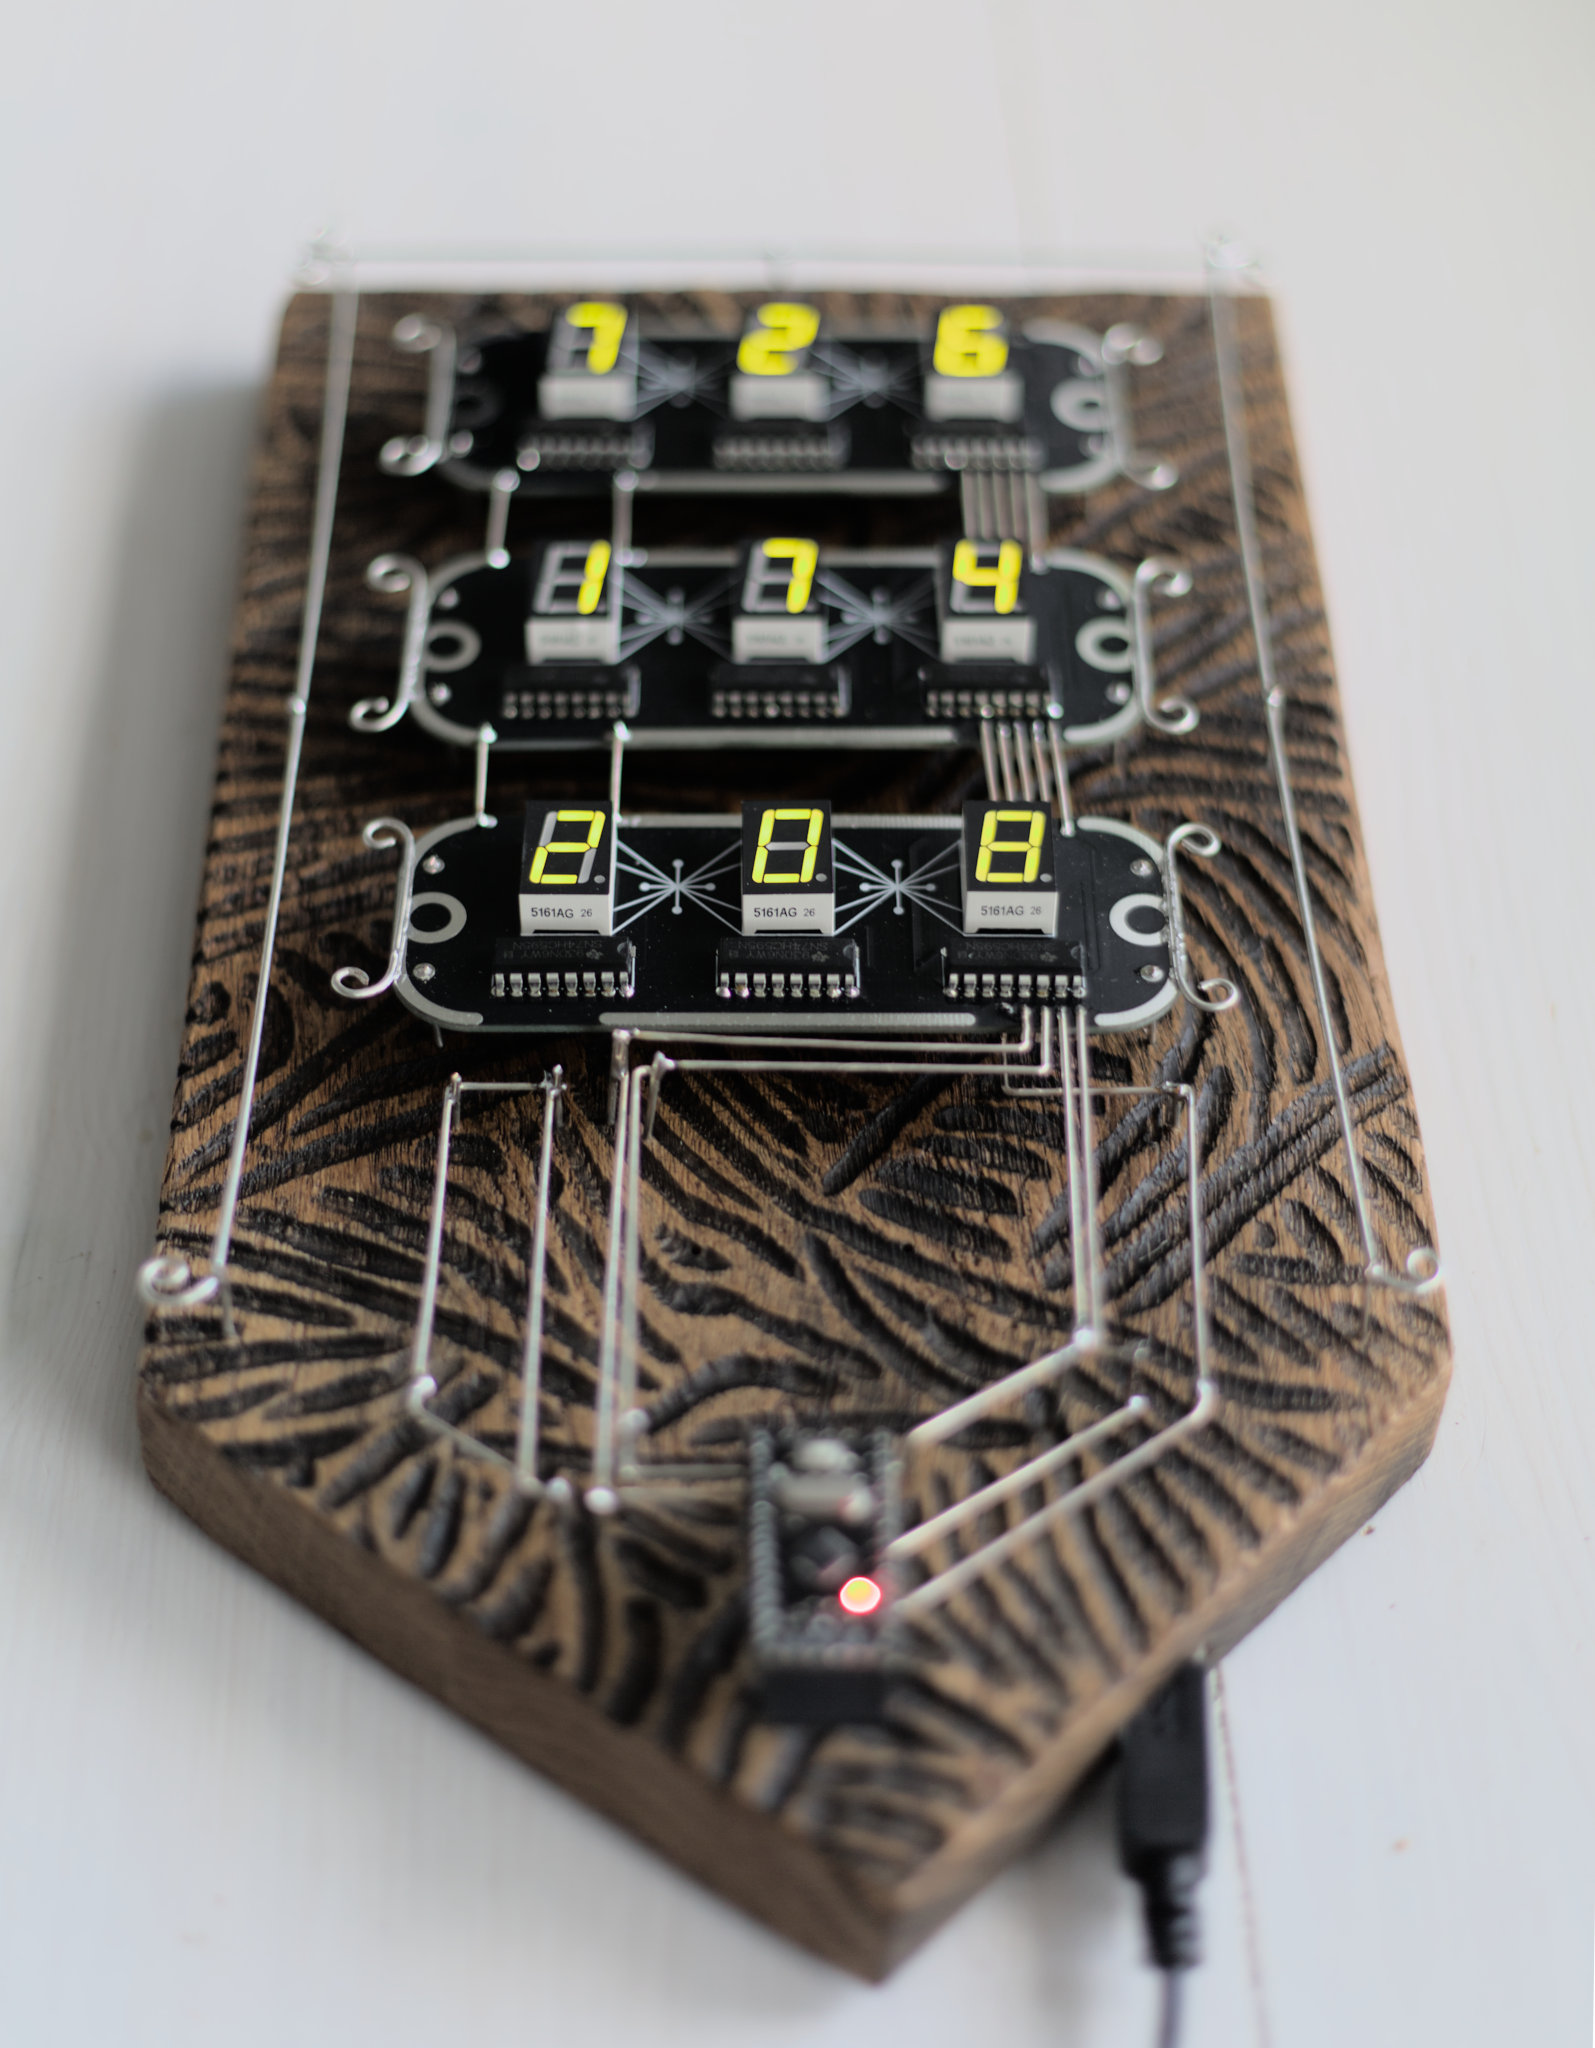
This coat of arms is a circle of flowers (Lillering).
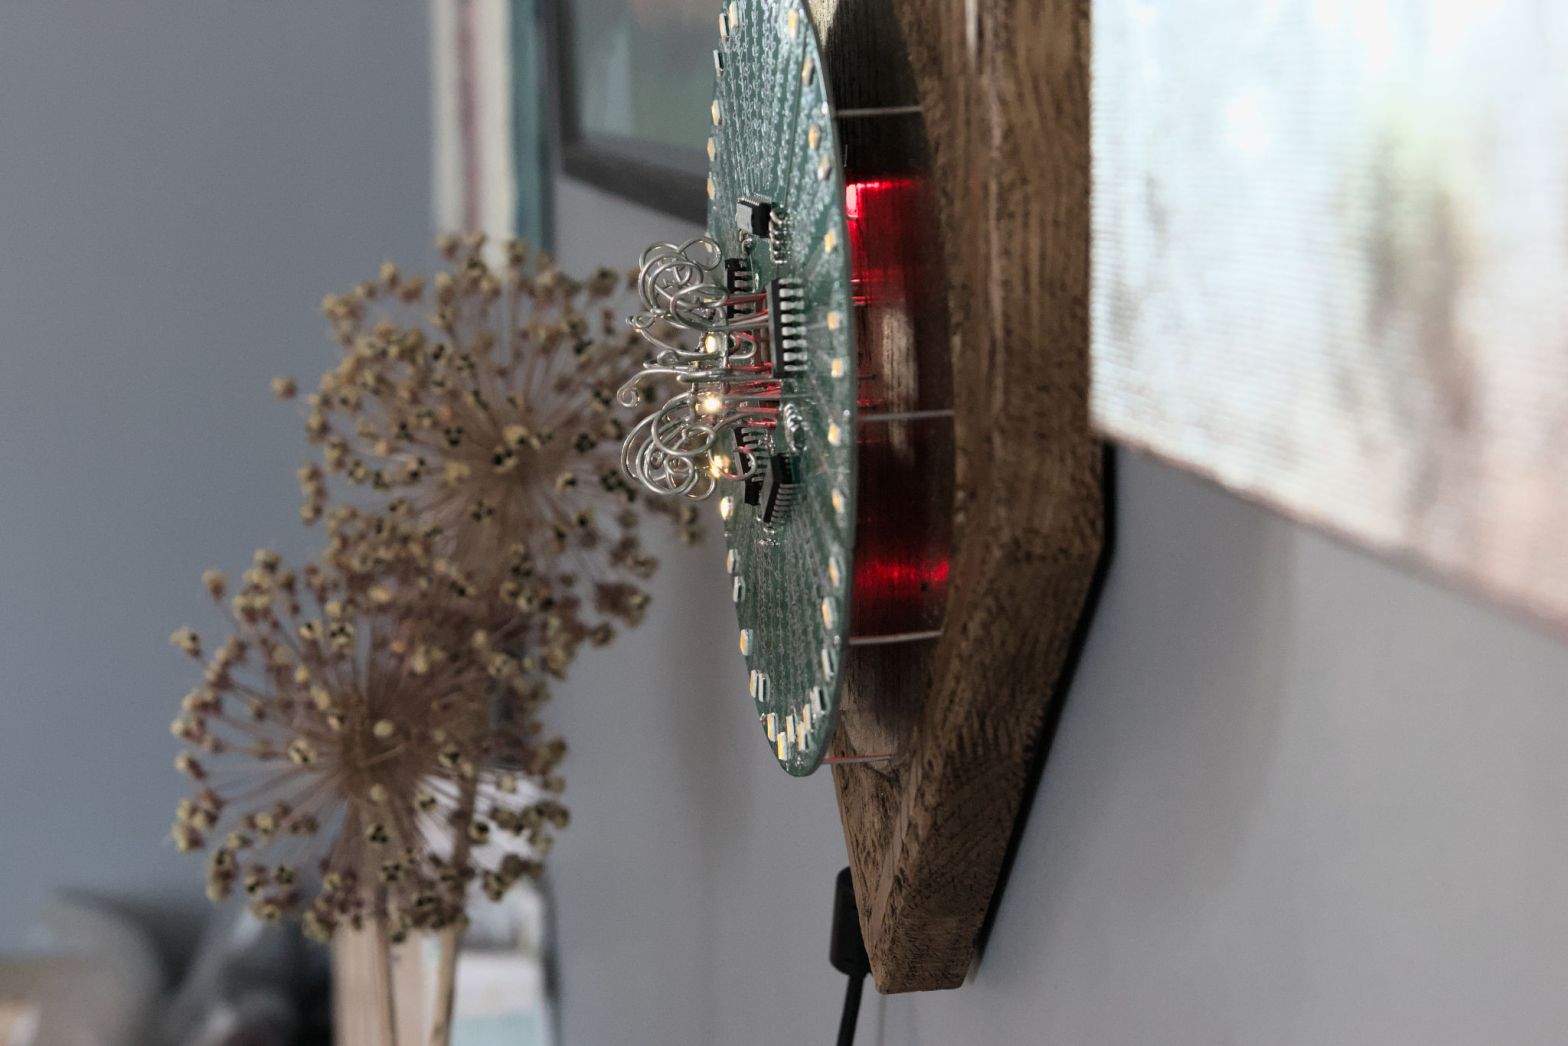
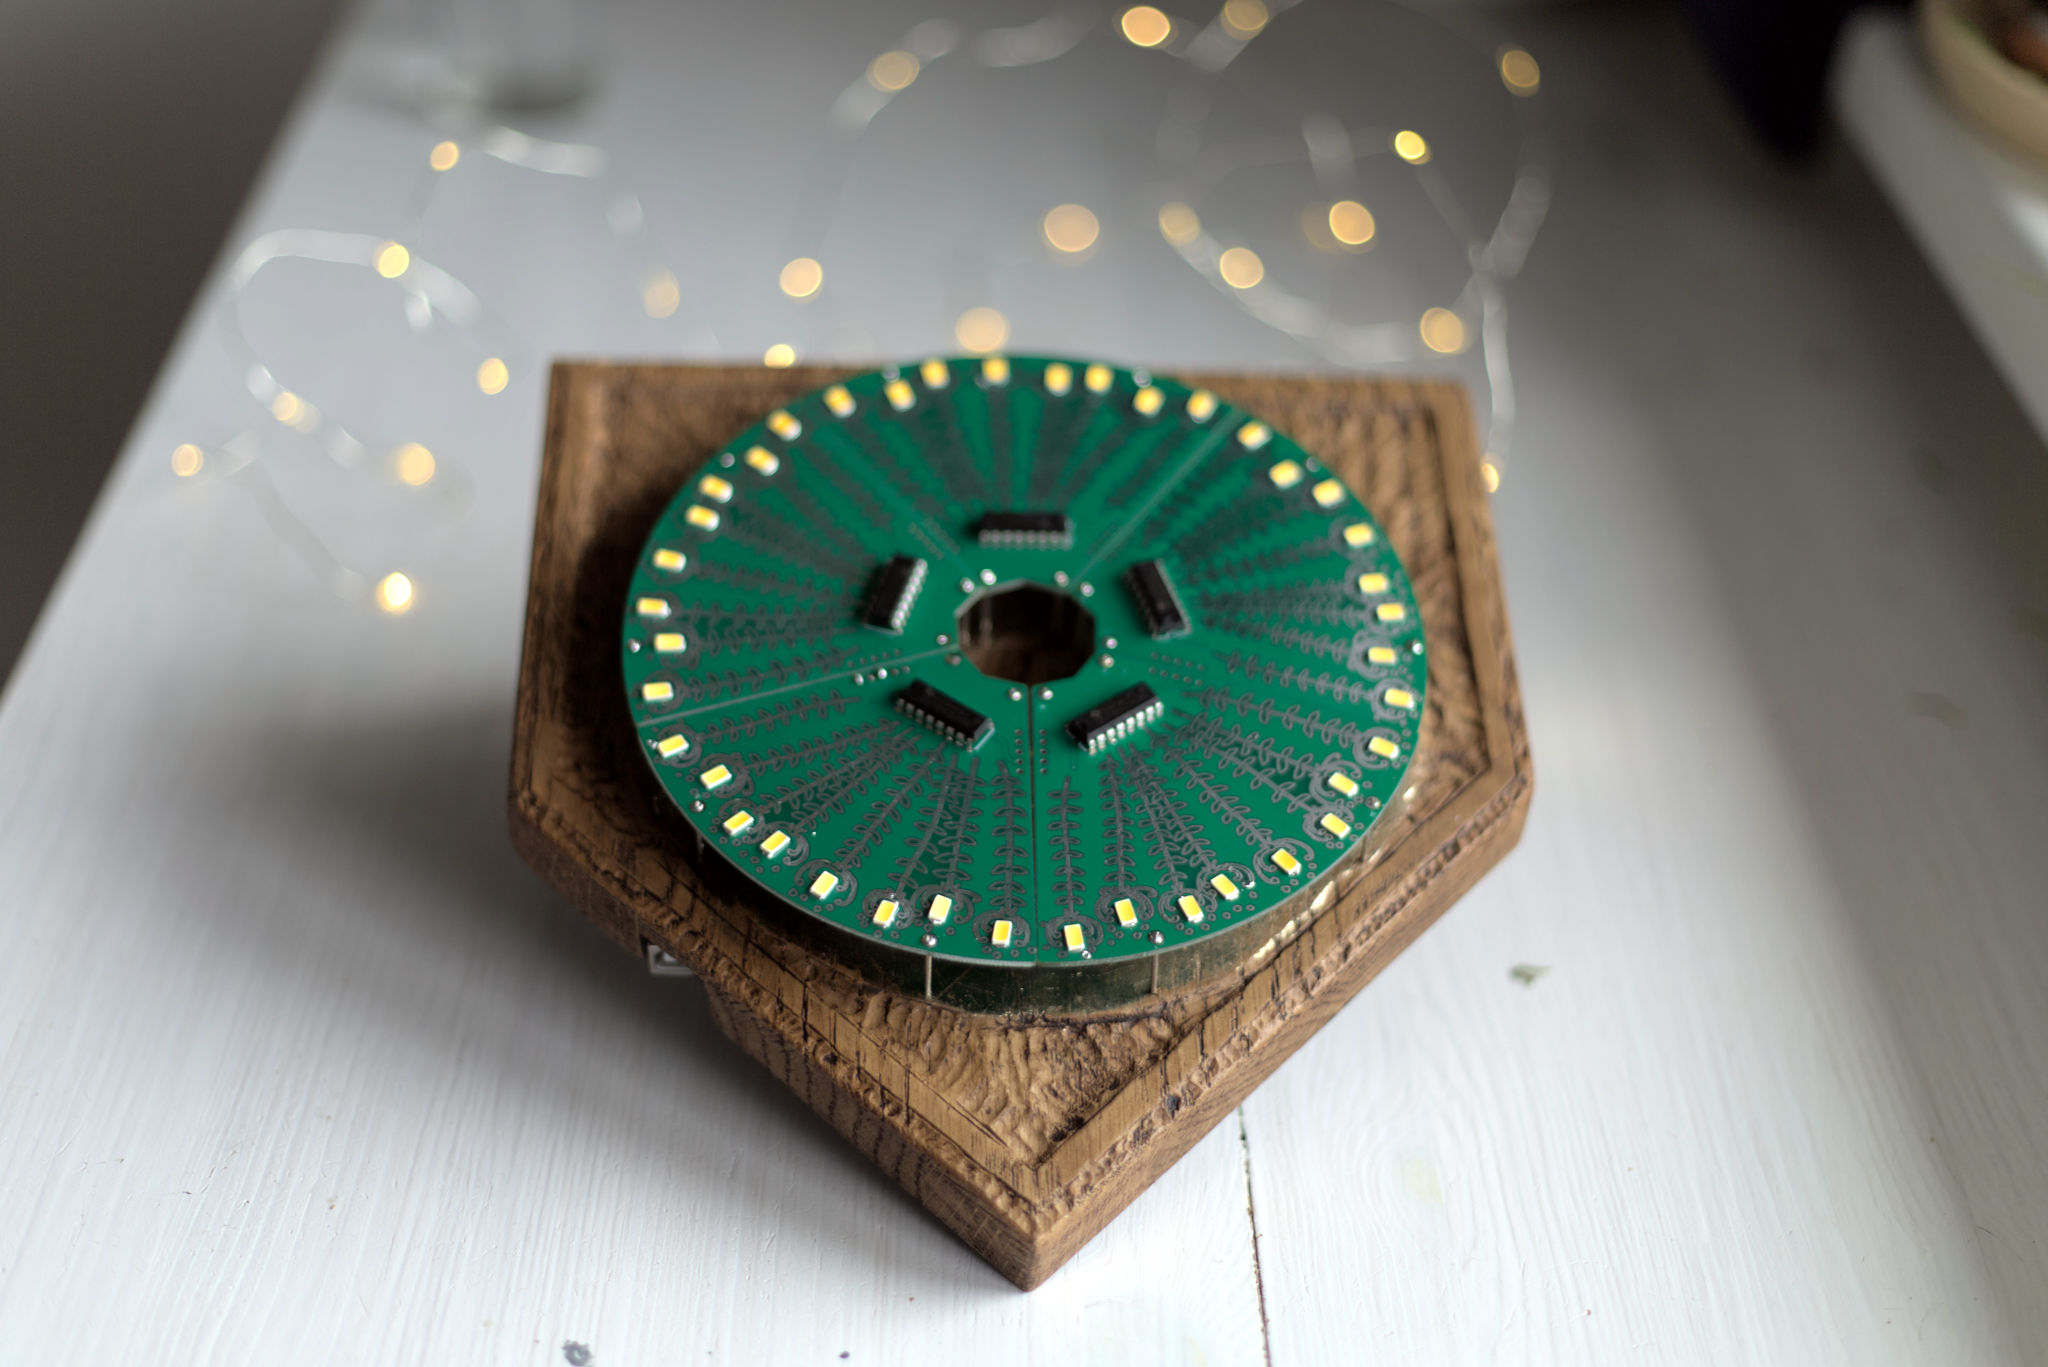
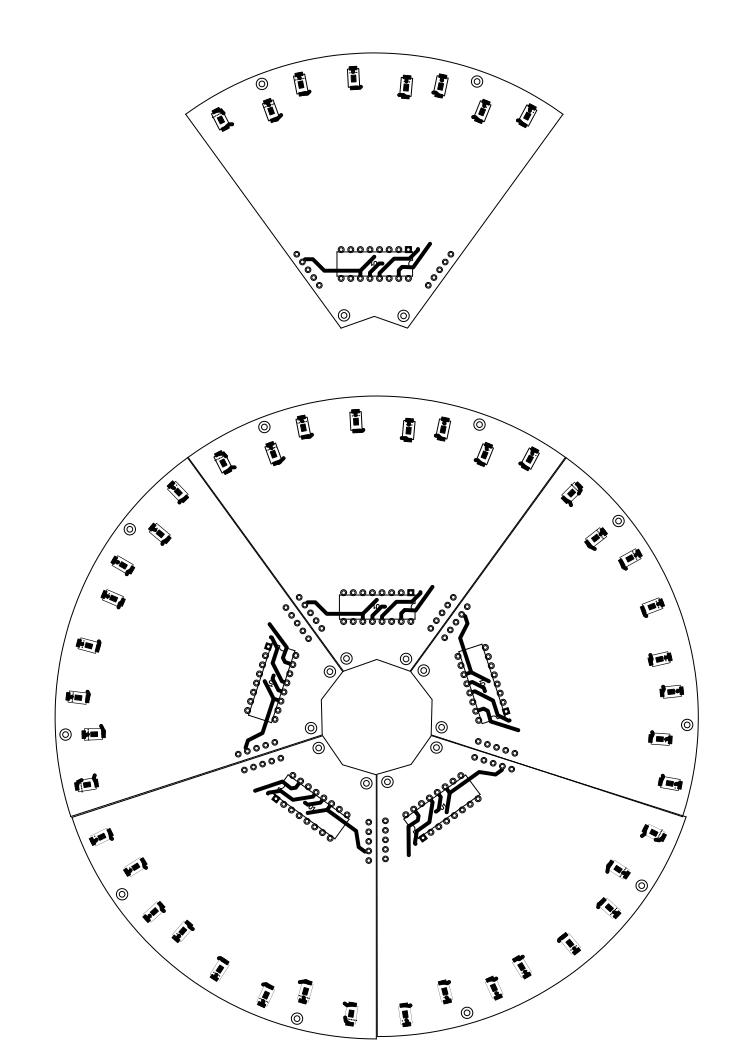
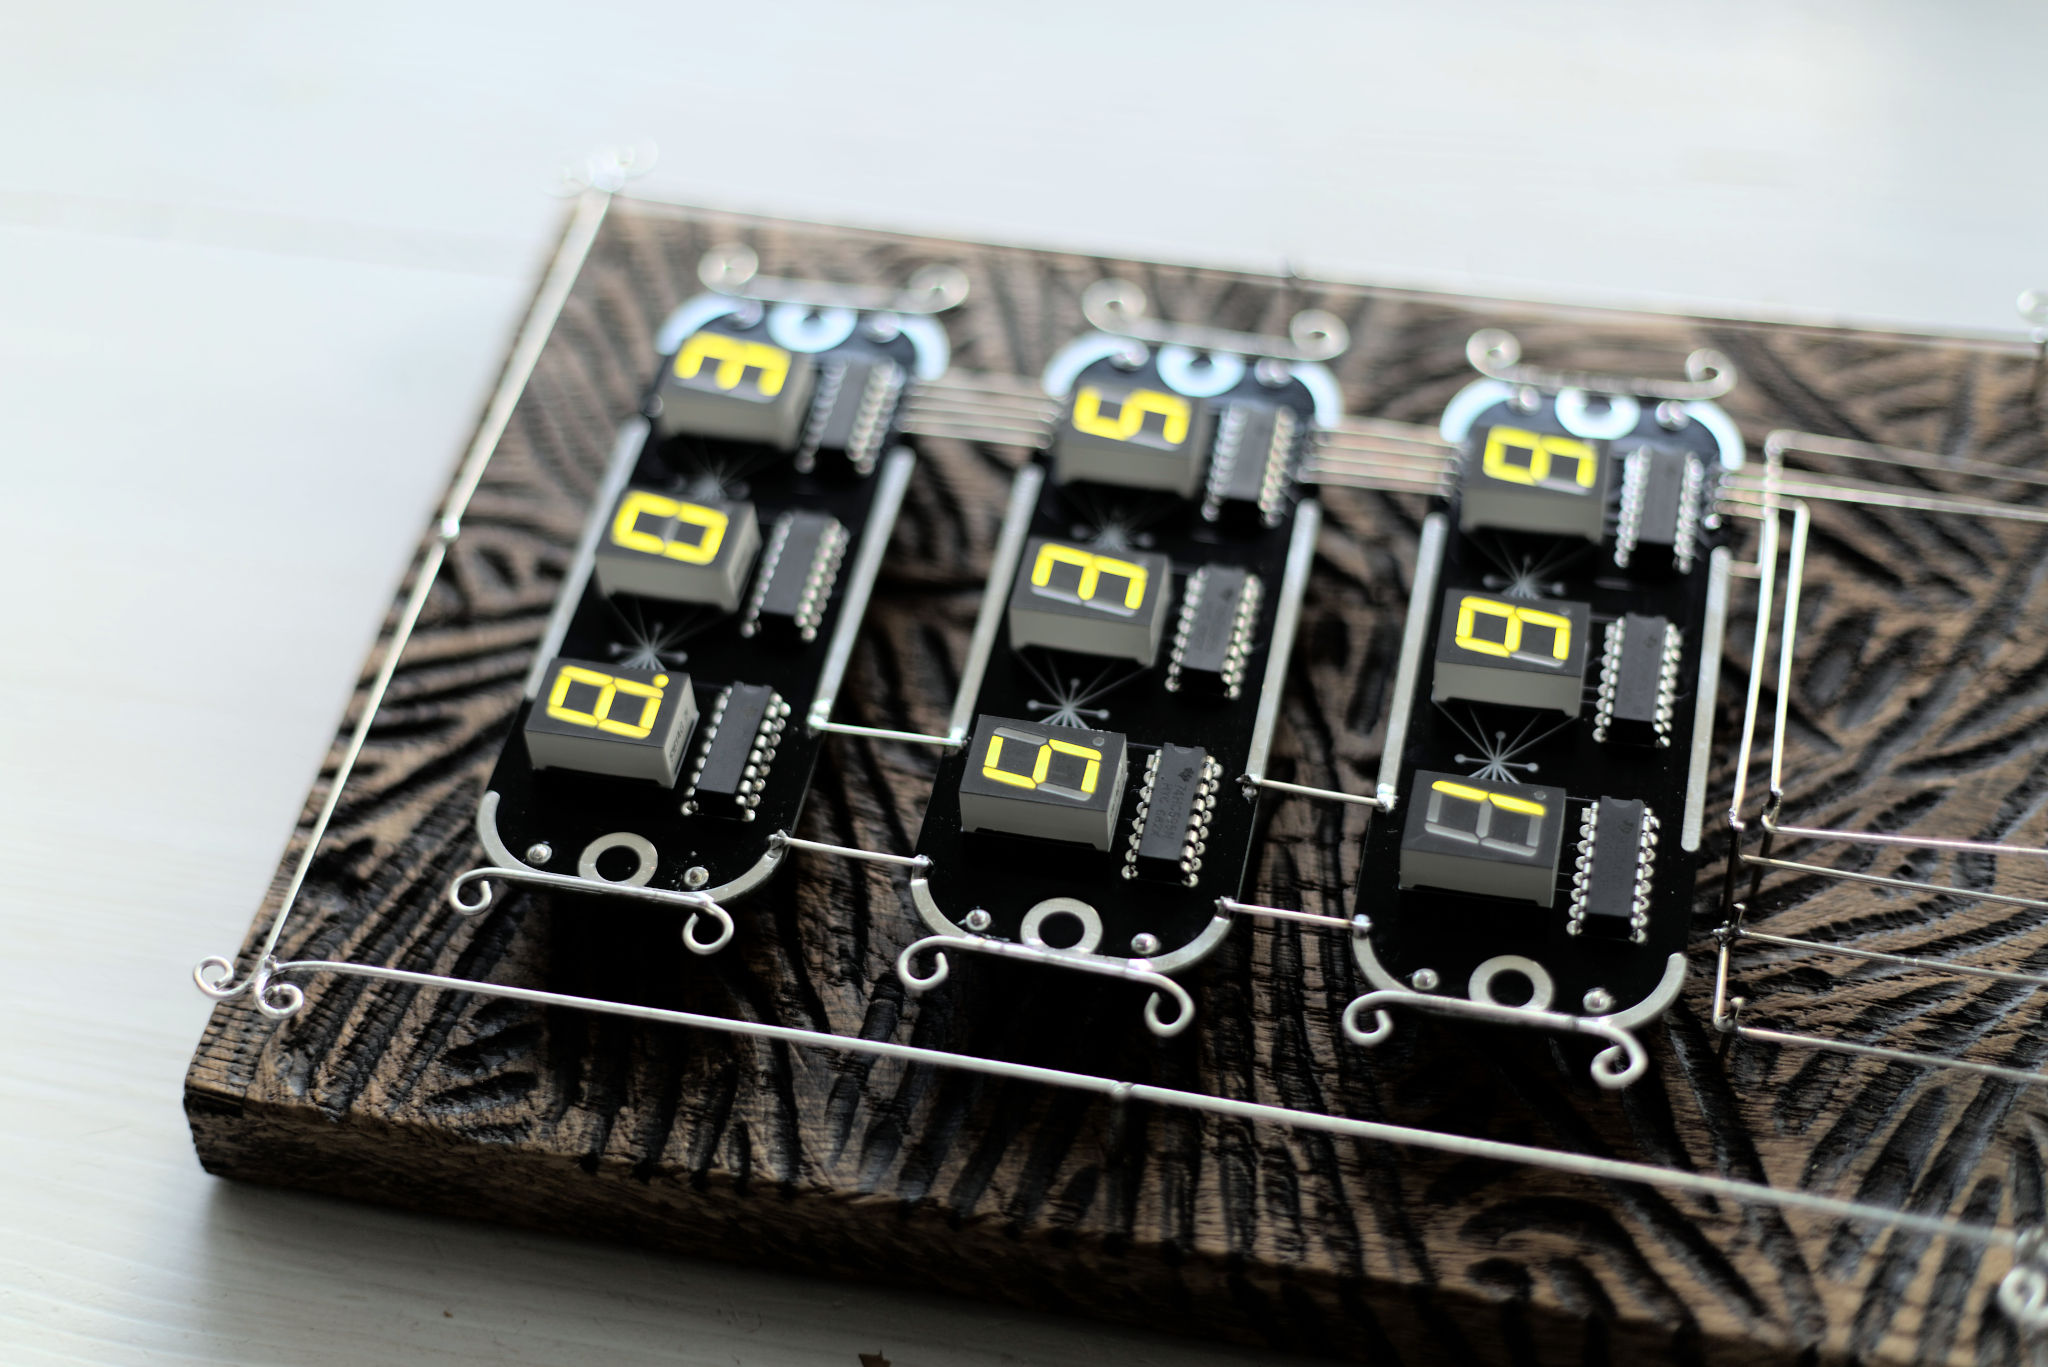
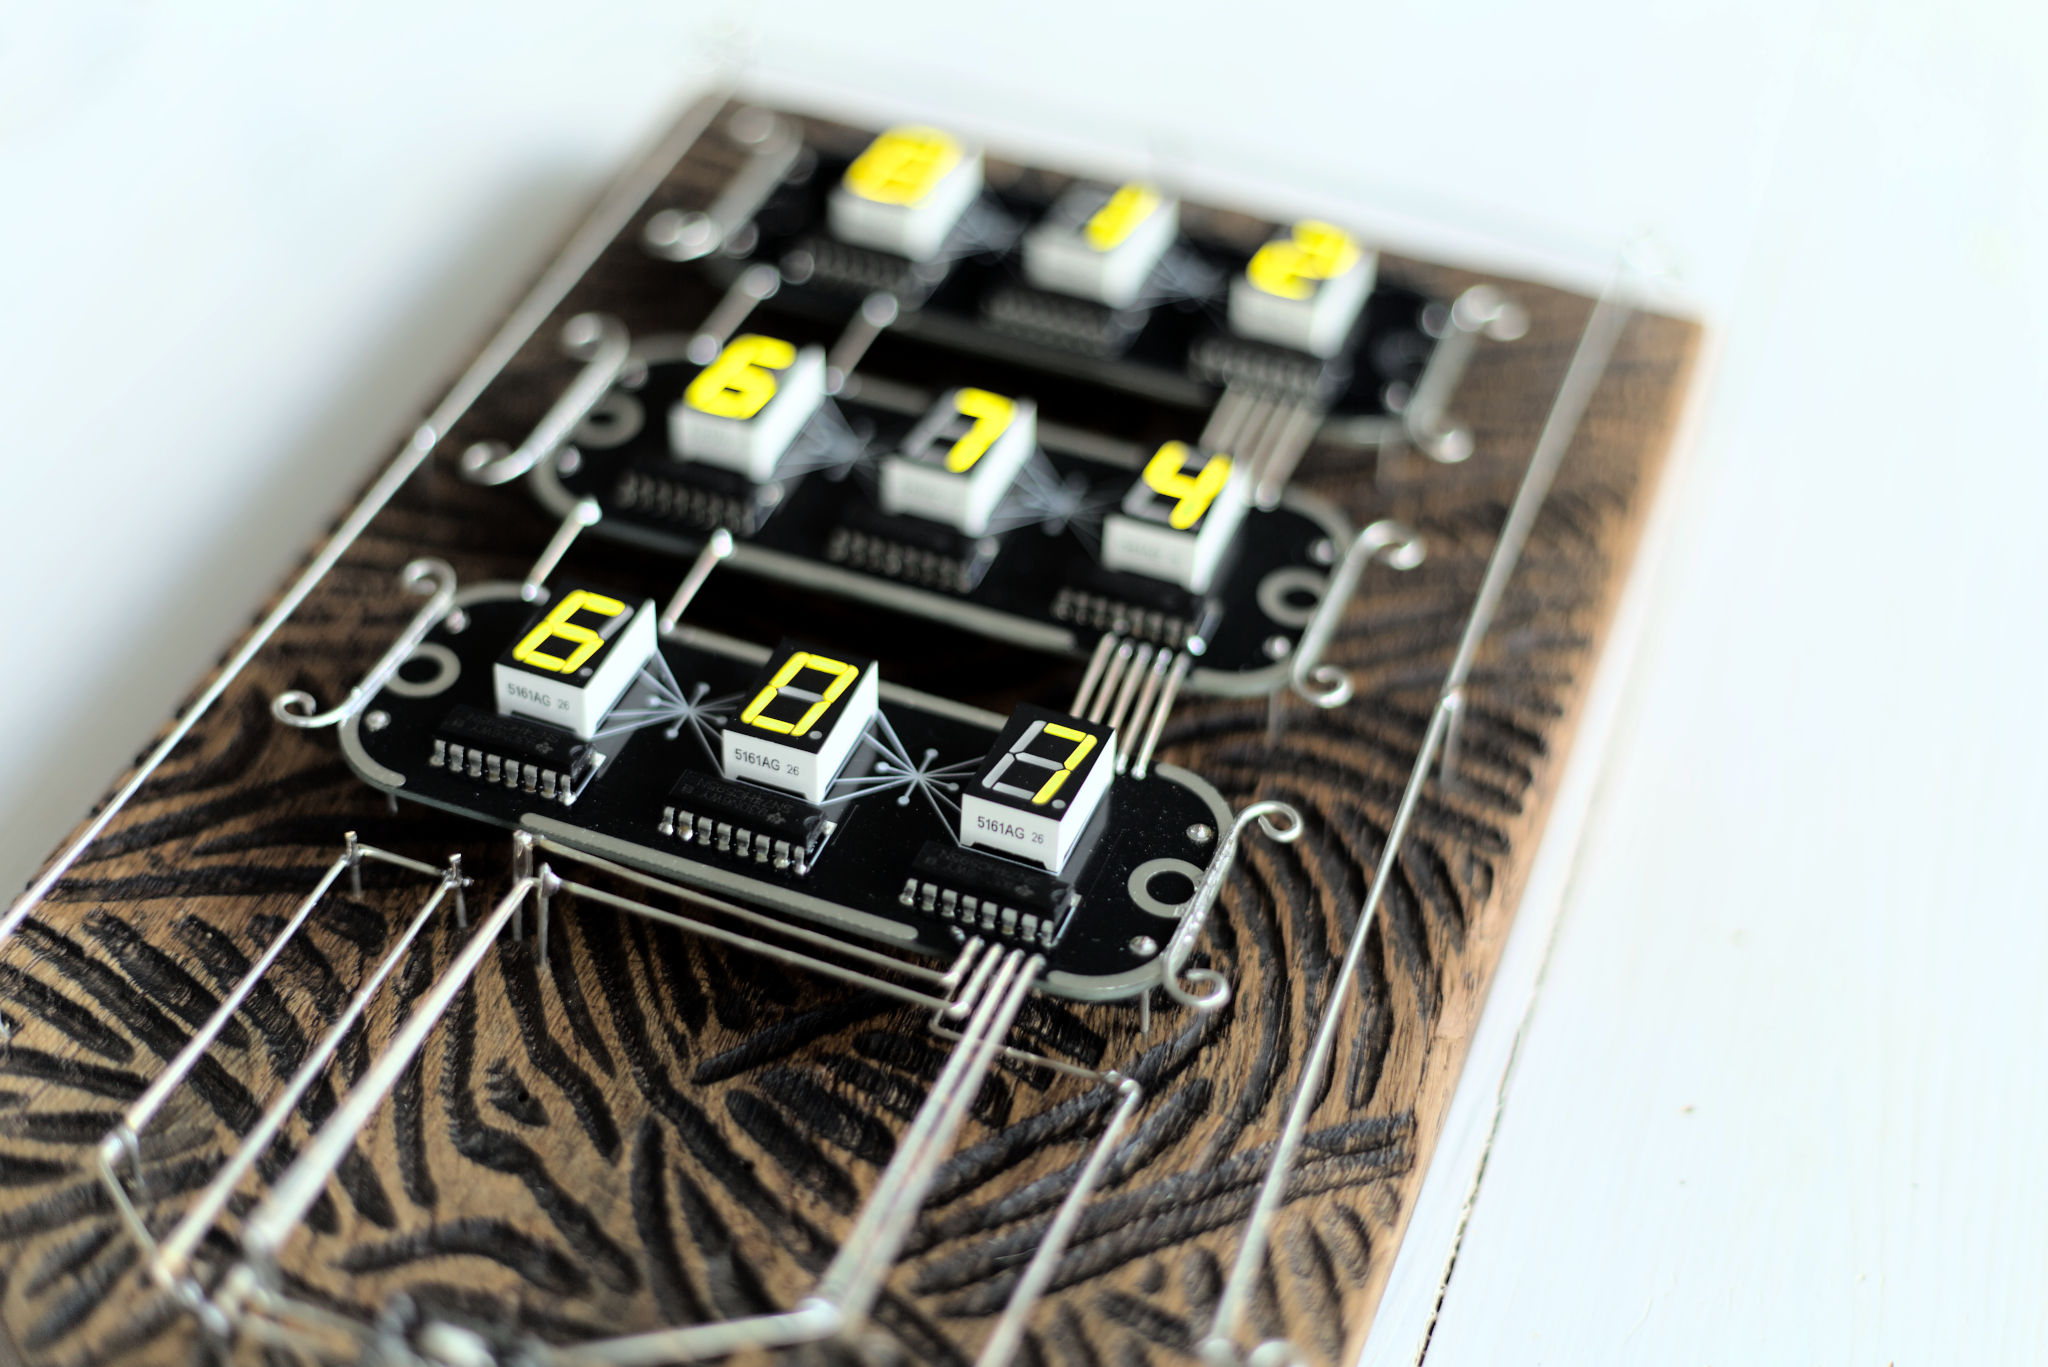
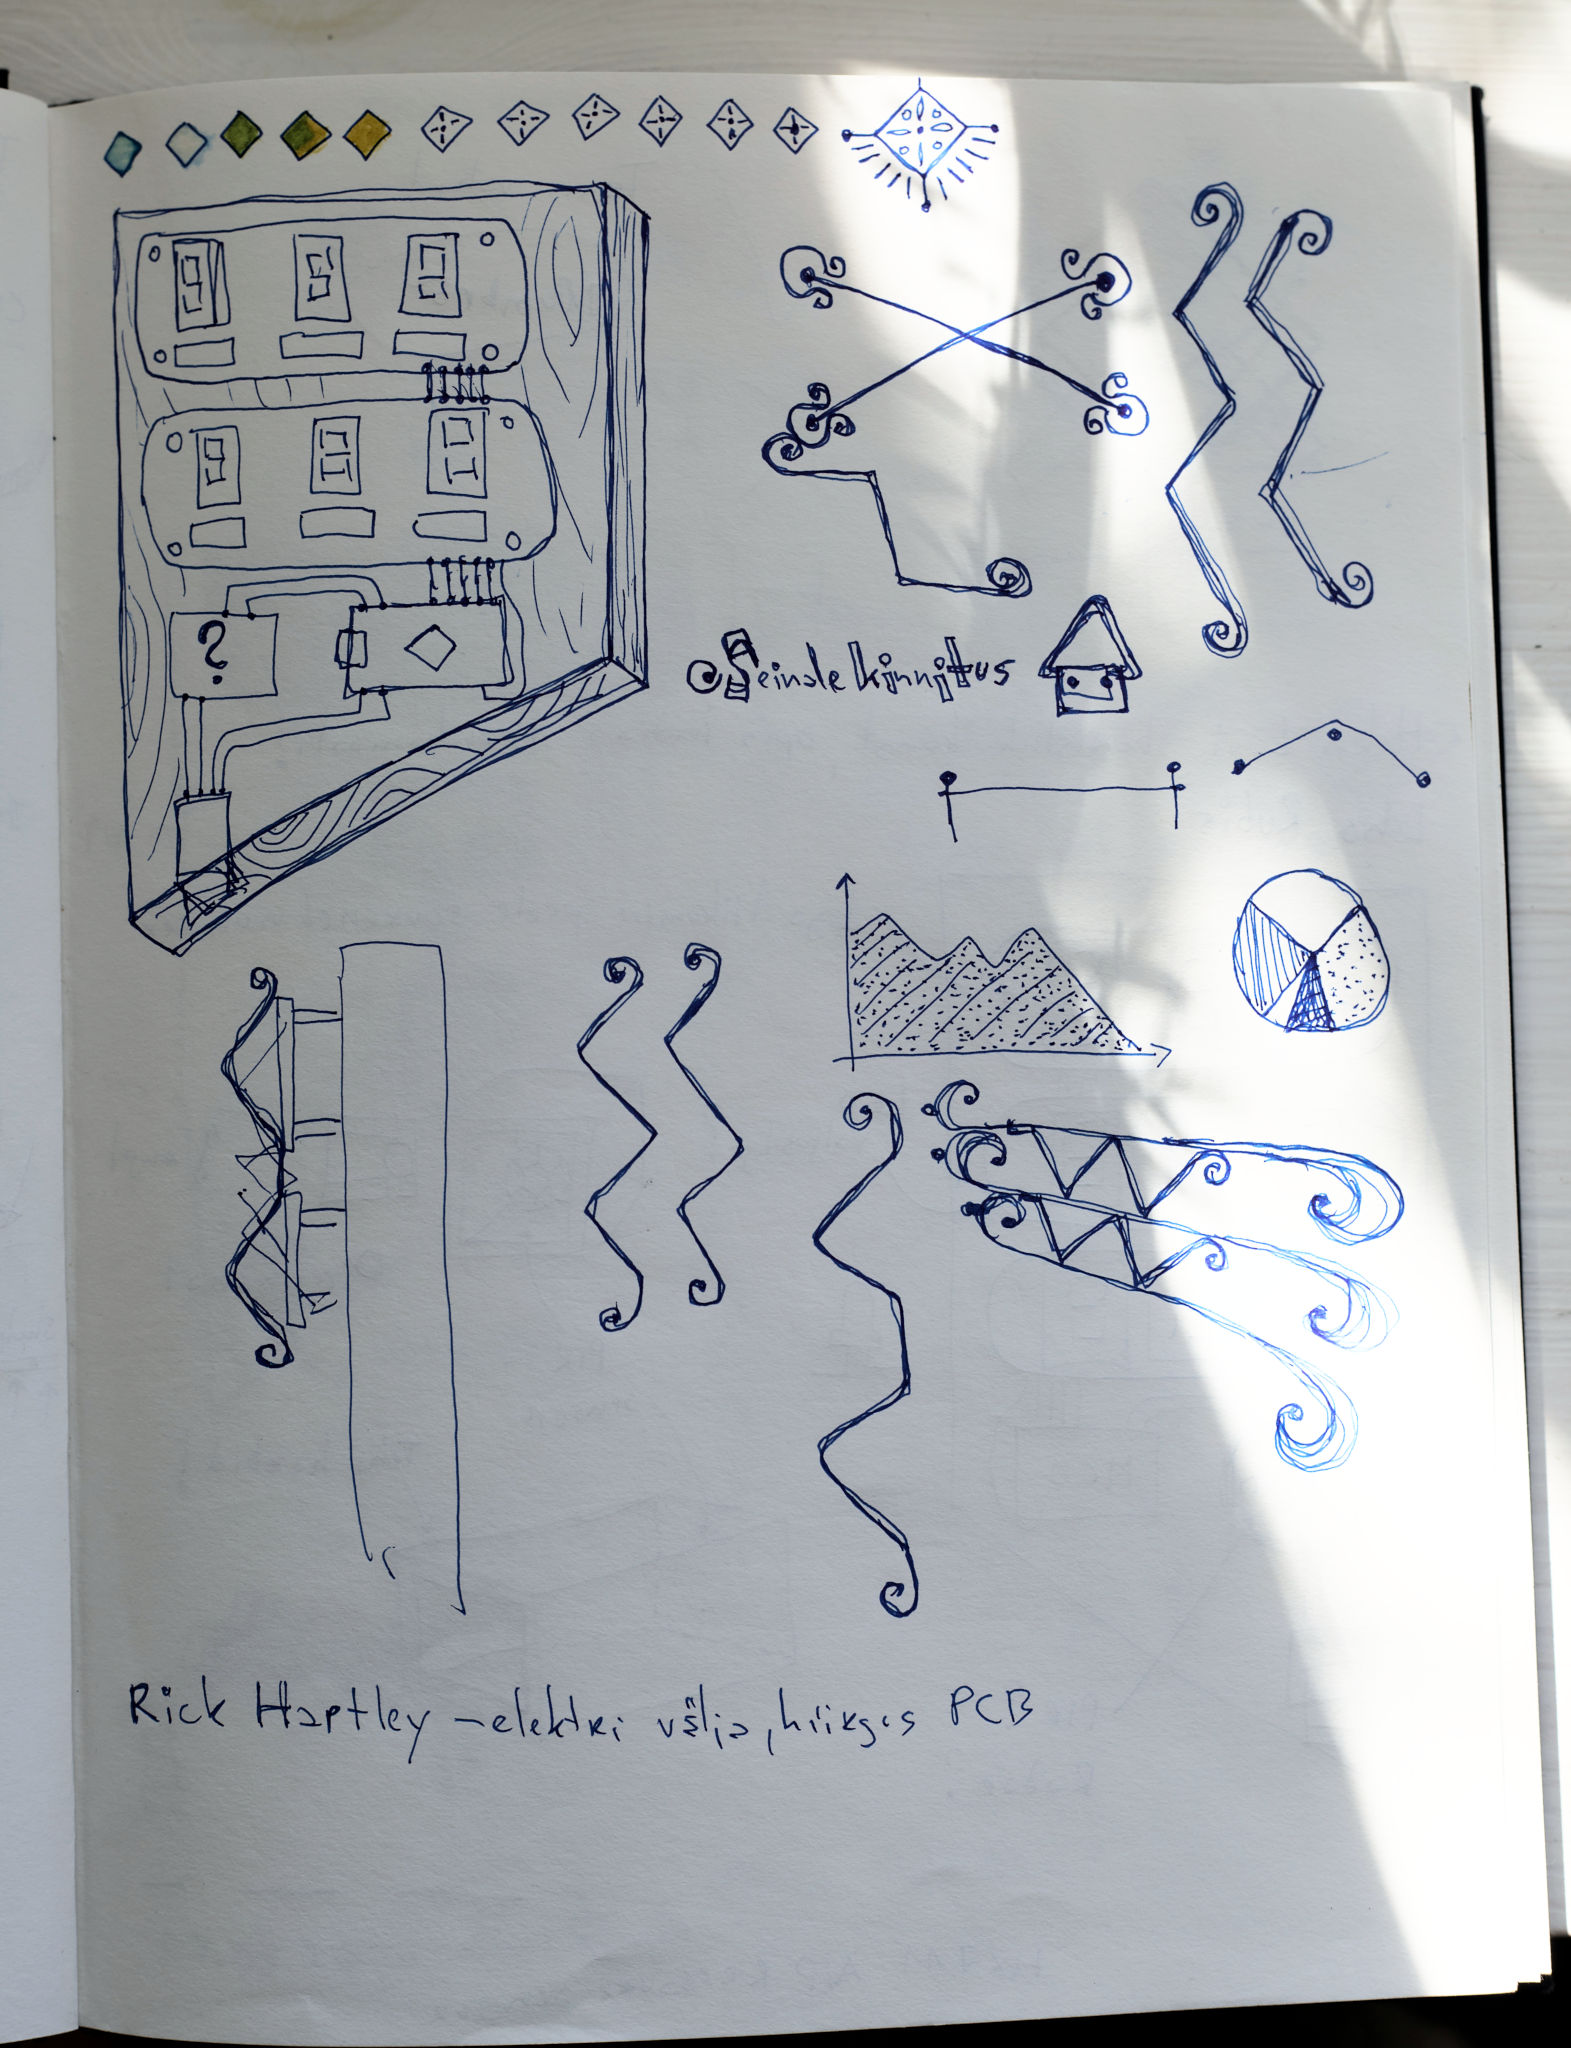
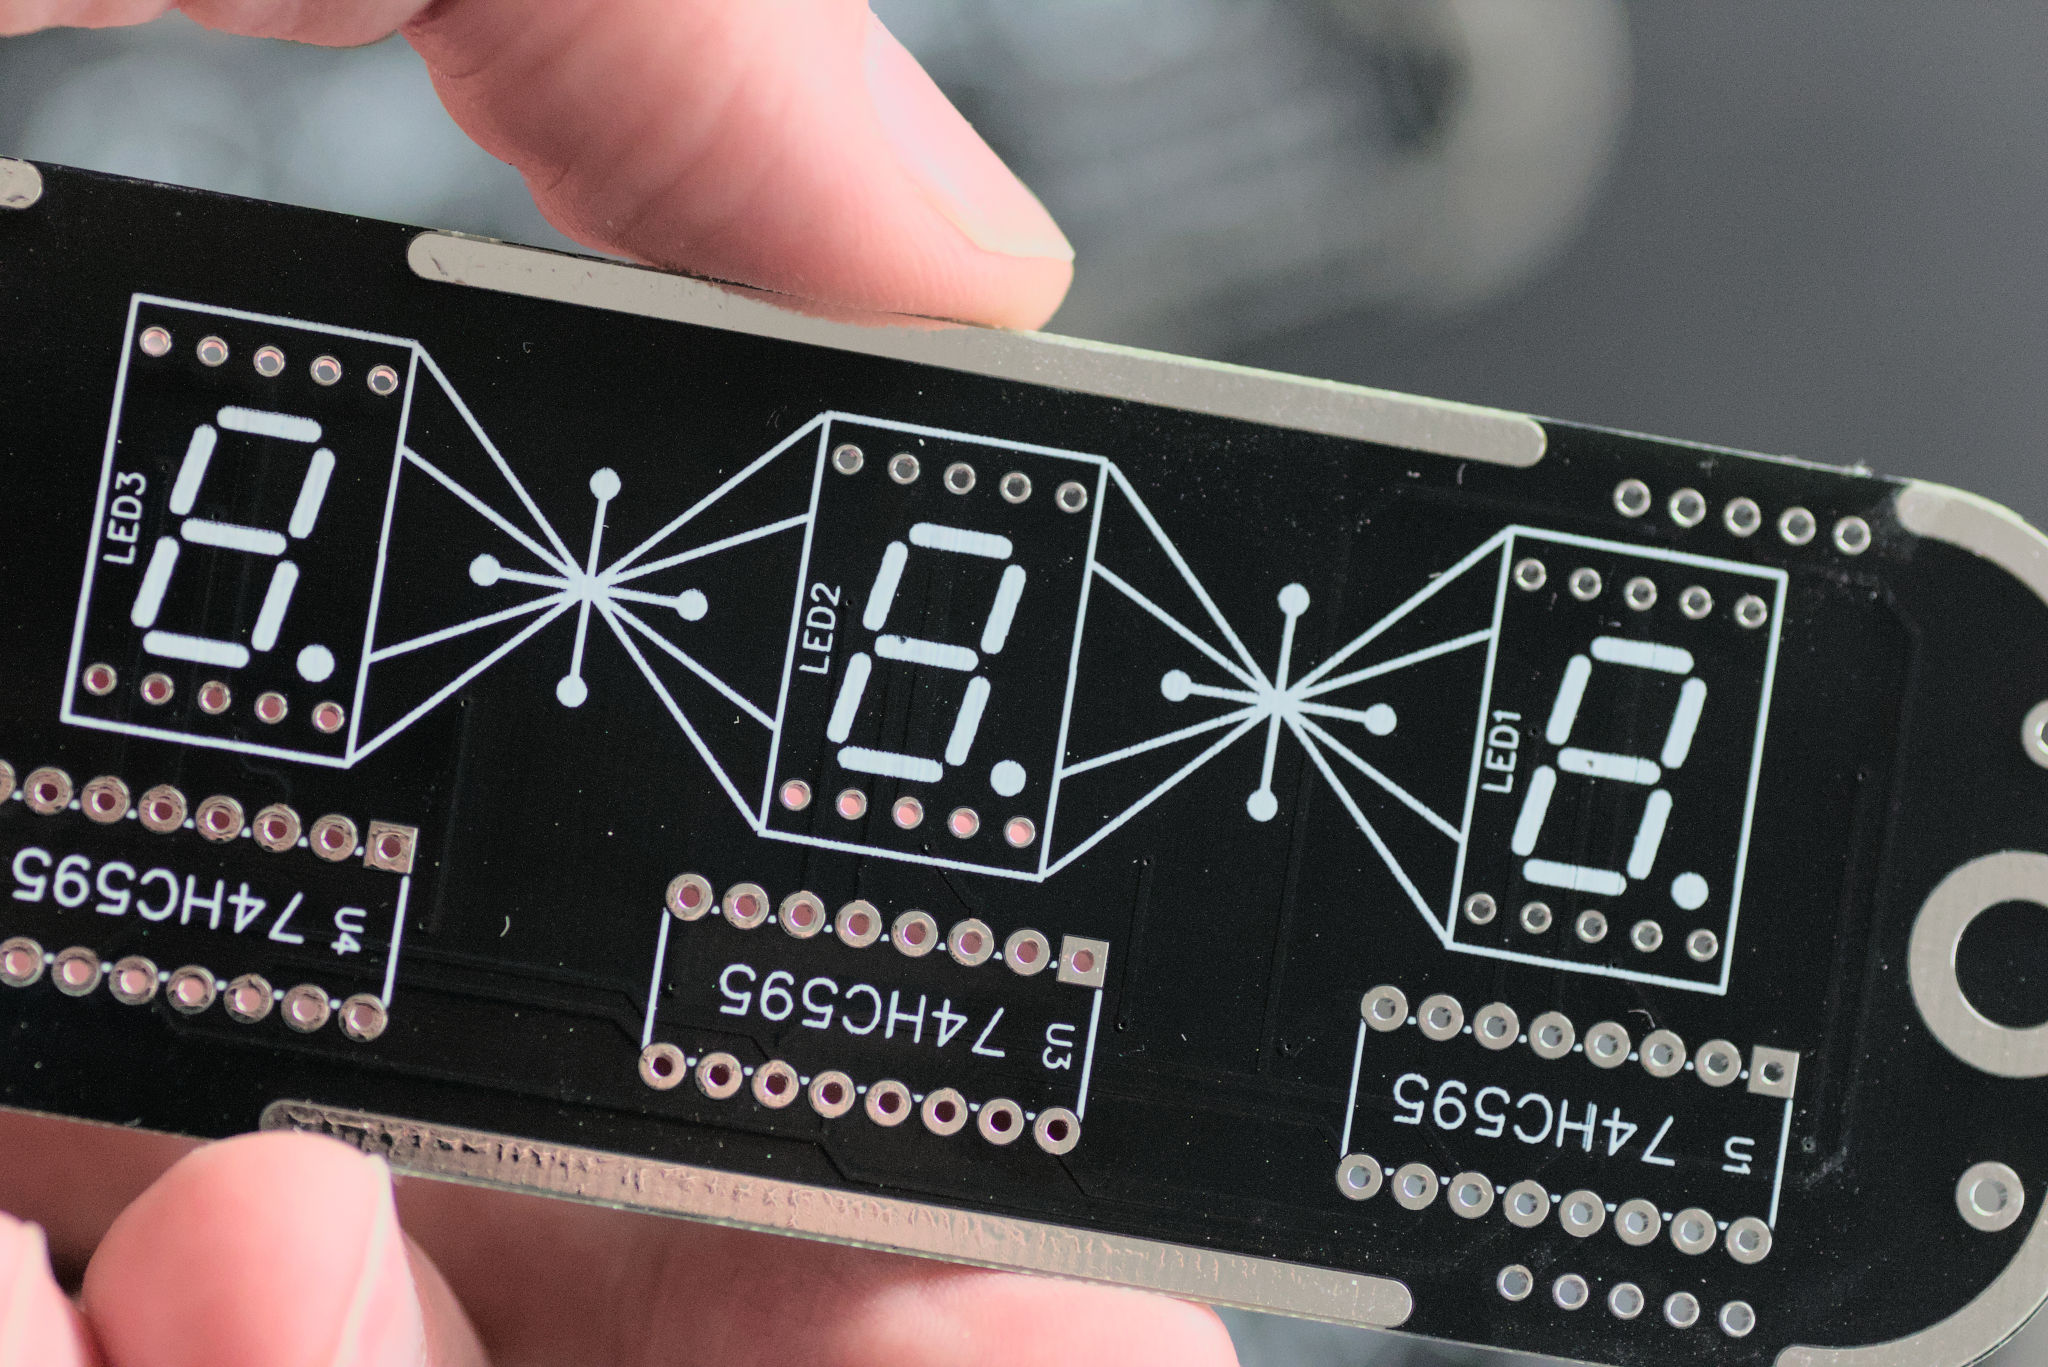
Green PCBs and oak wood are a nice combination.
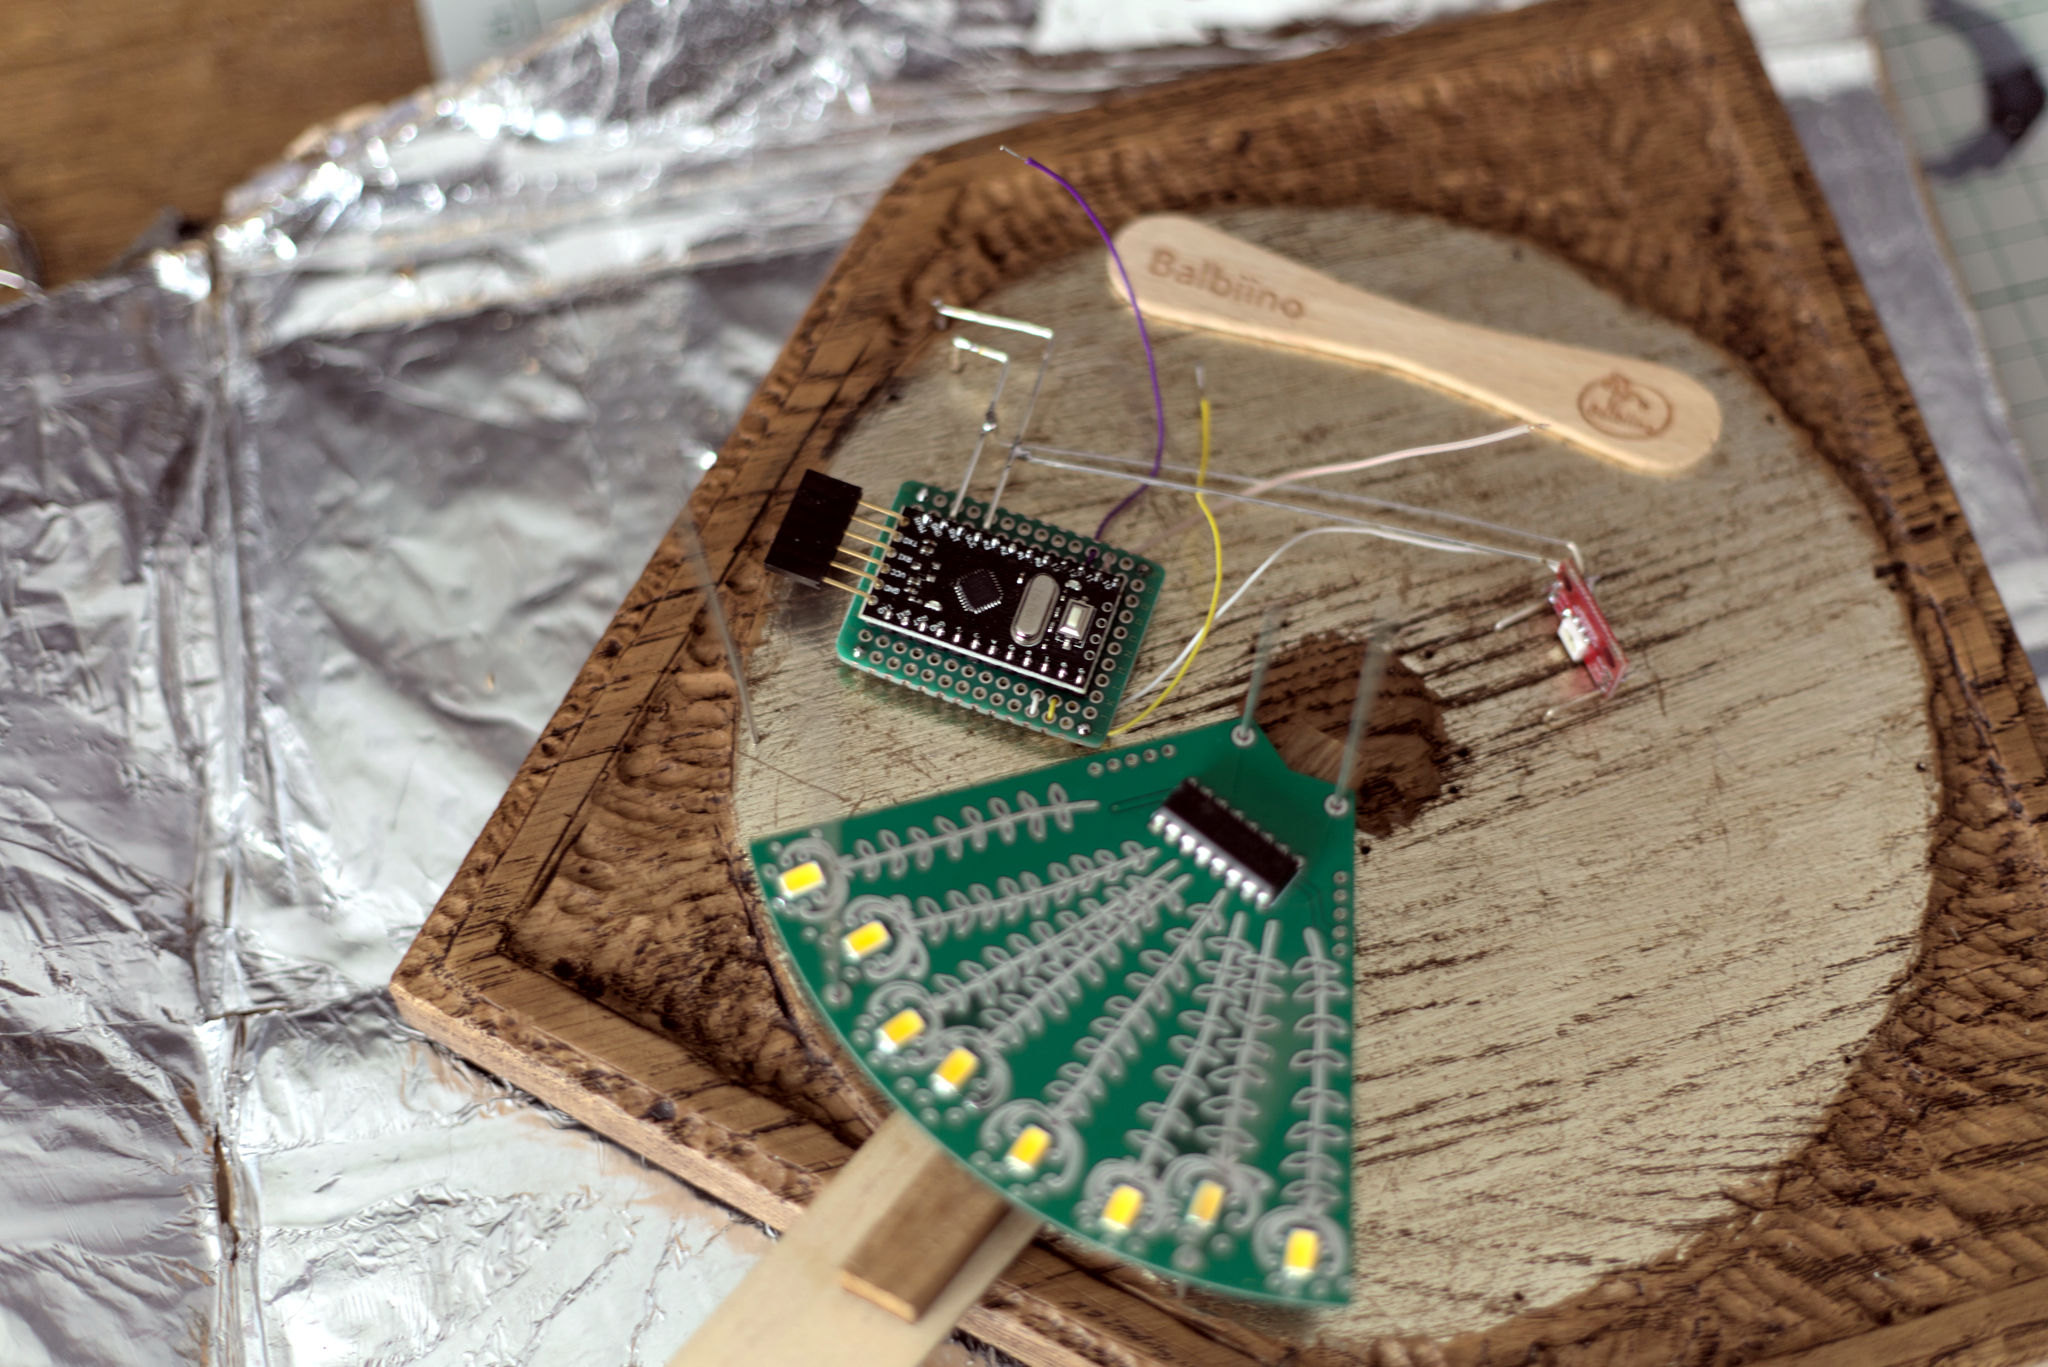
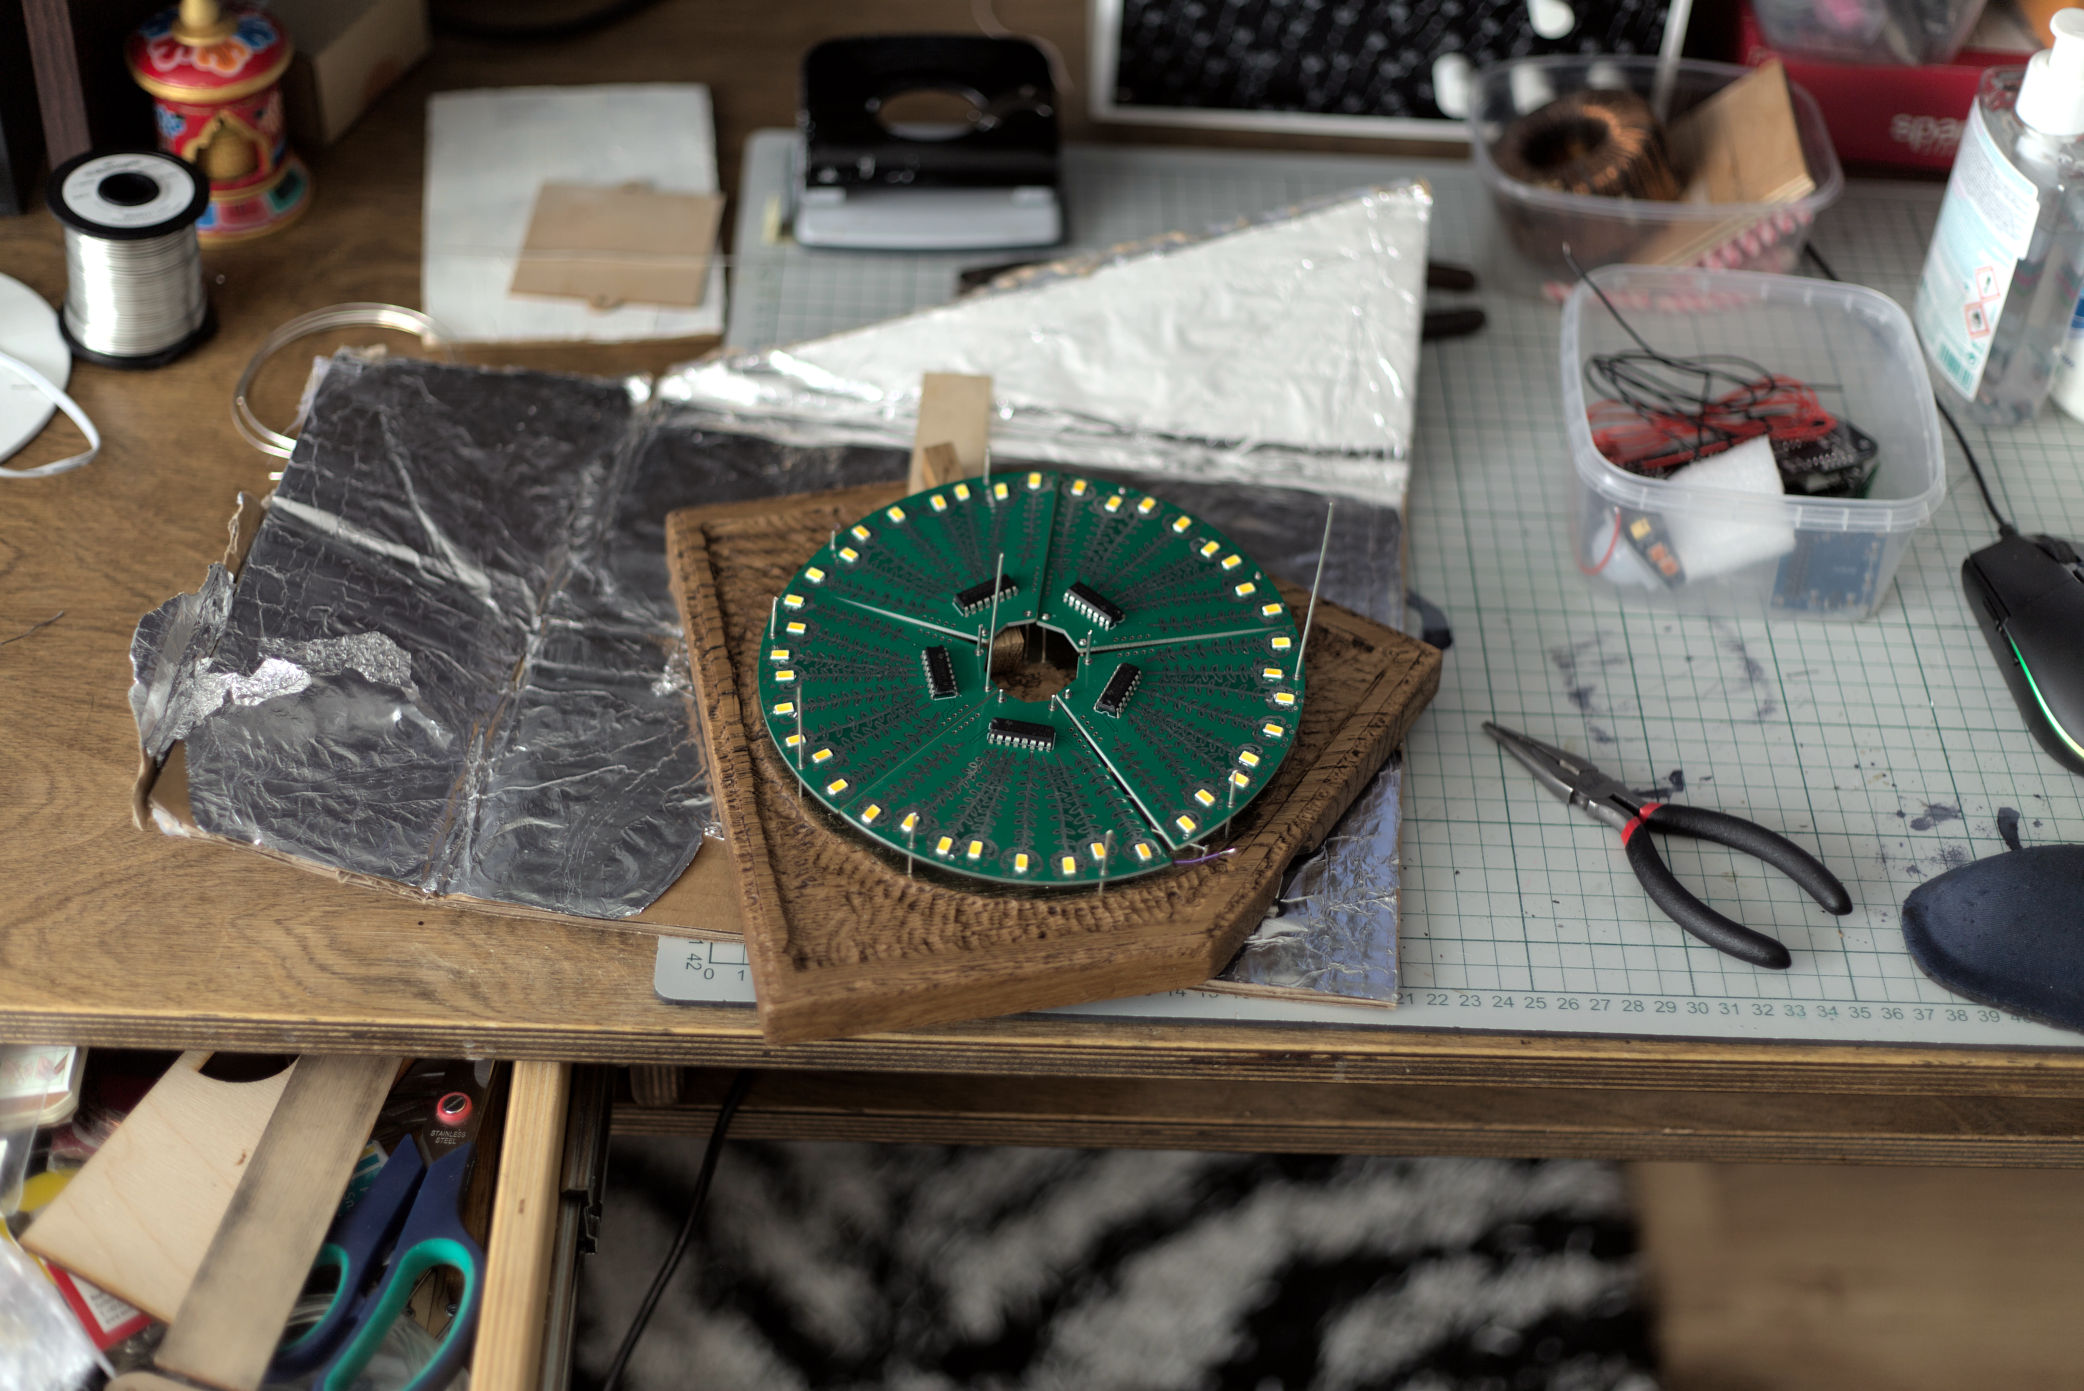

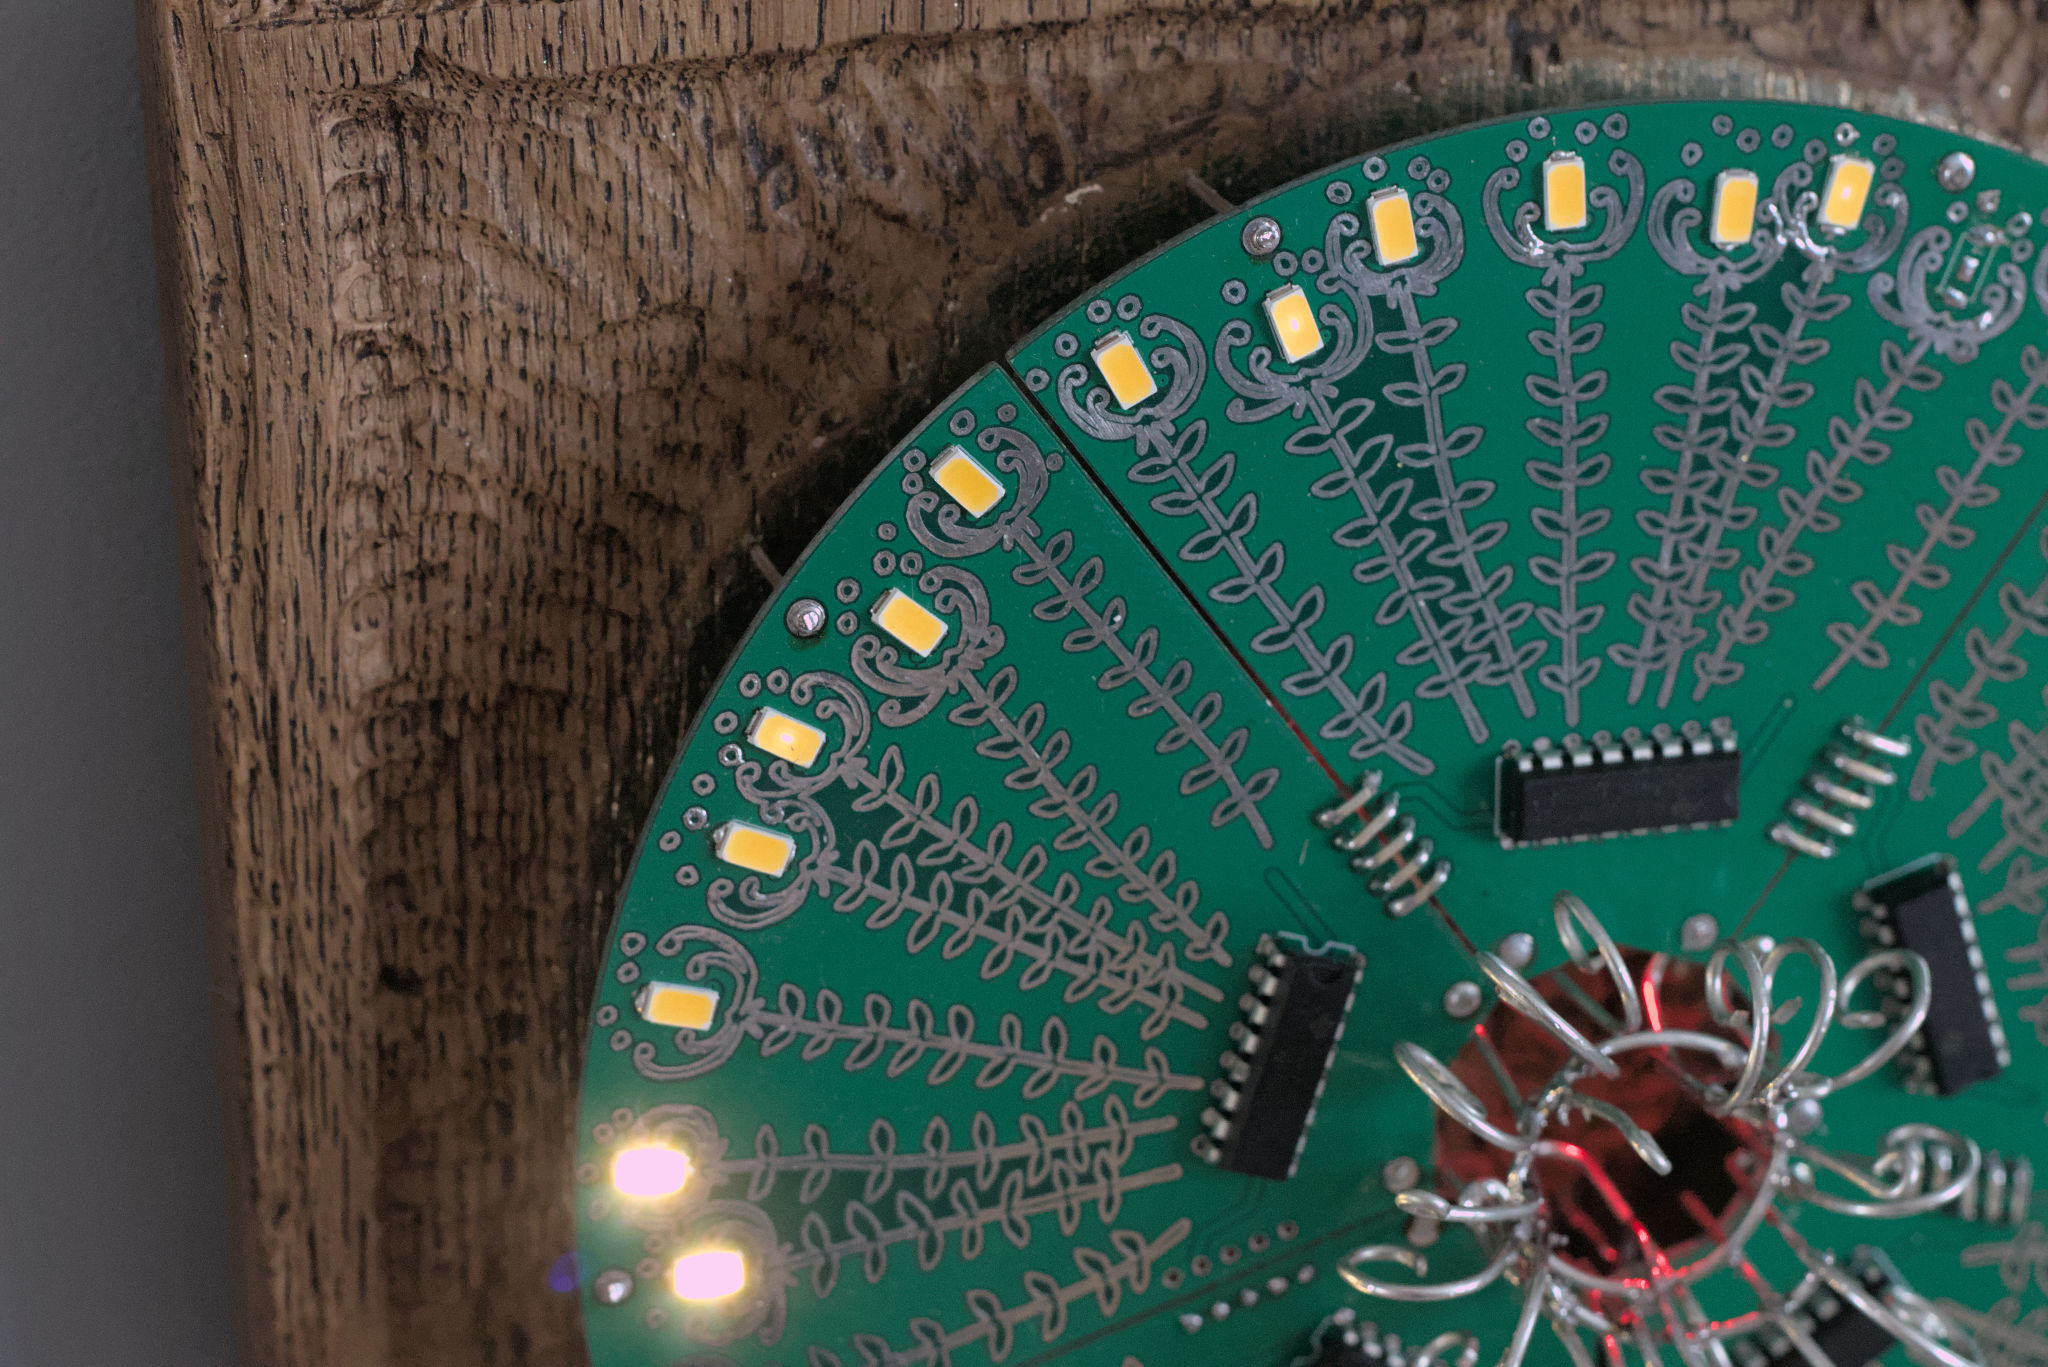
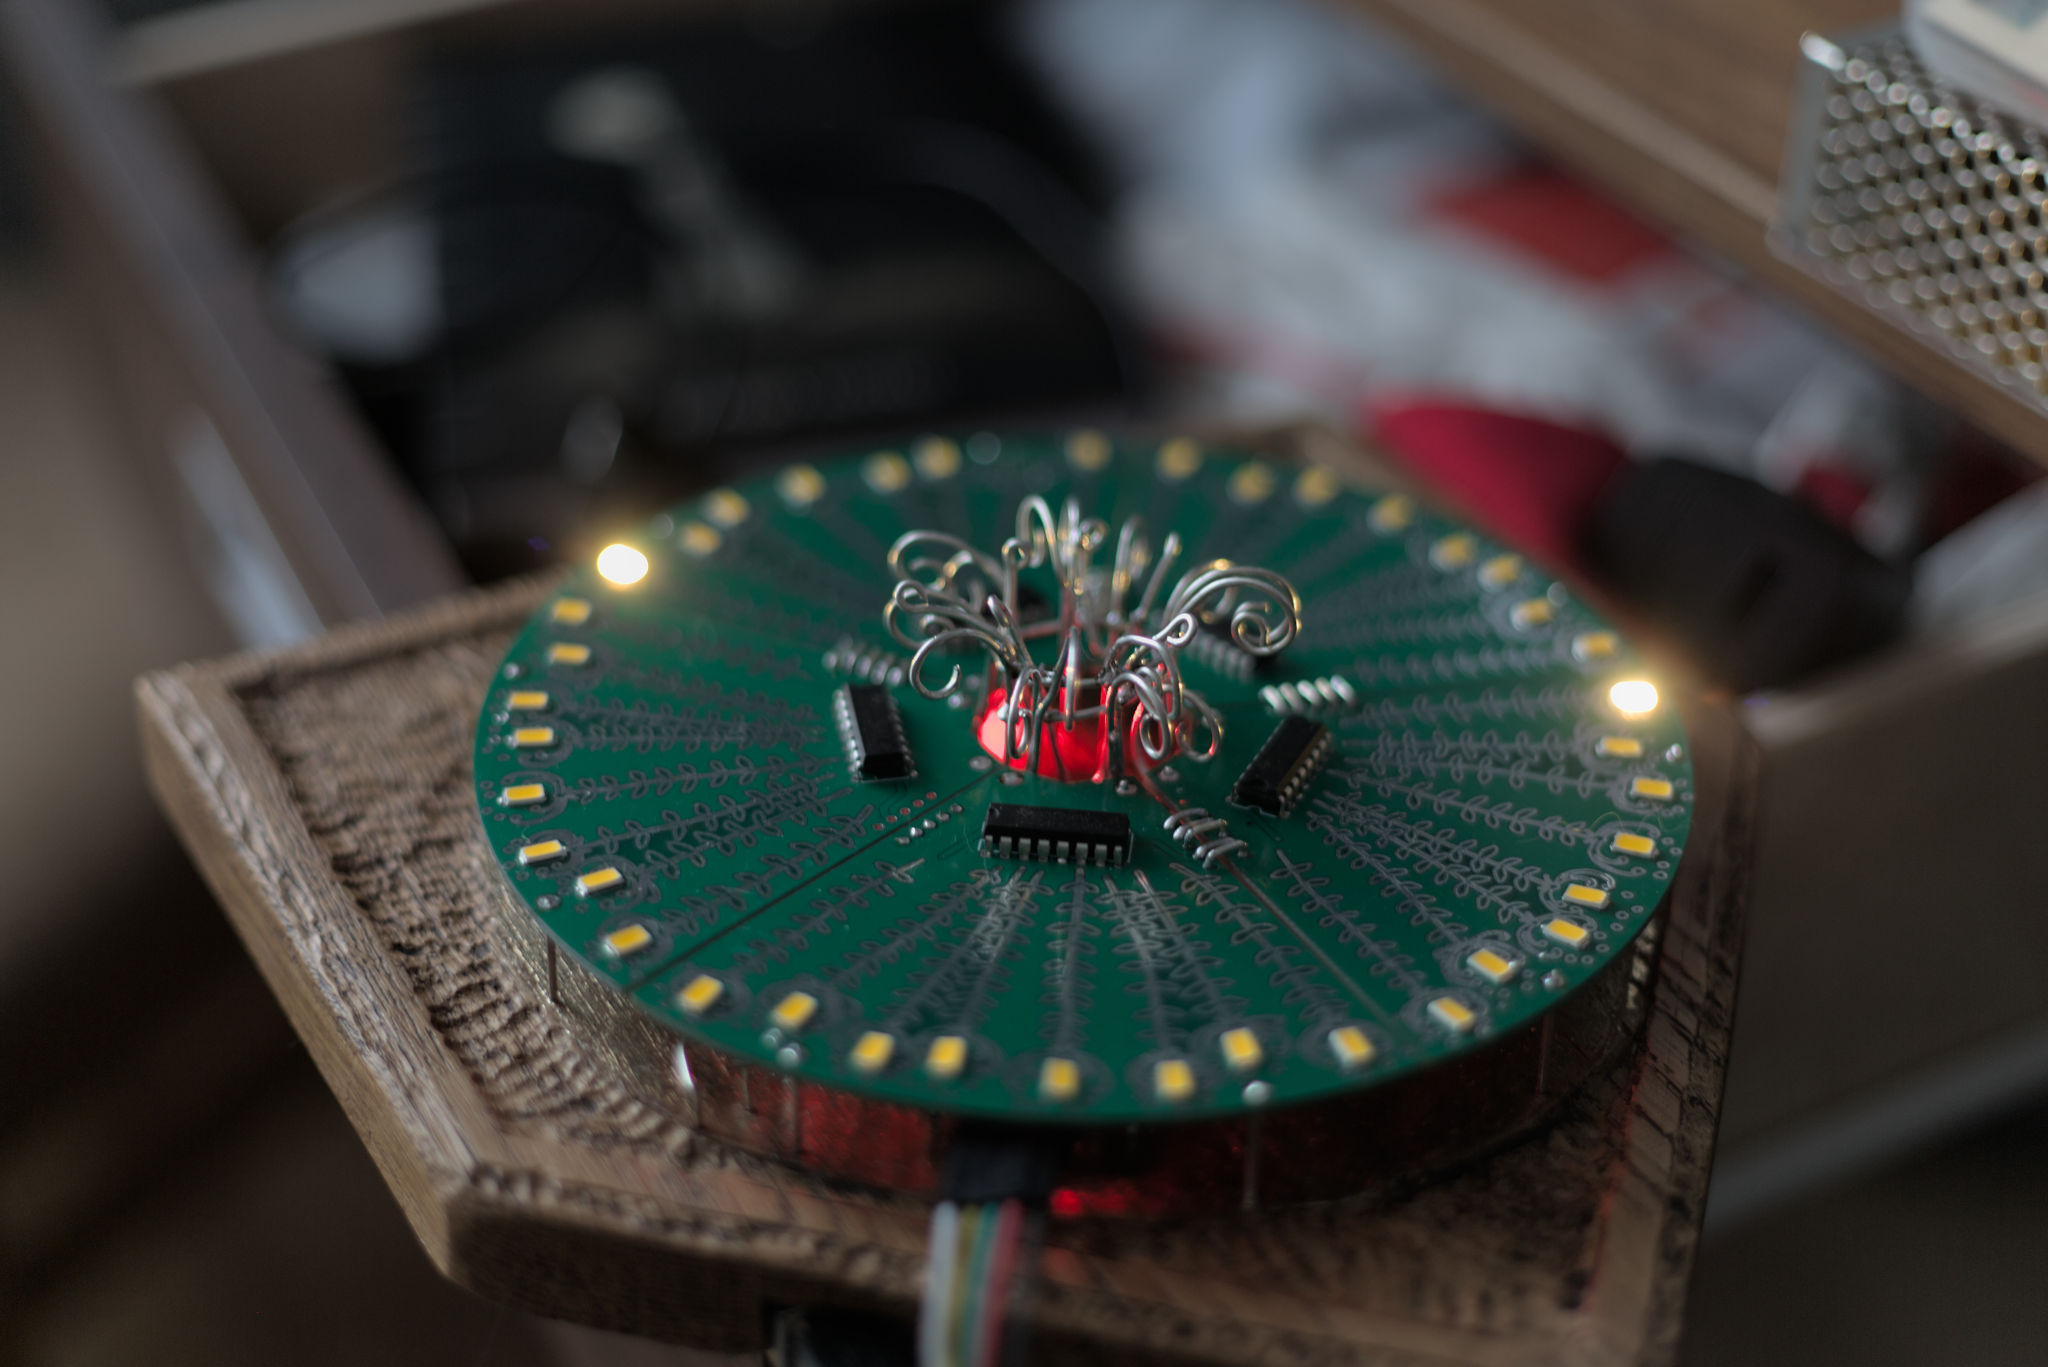
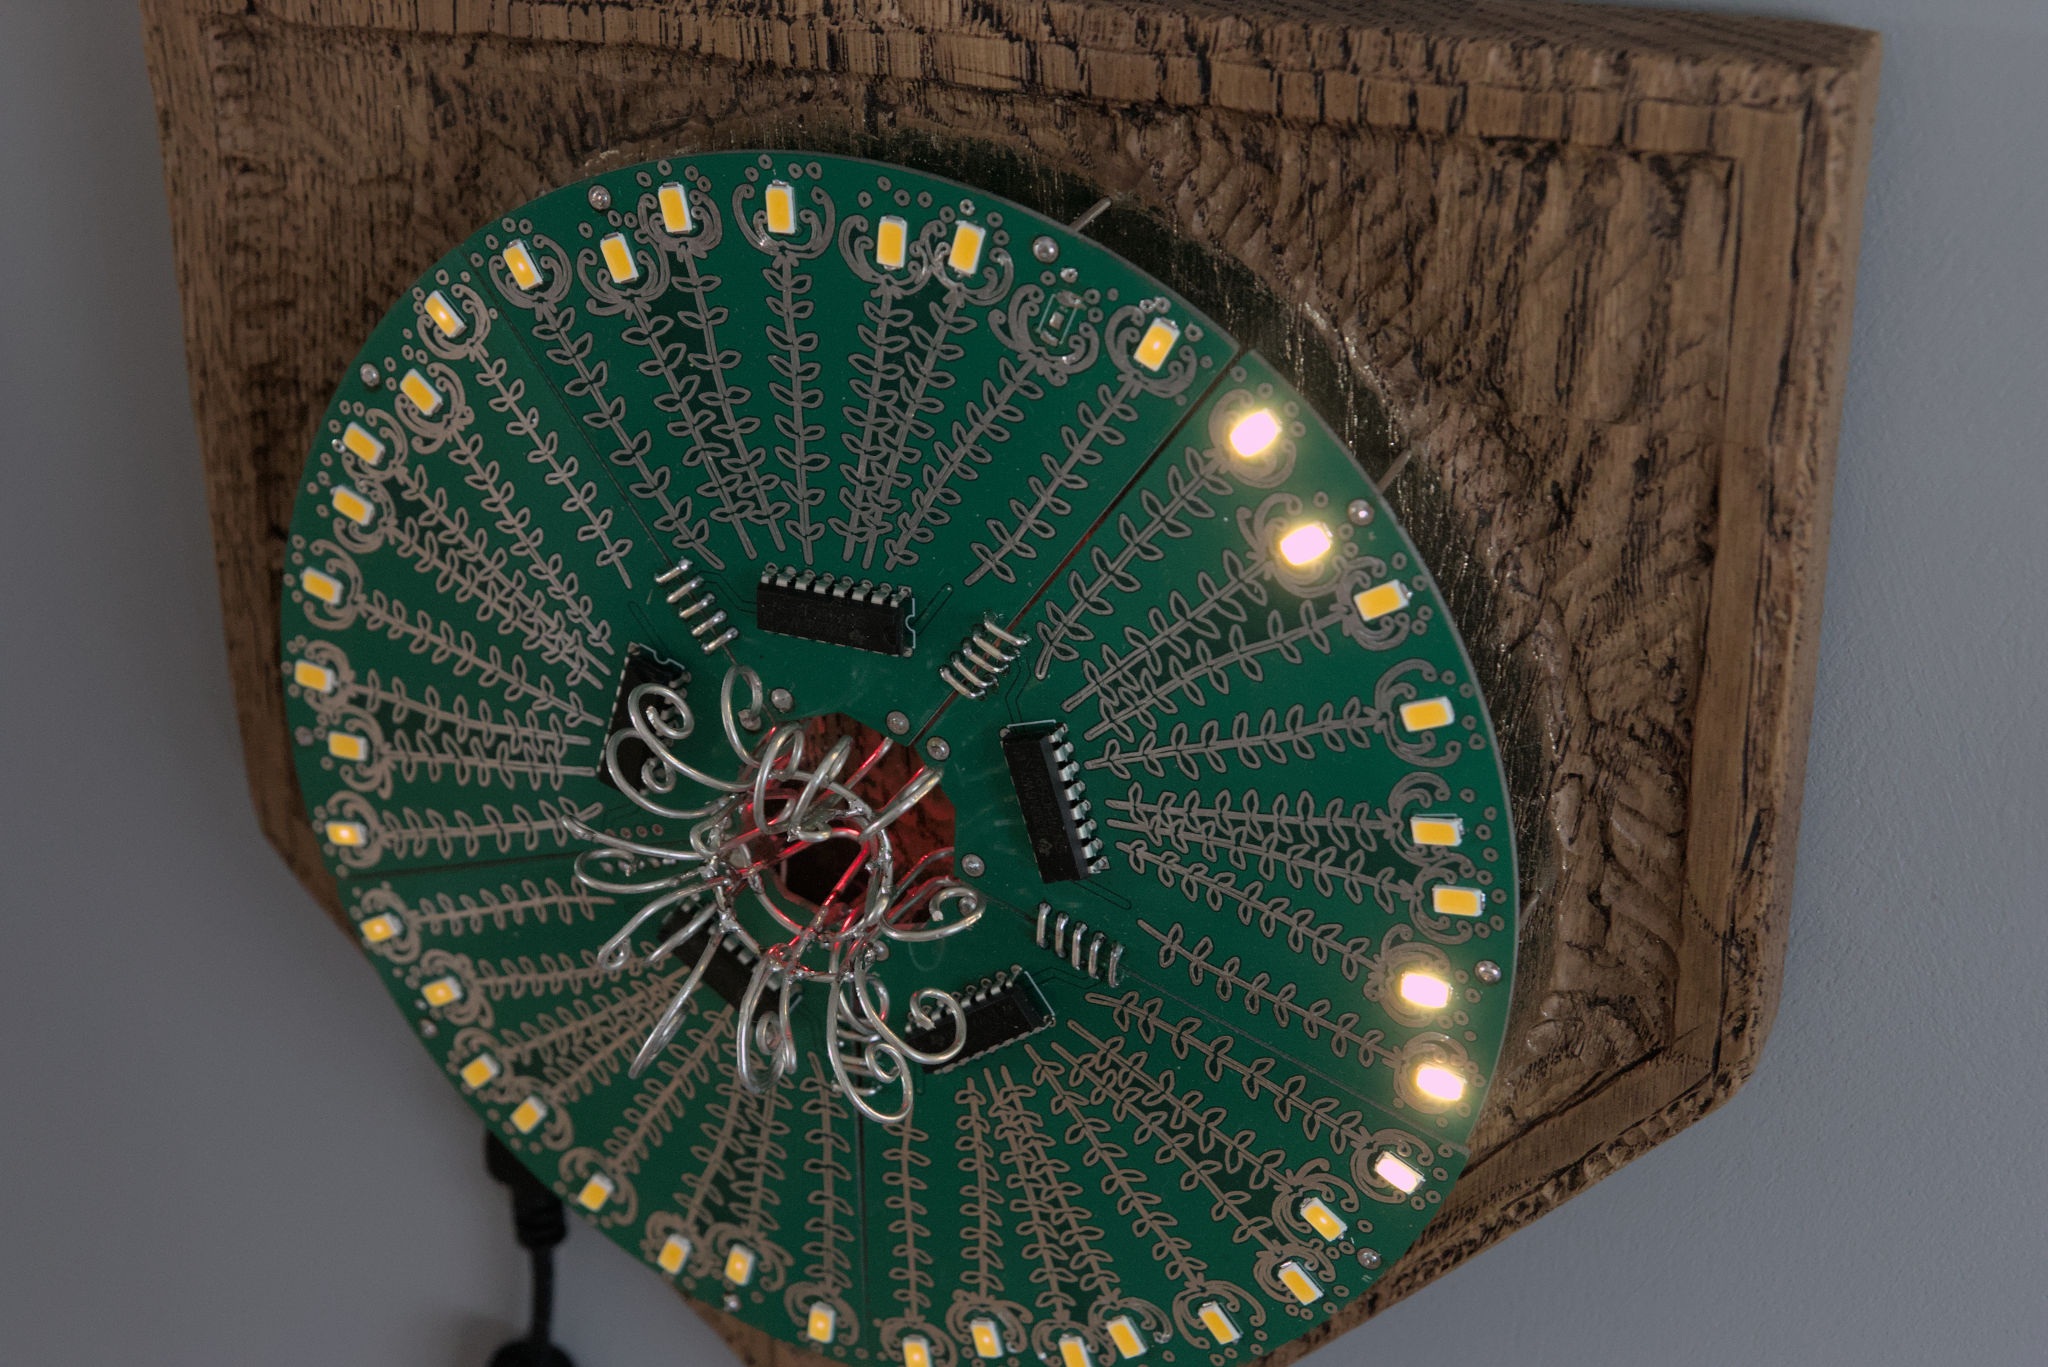
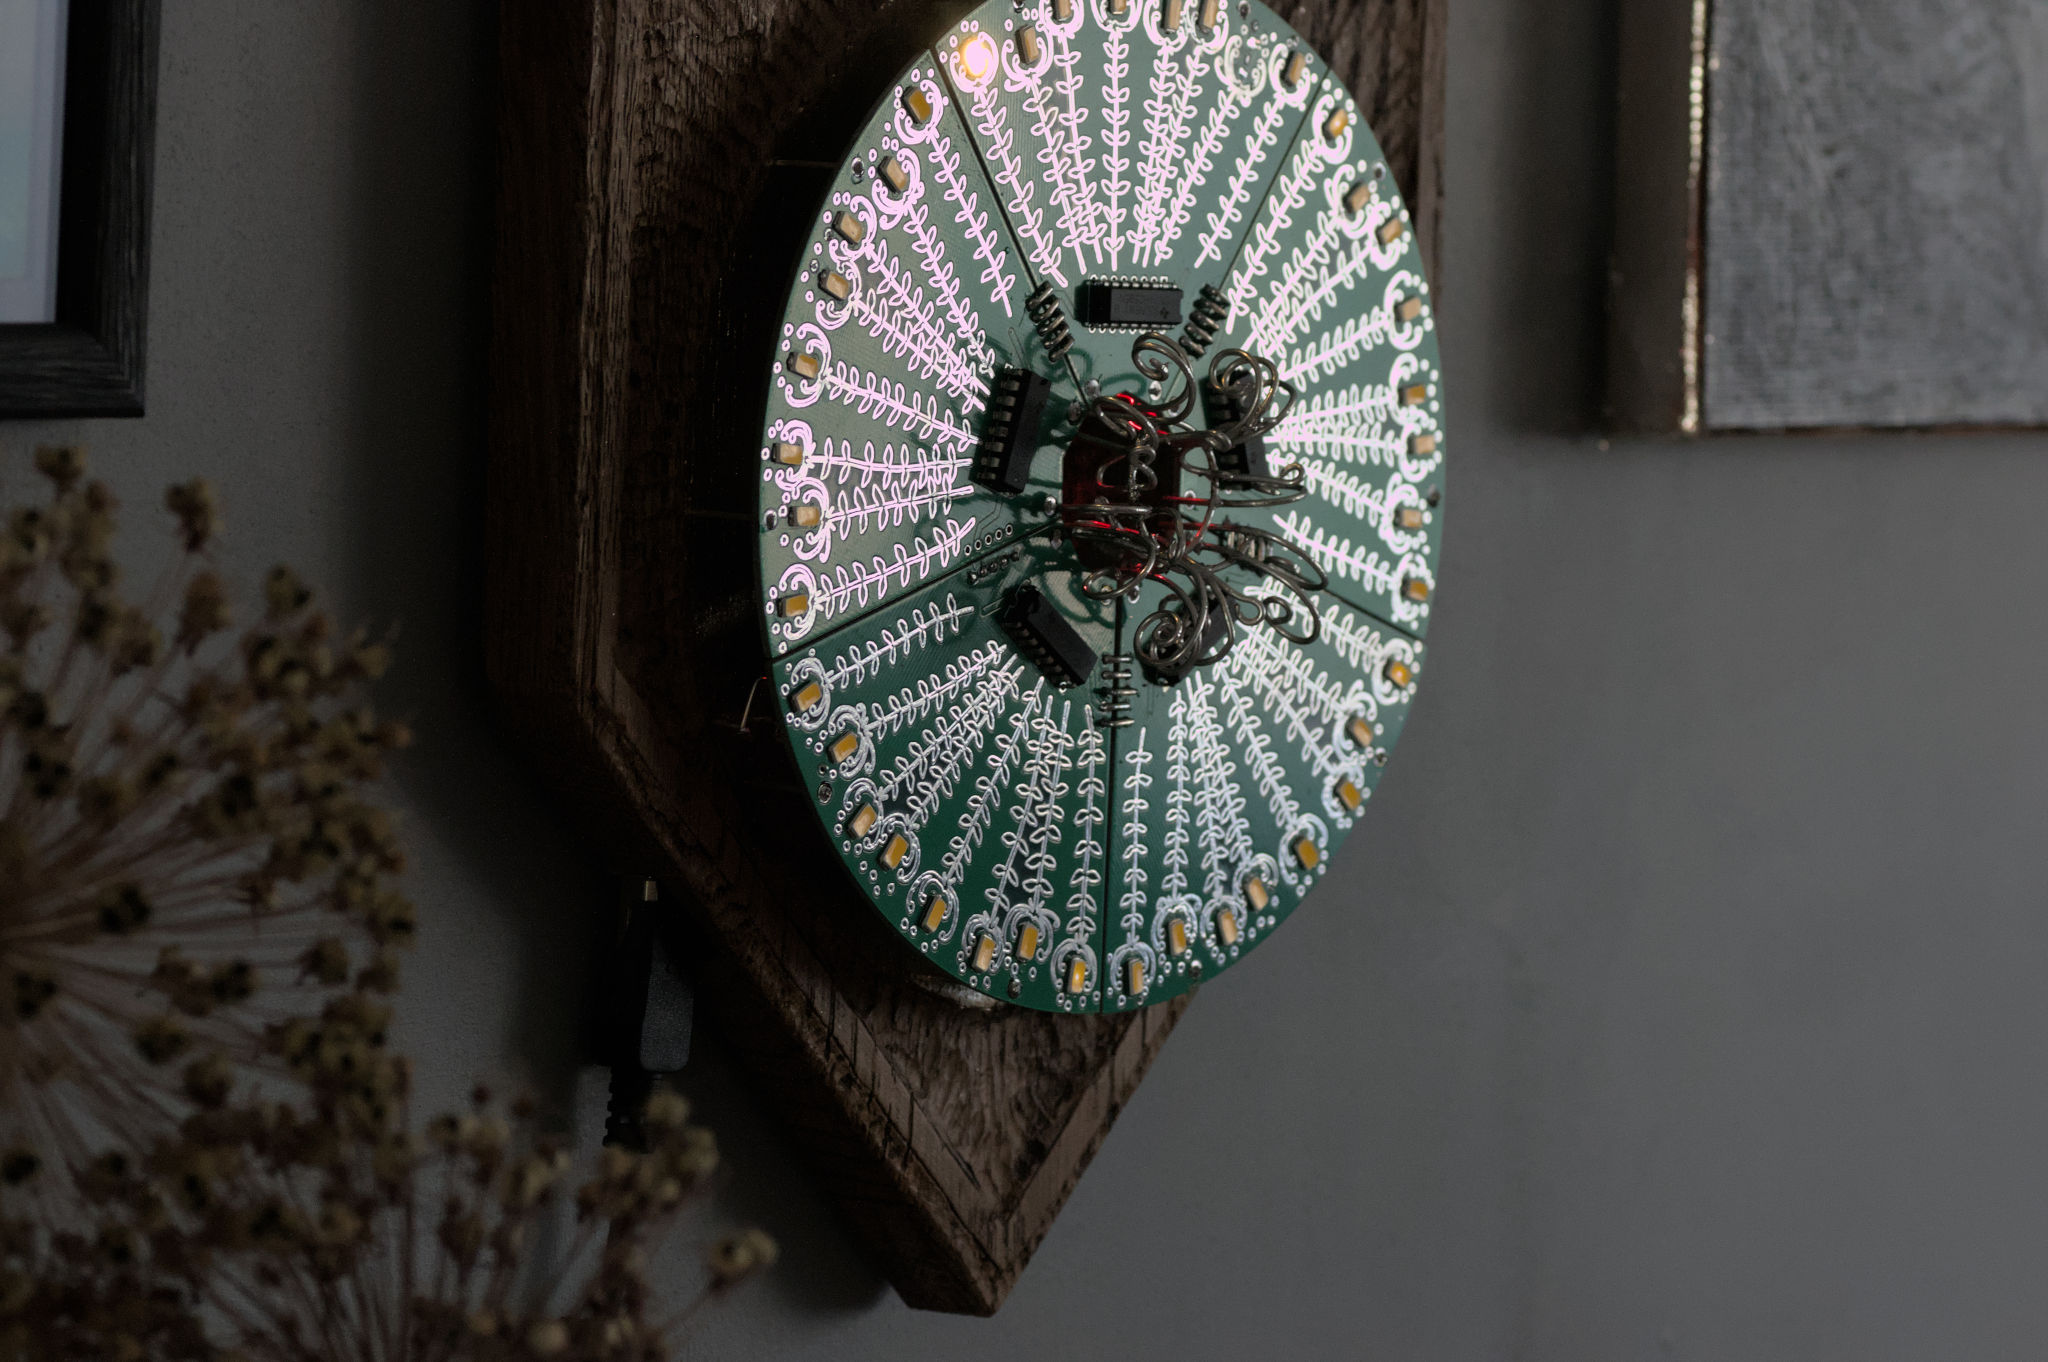
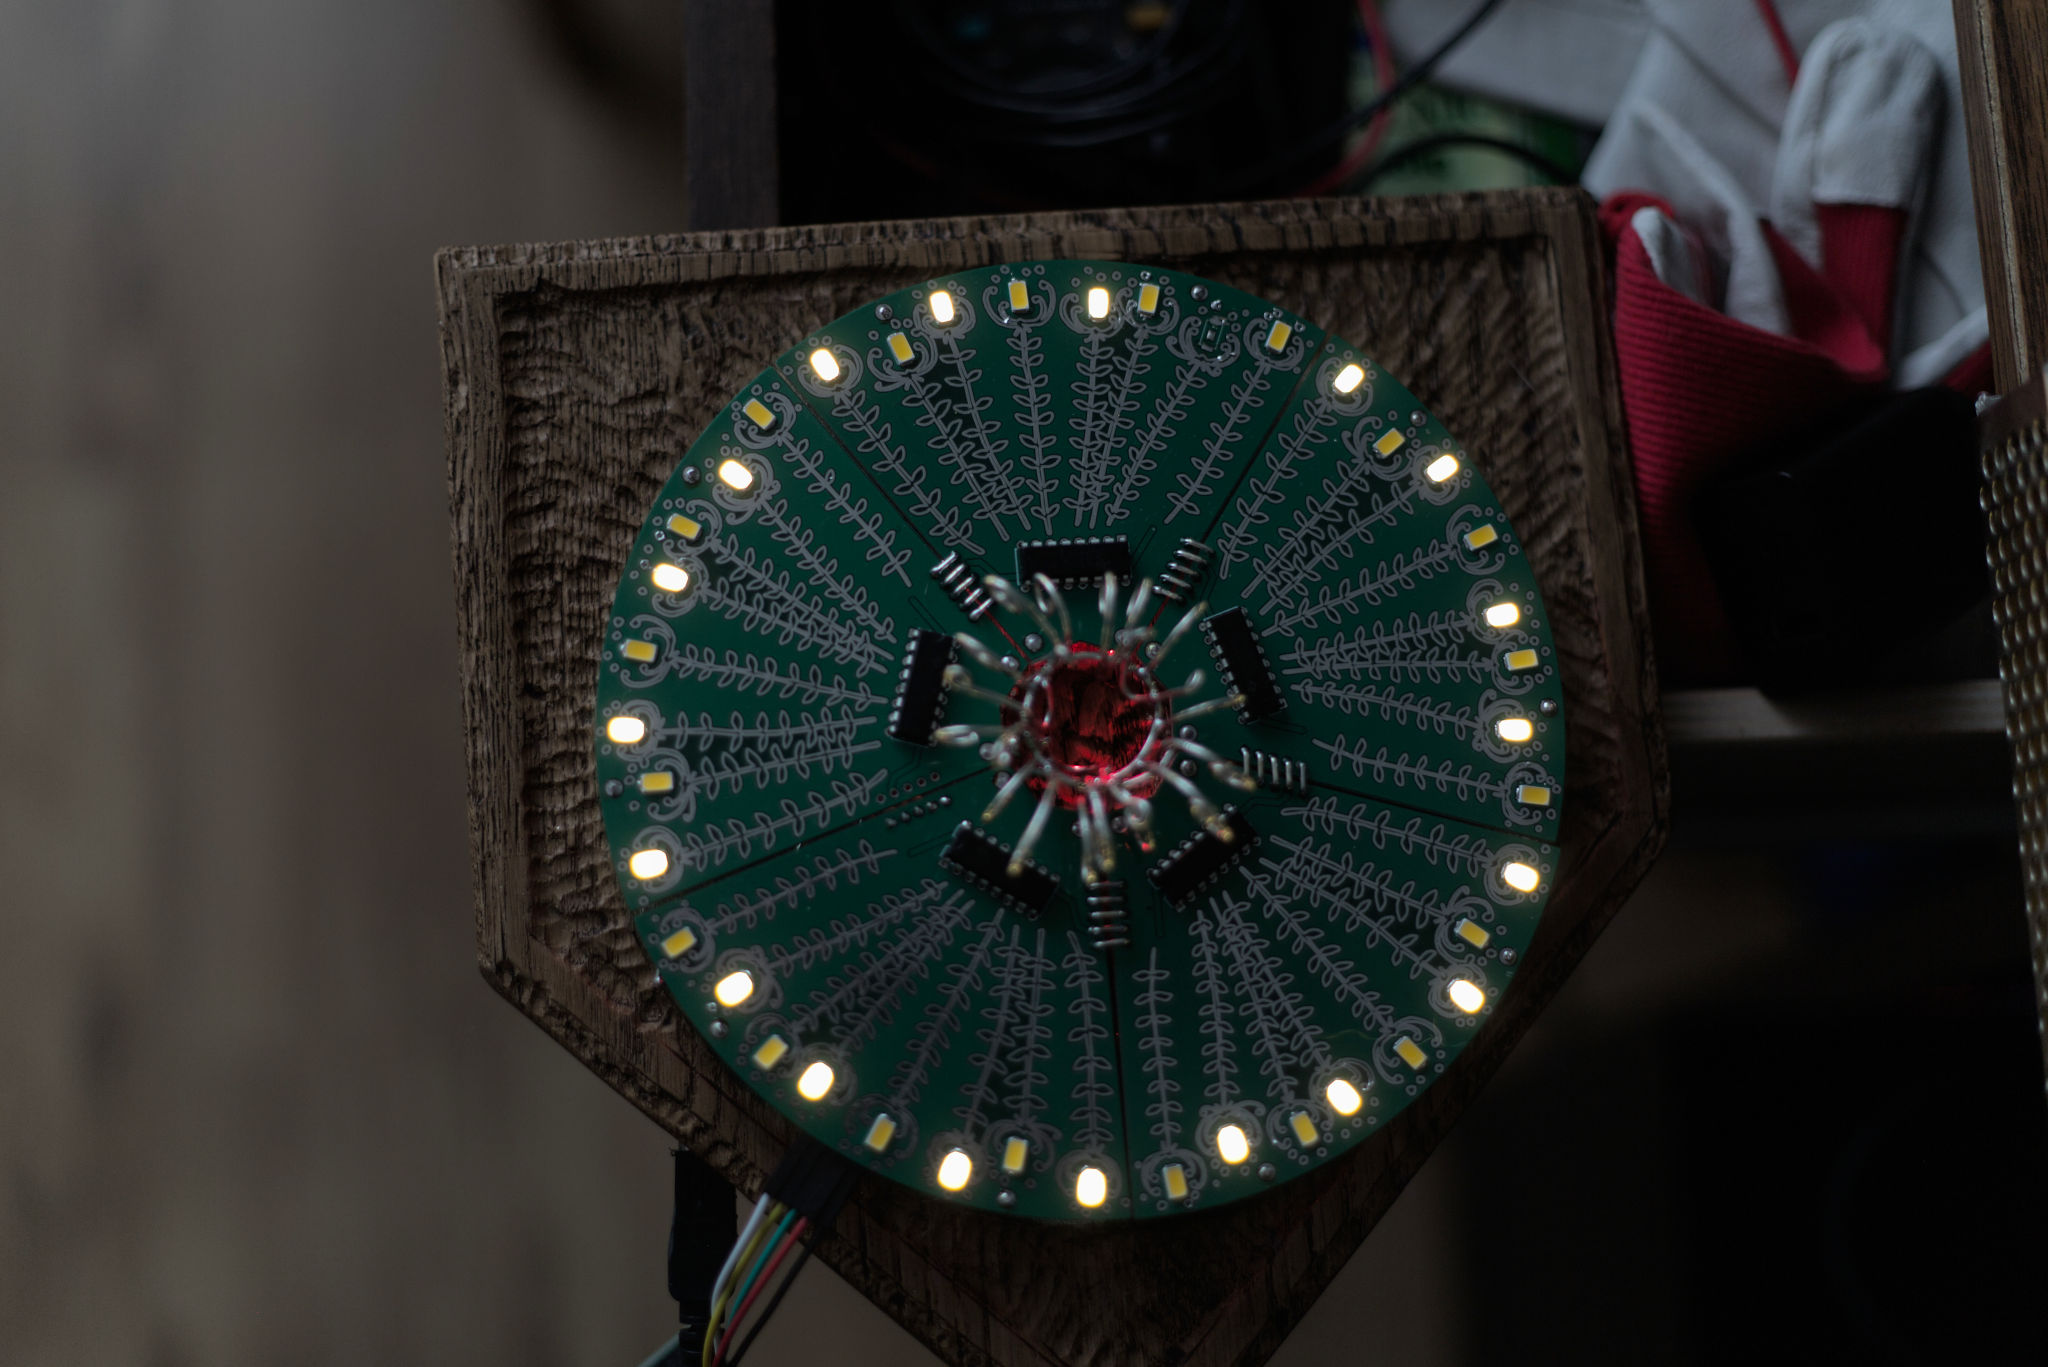

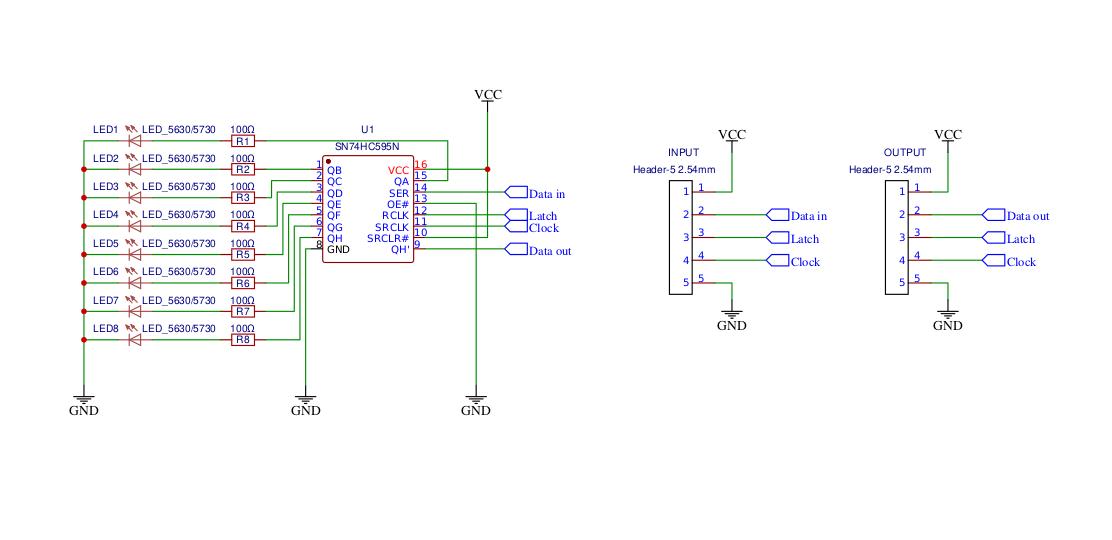
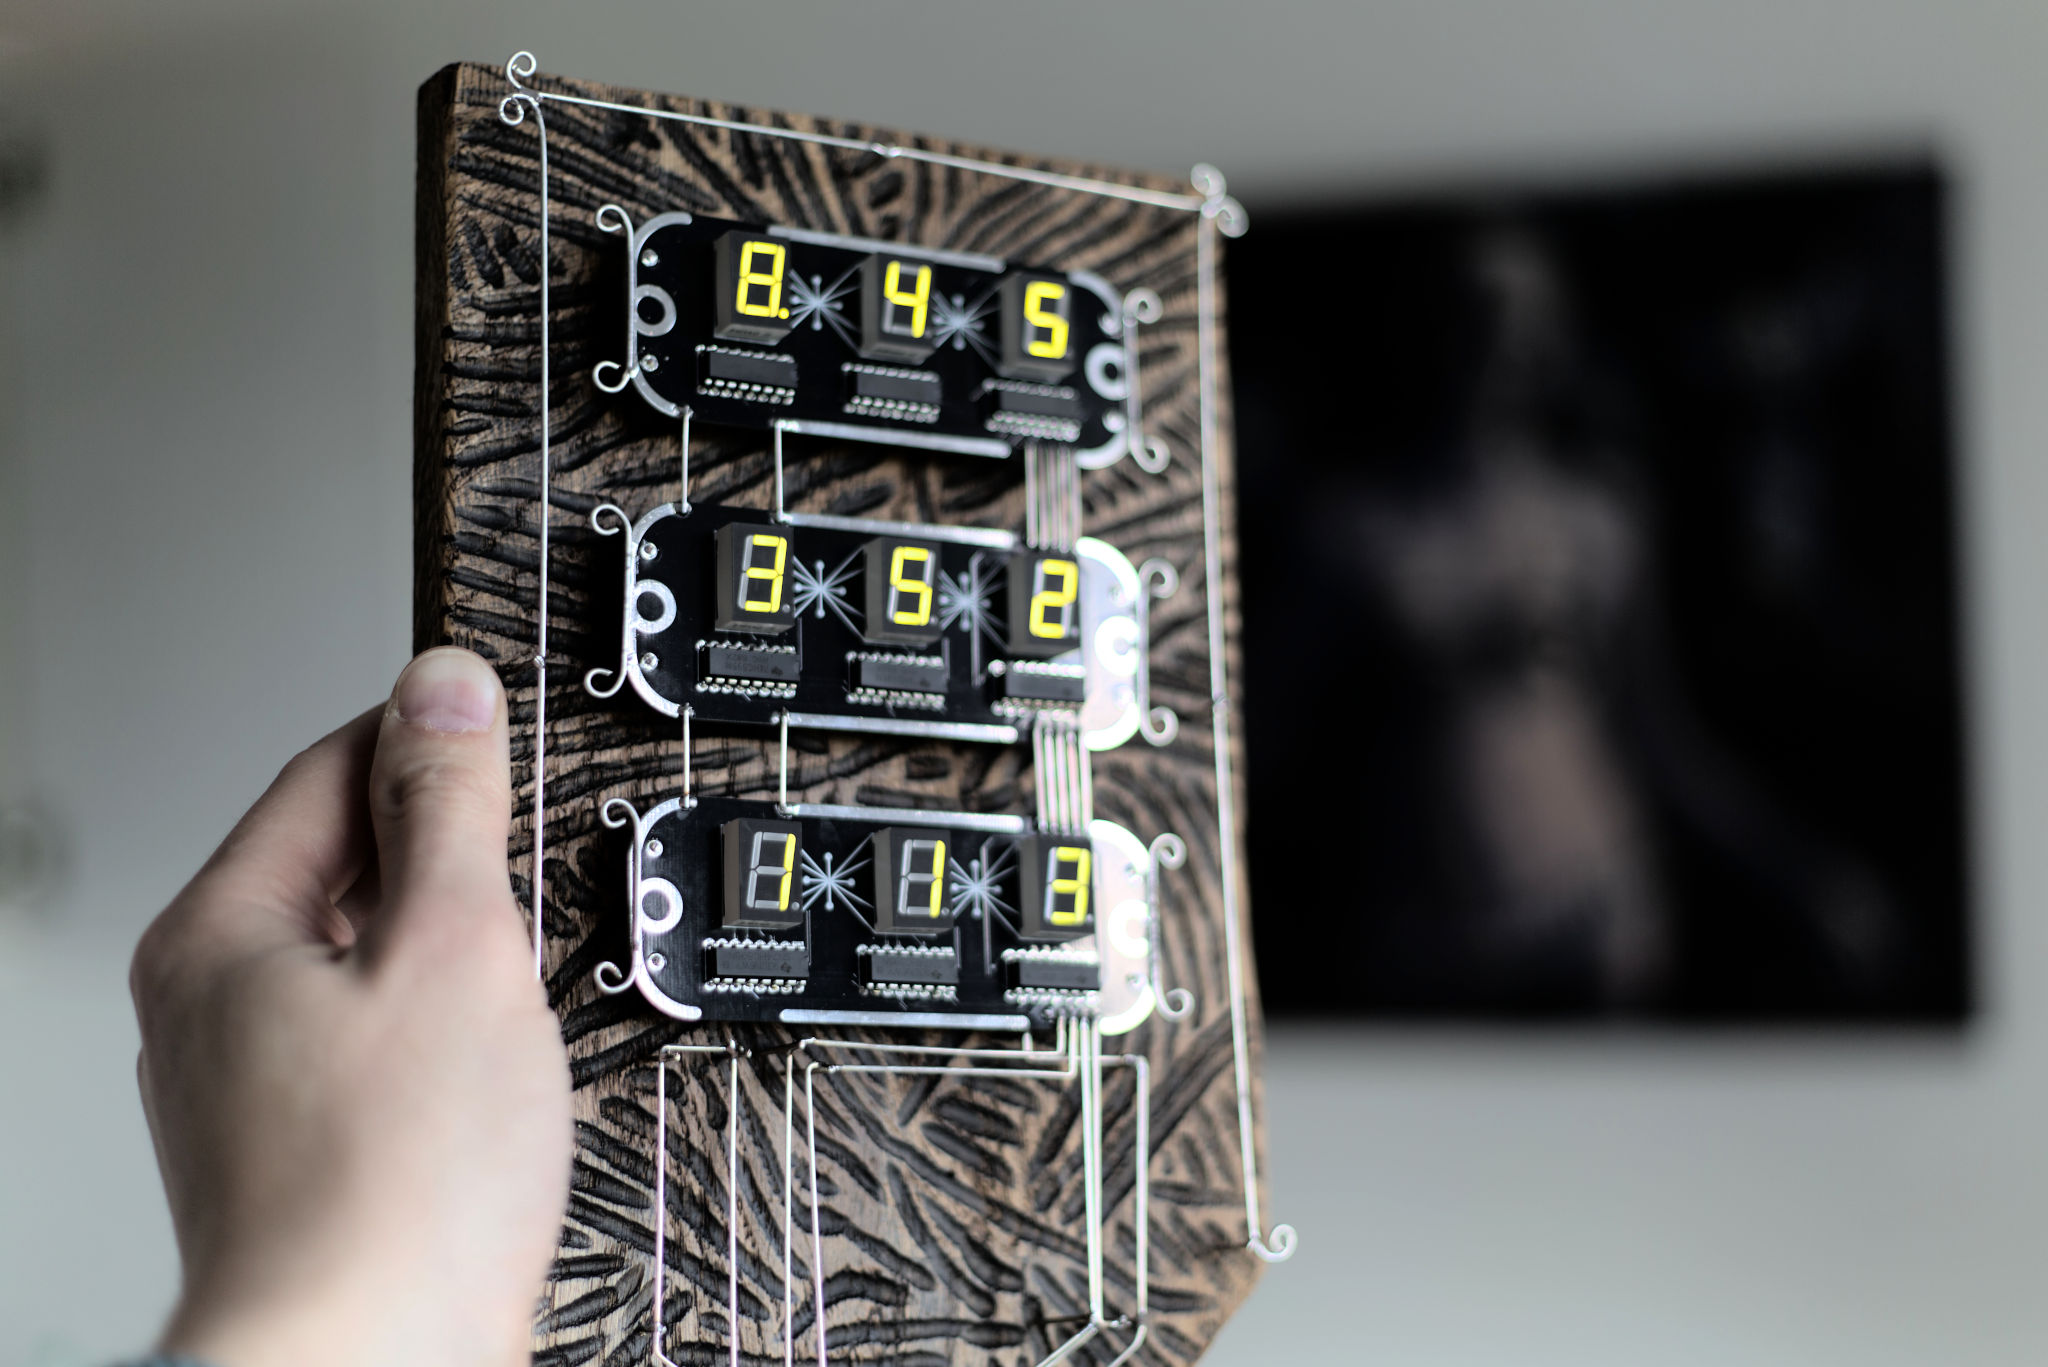
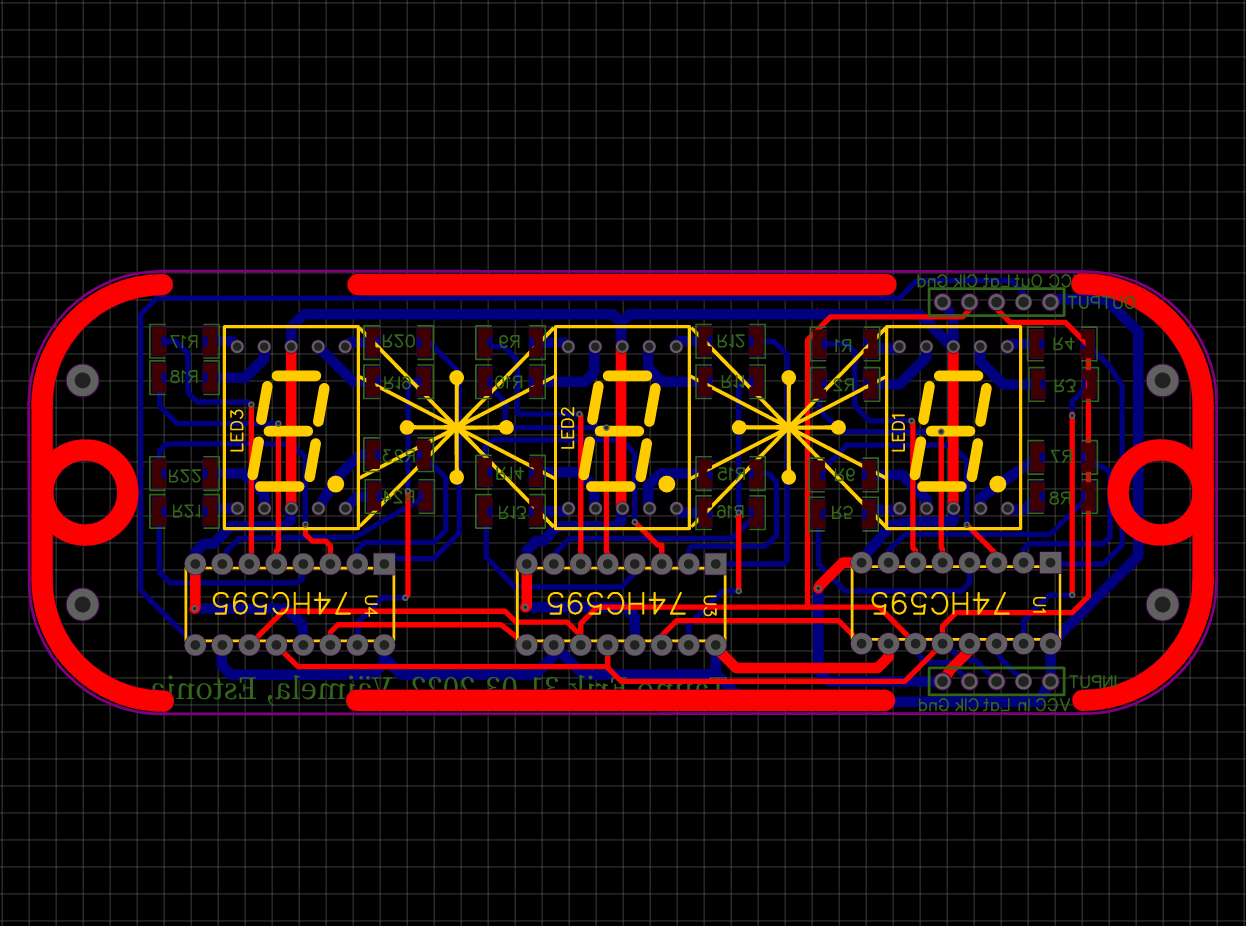
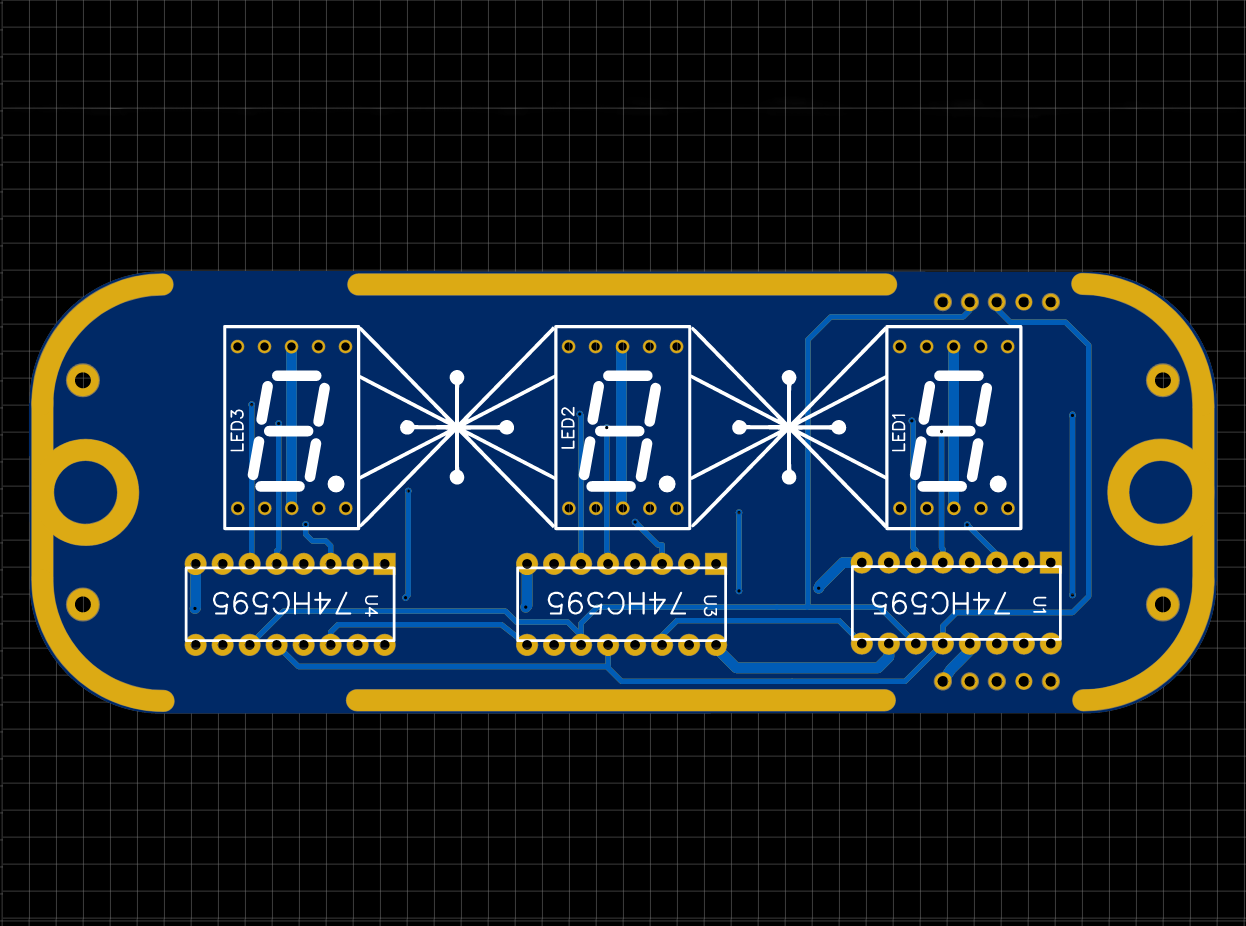
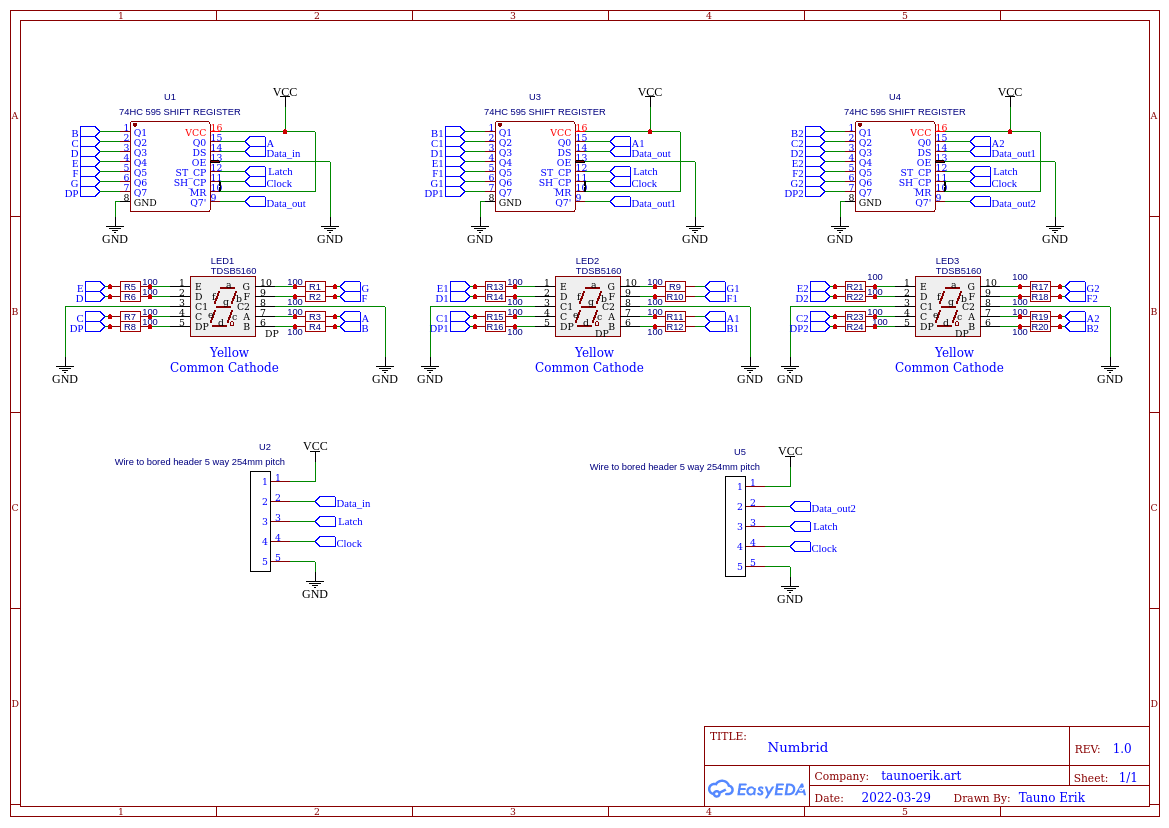
There is five shift-register to control LEDs.The Arduino’s original shiftOut() function is quite slow. I had to simplify it to make it work with my configuration without noticeable flickering. Board Arduino Pro mini 16Hz Atmega328 5v.

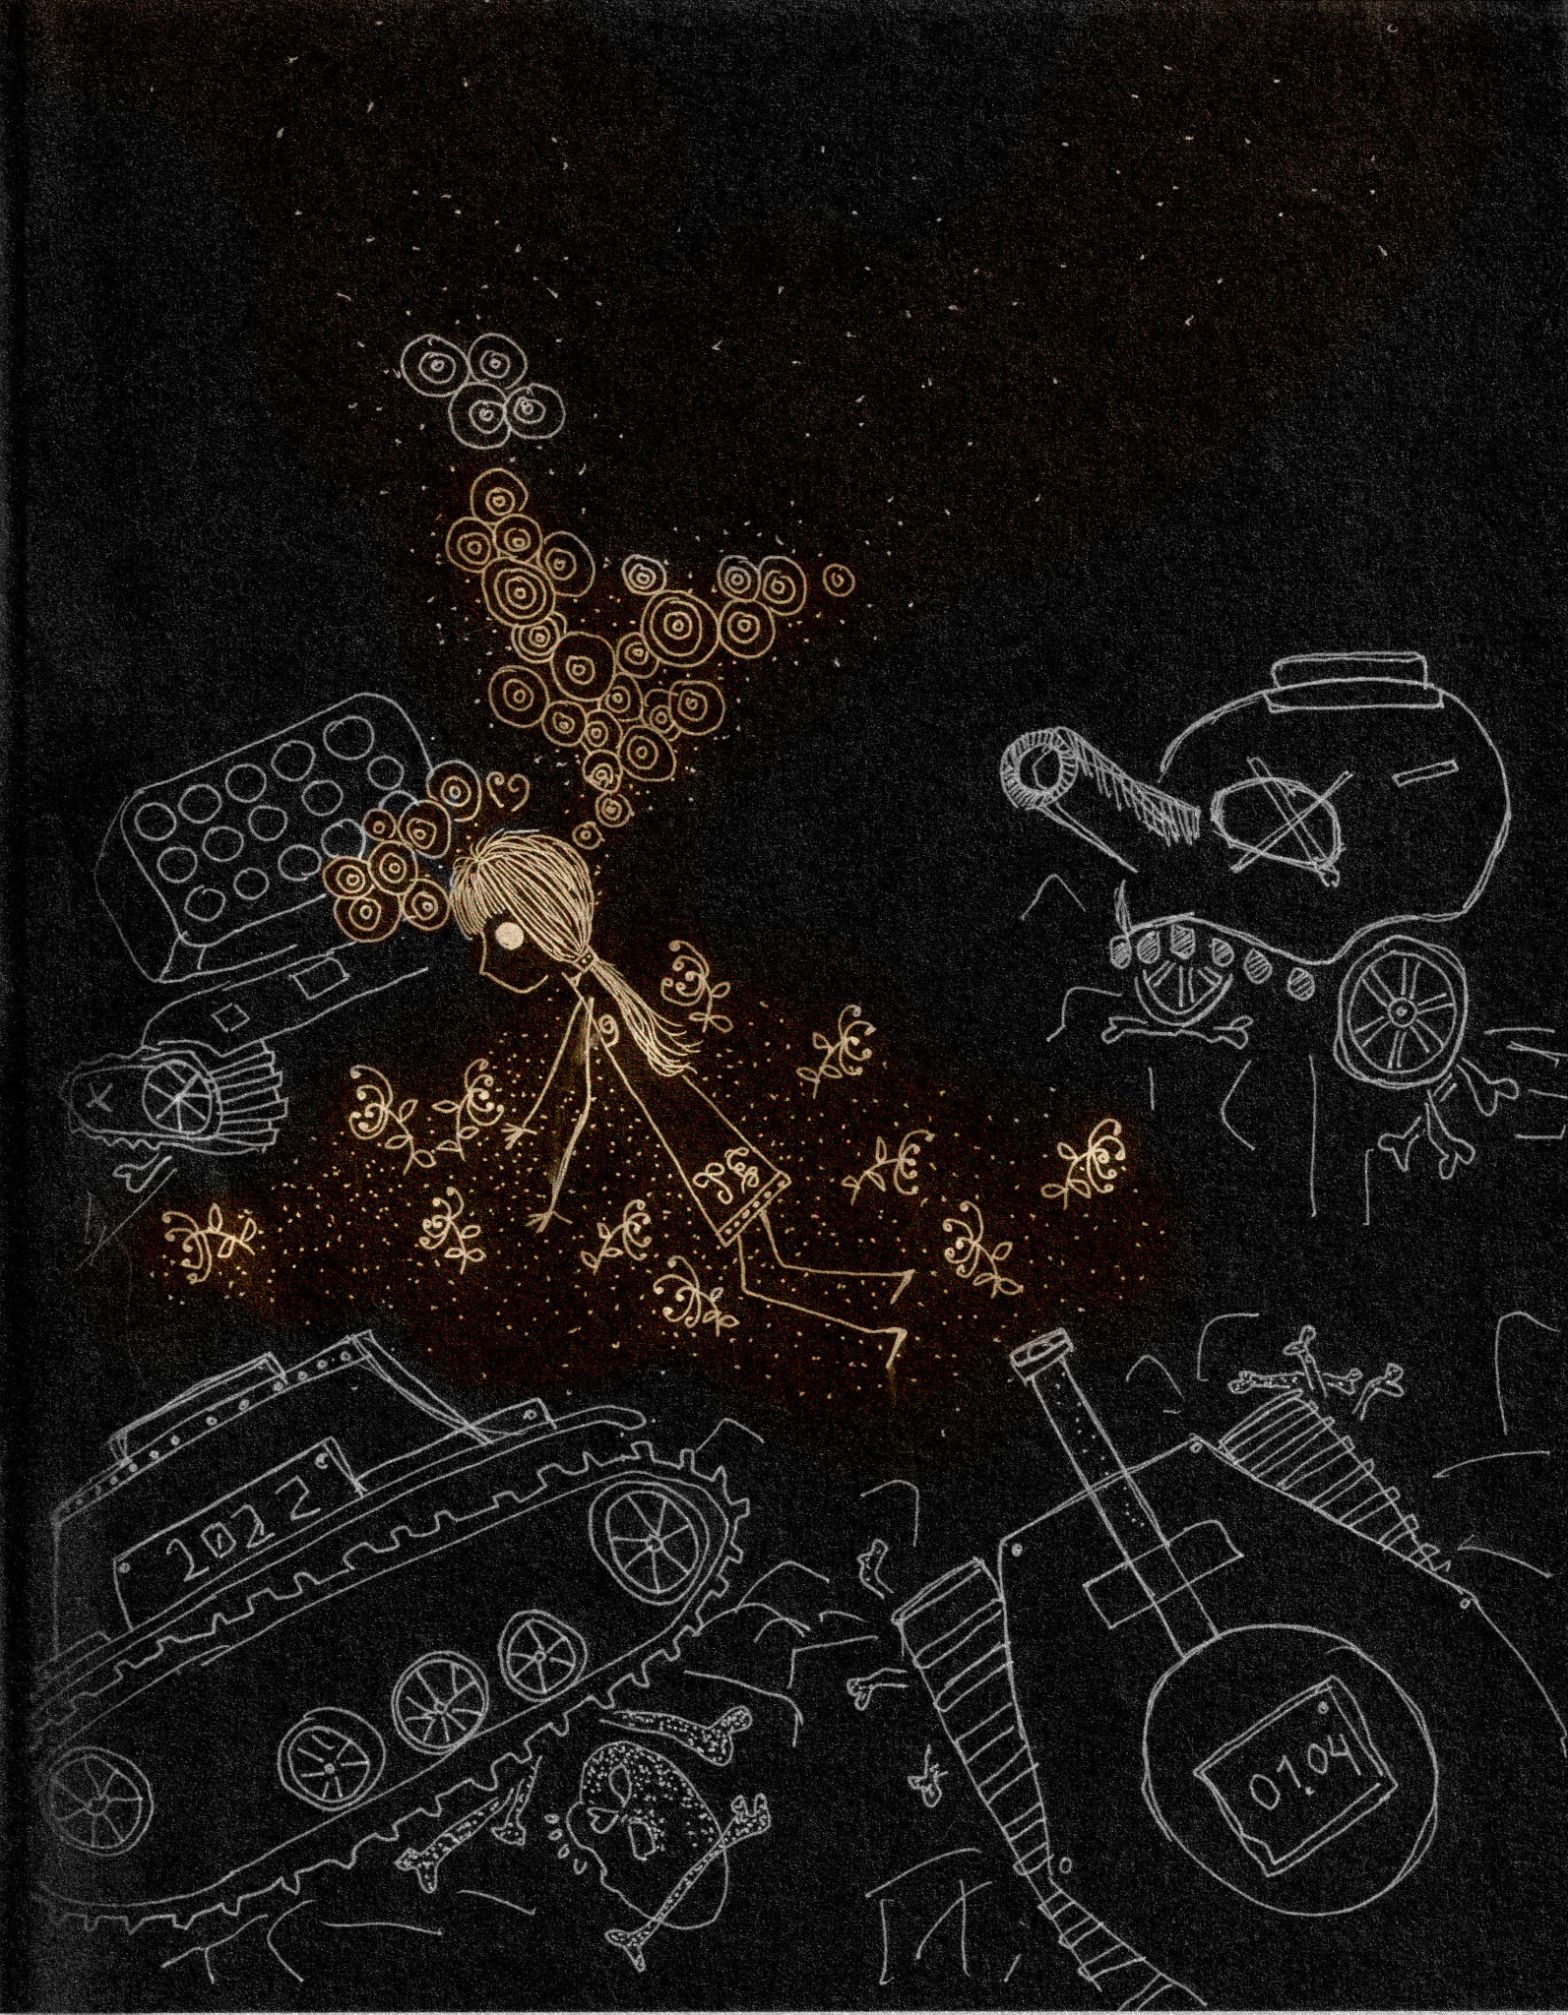
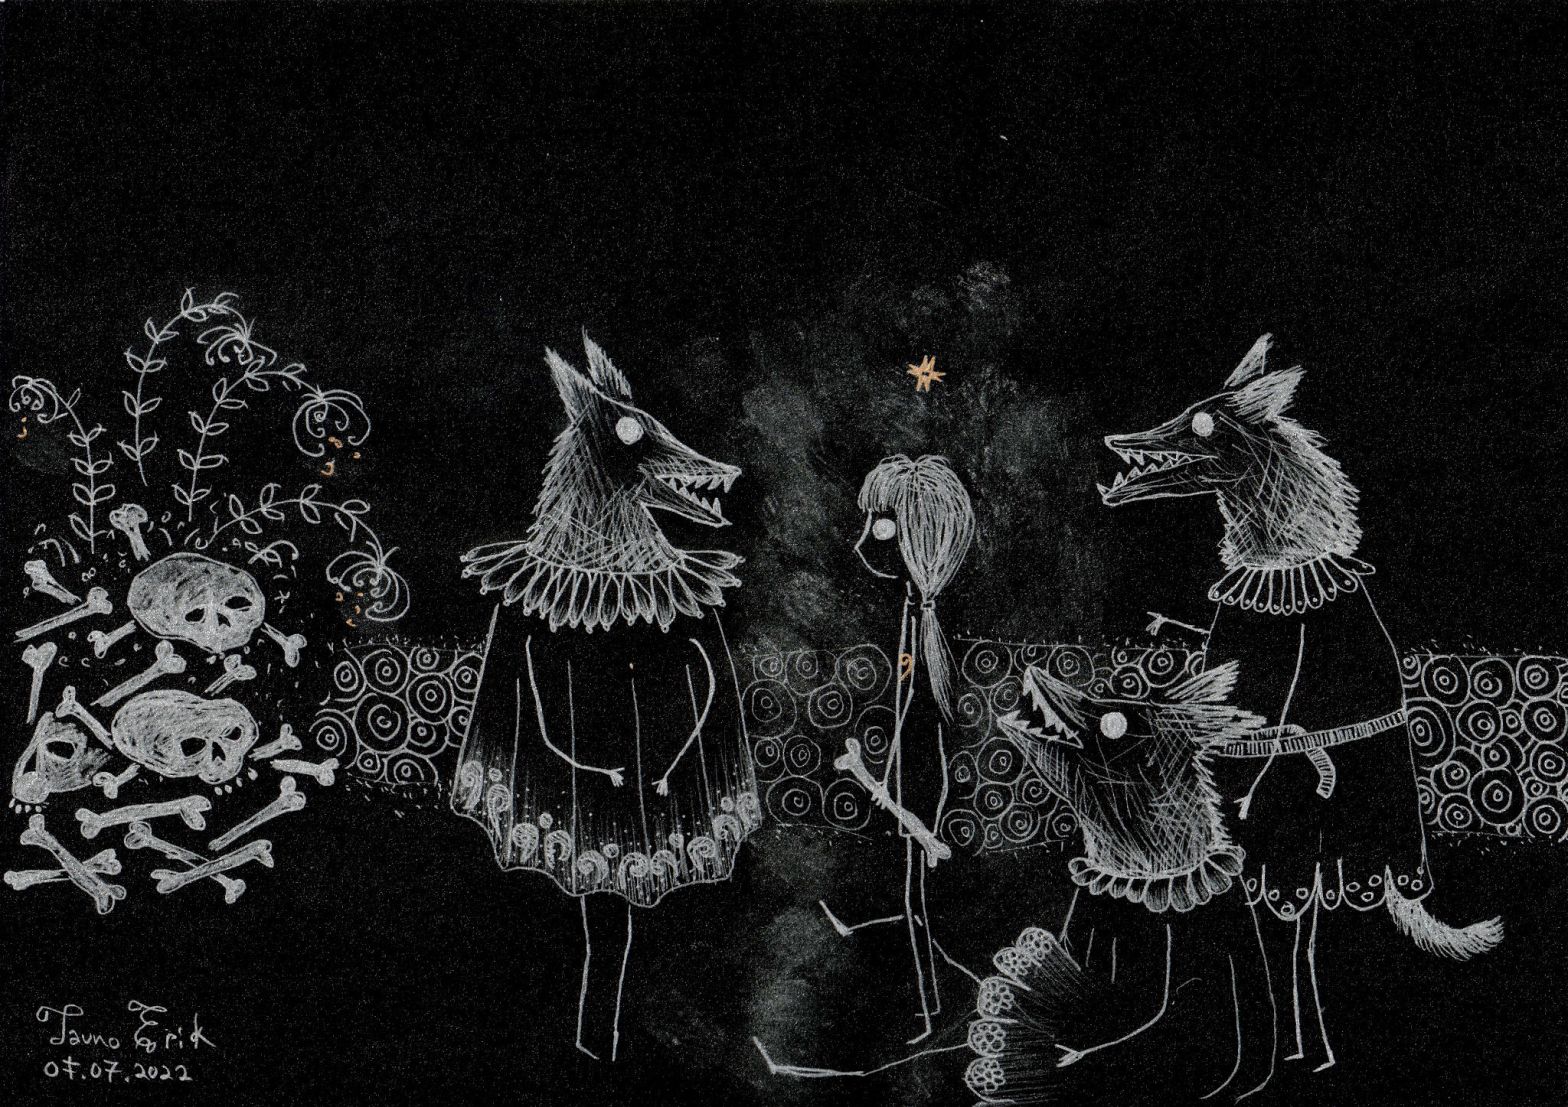
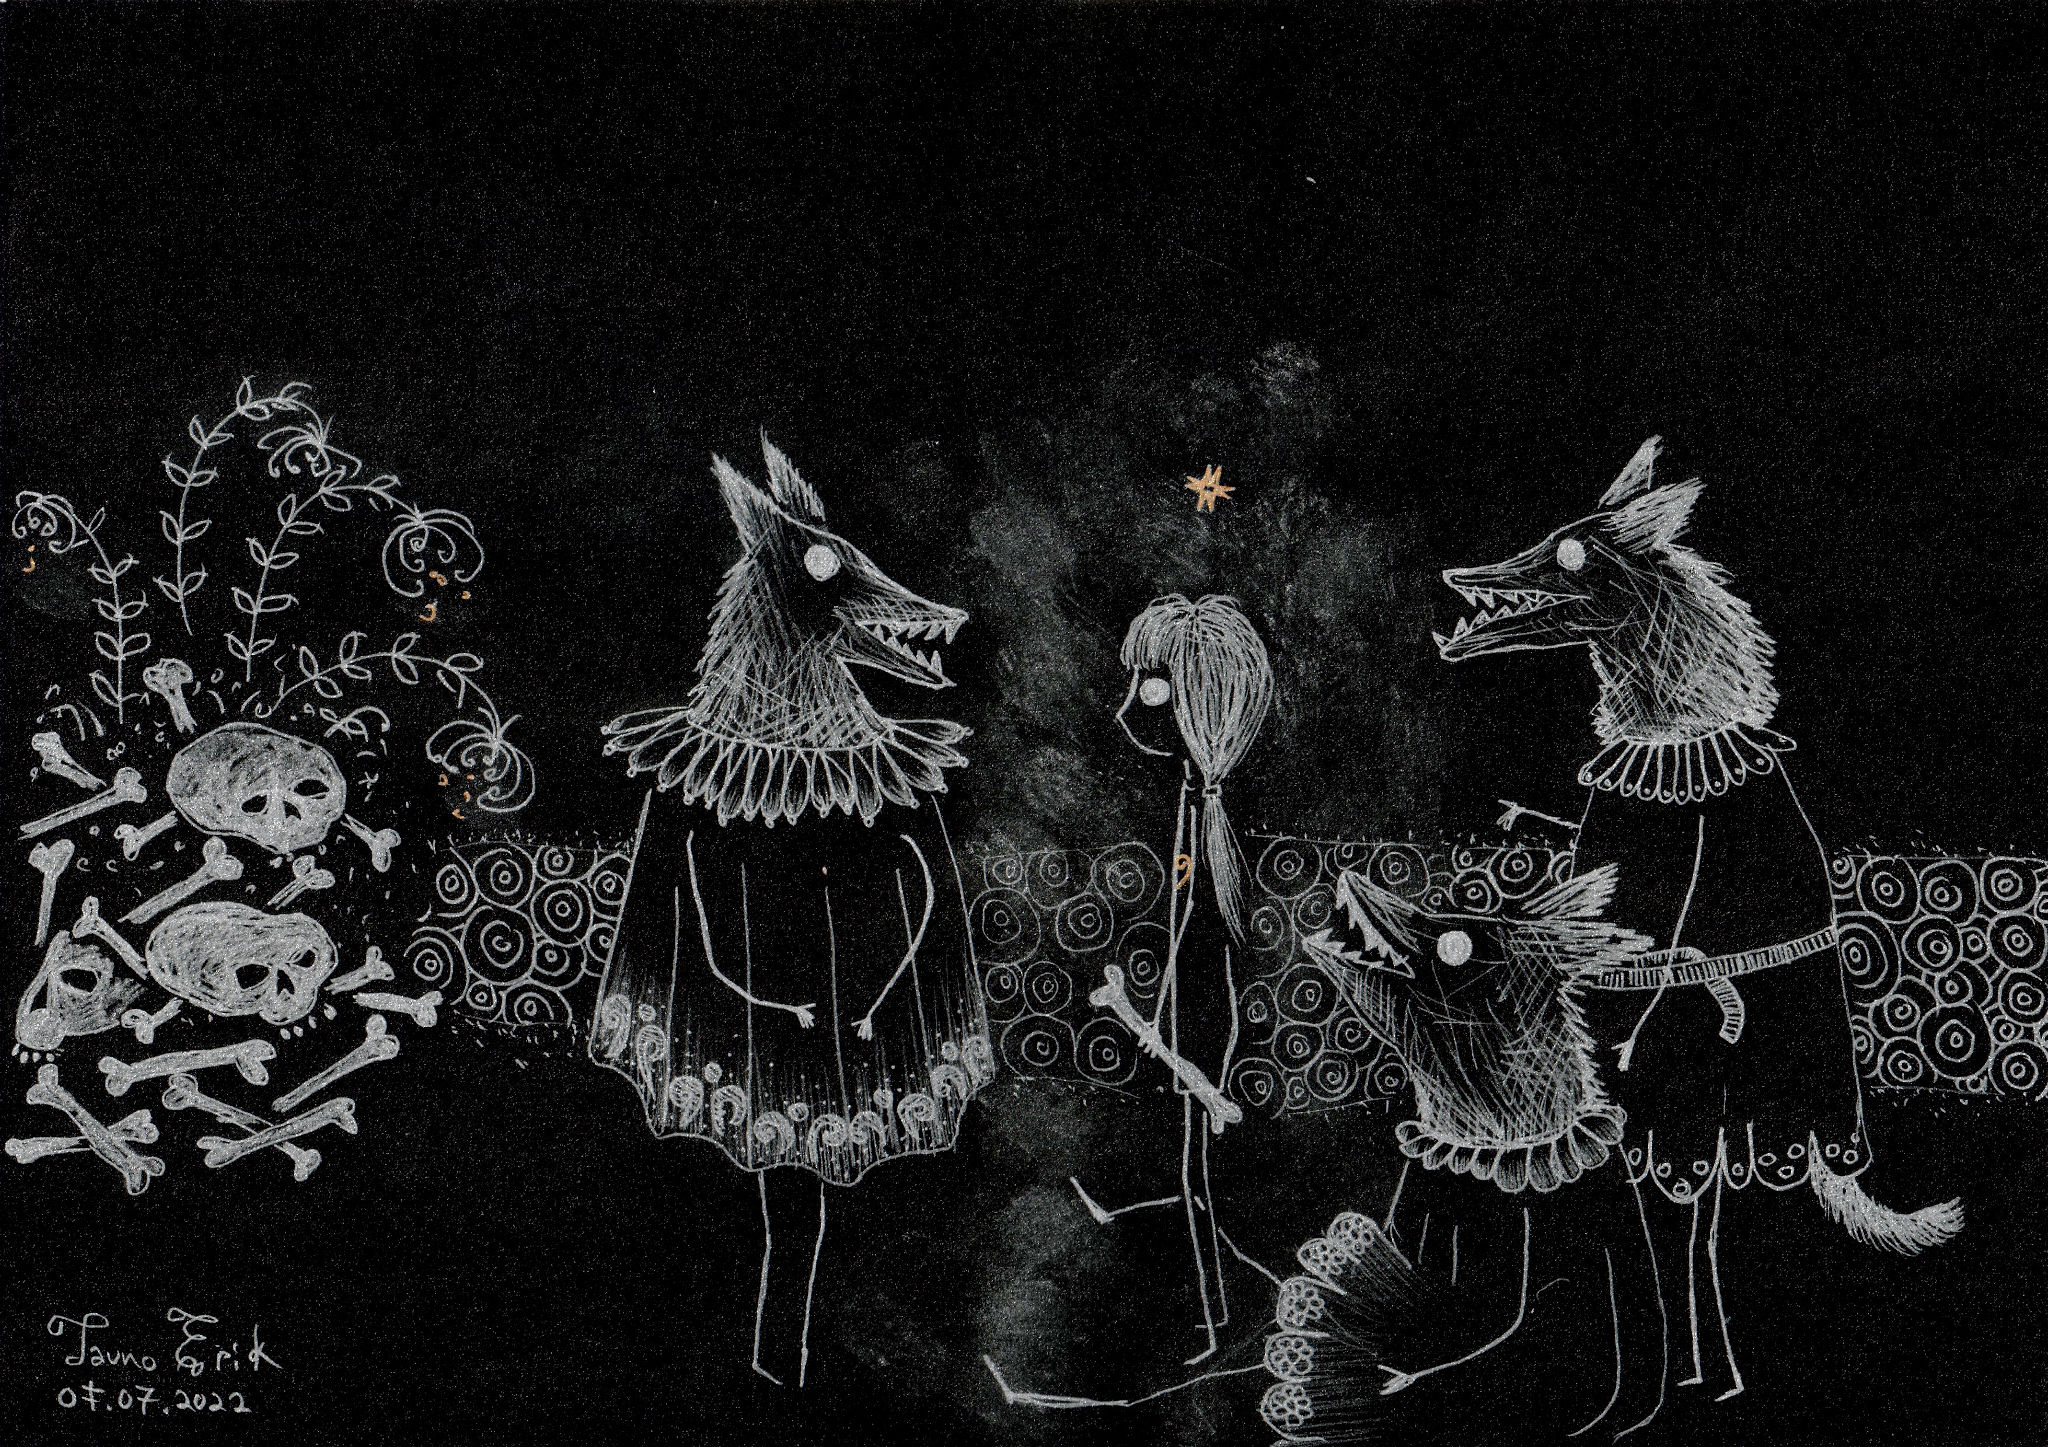
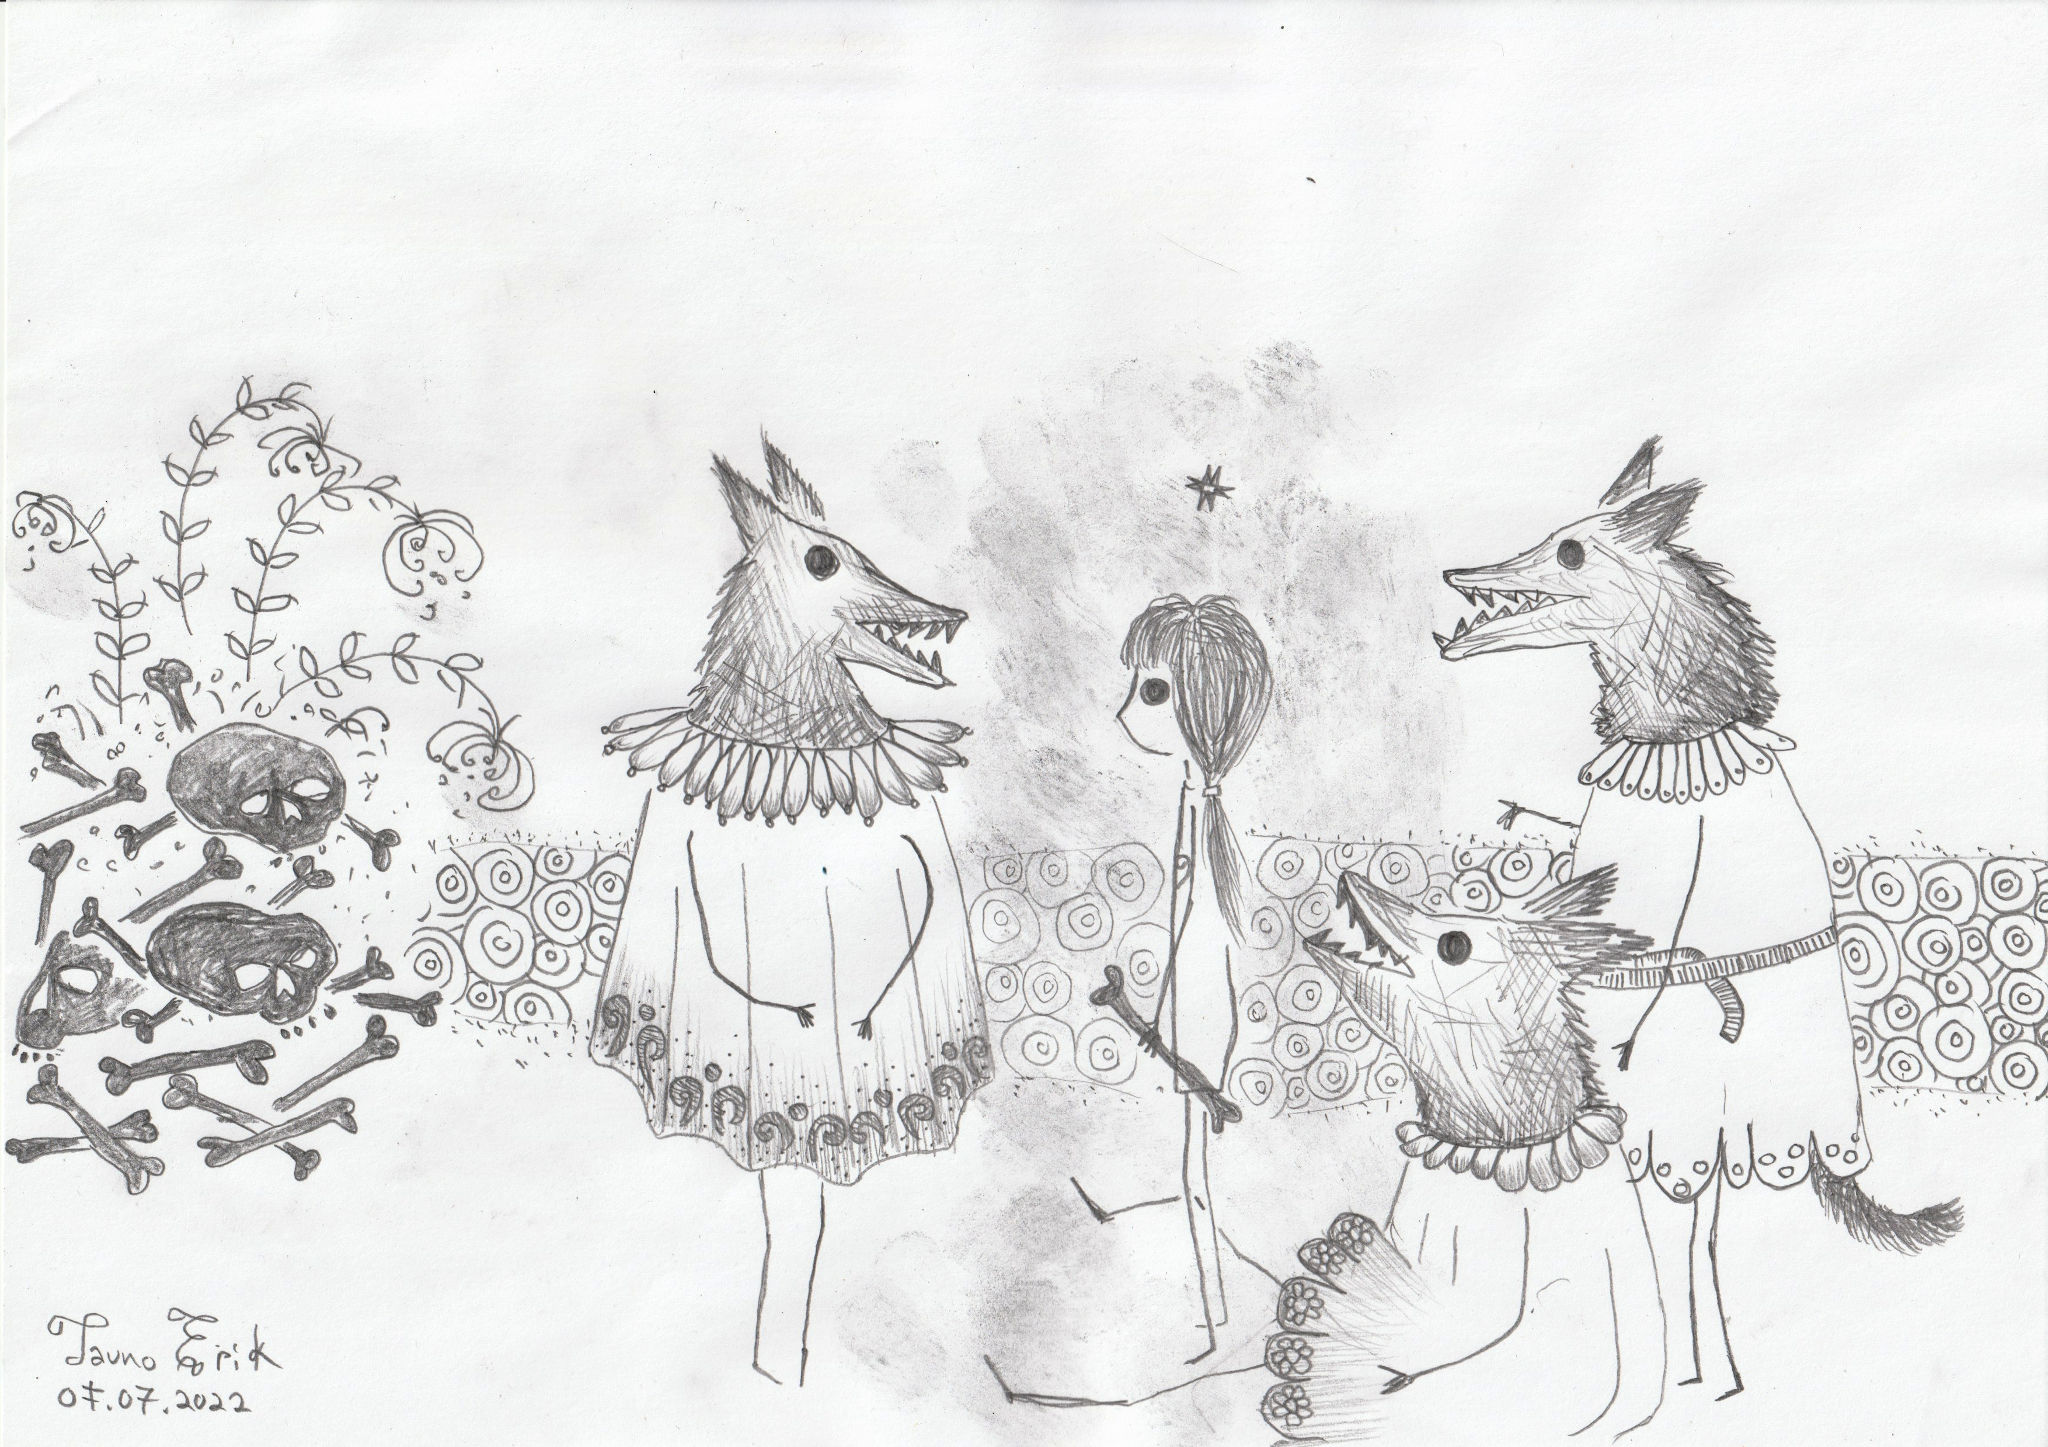
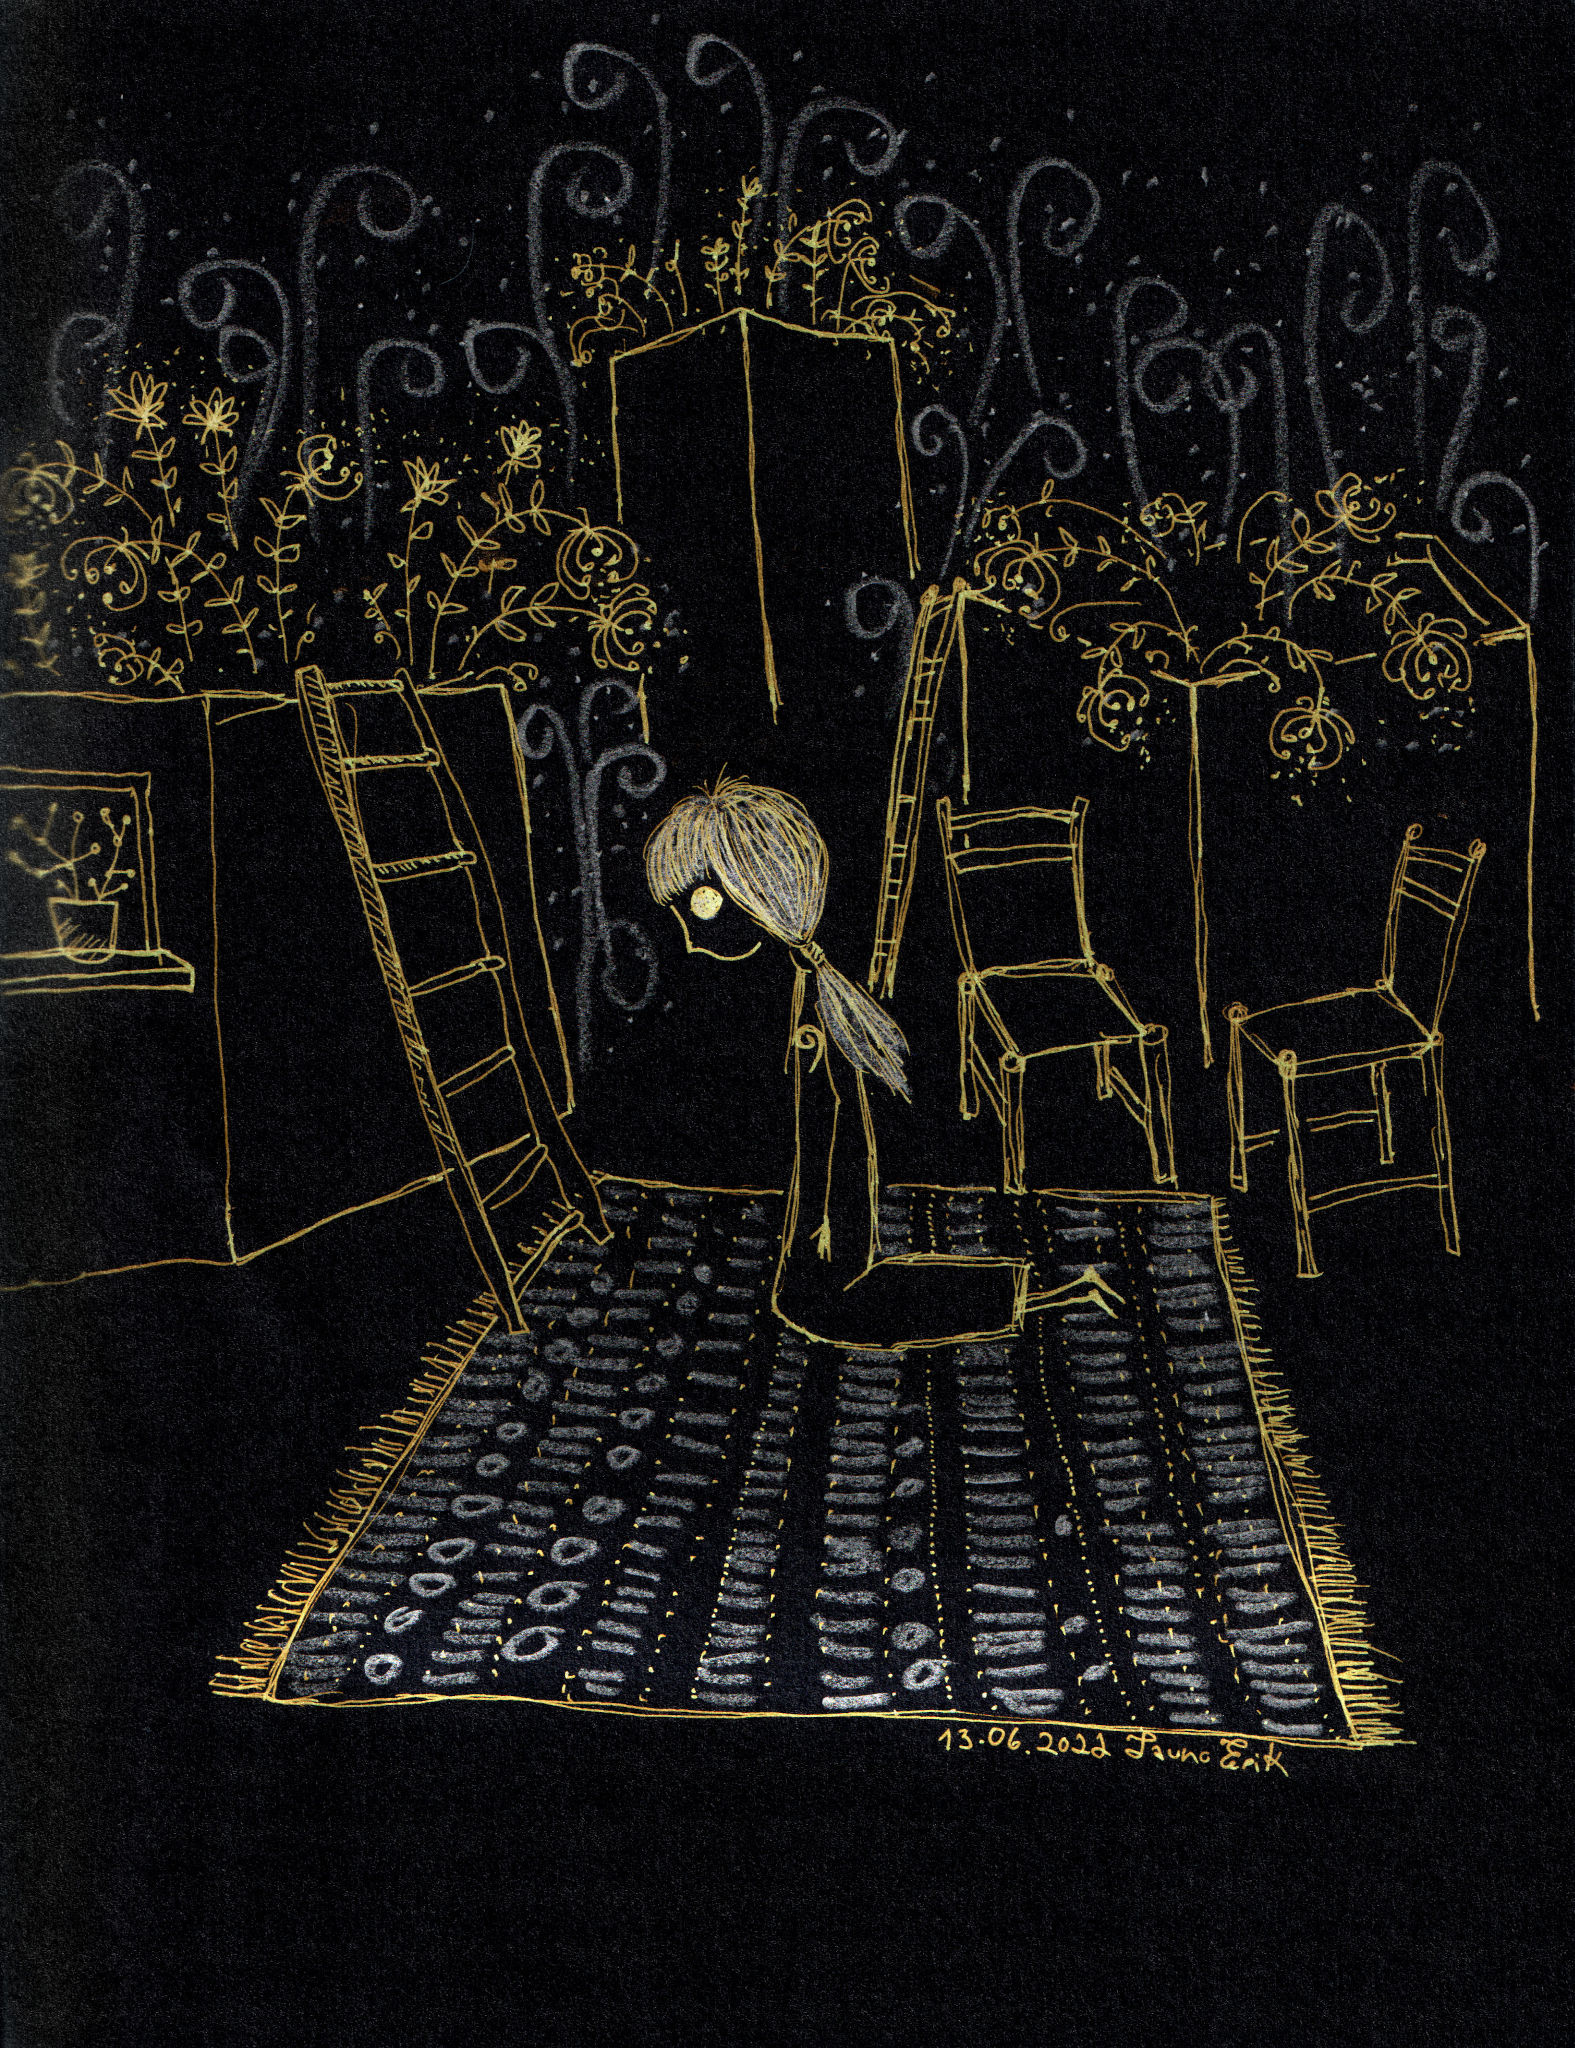
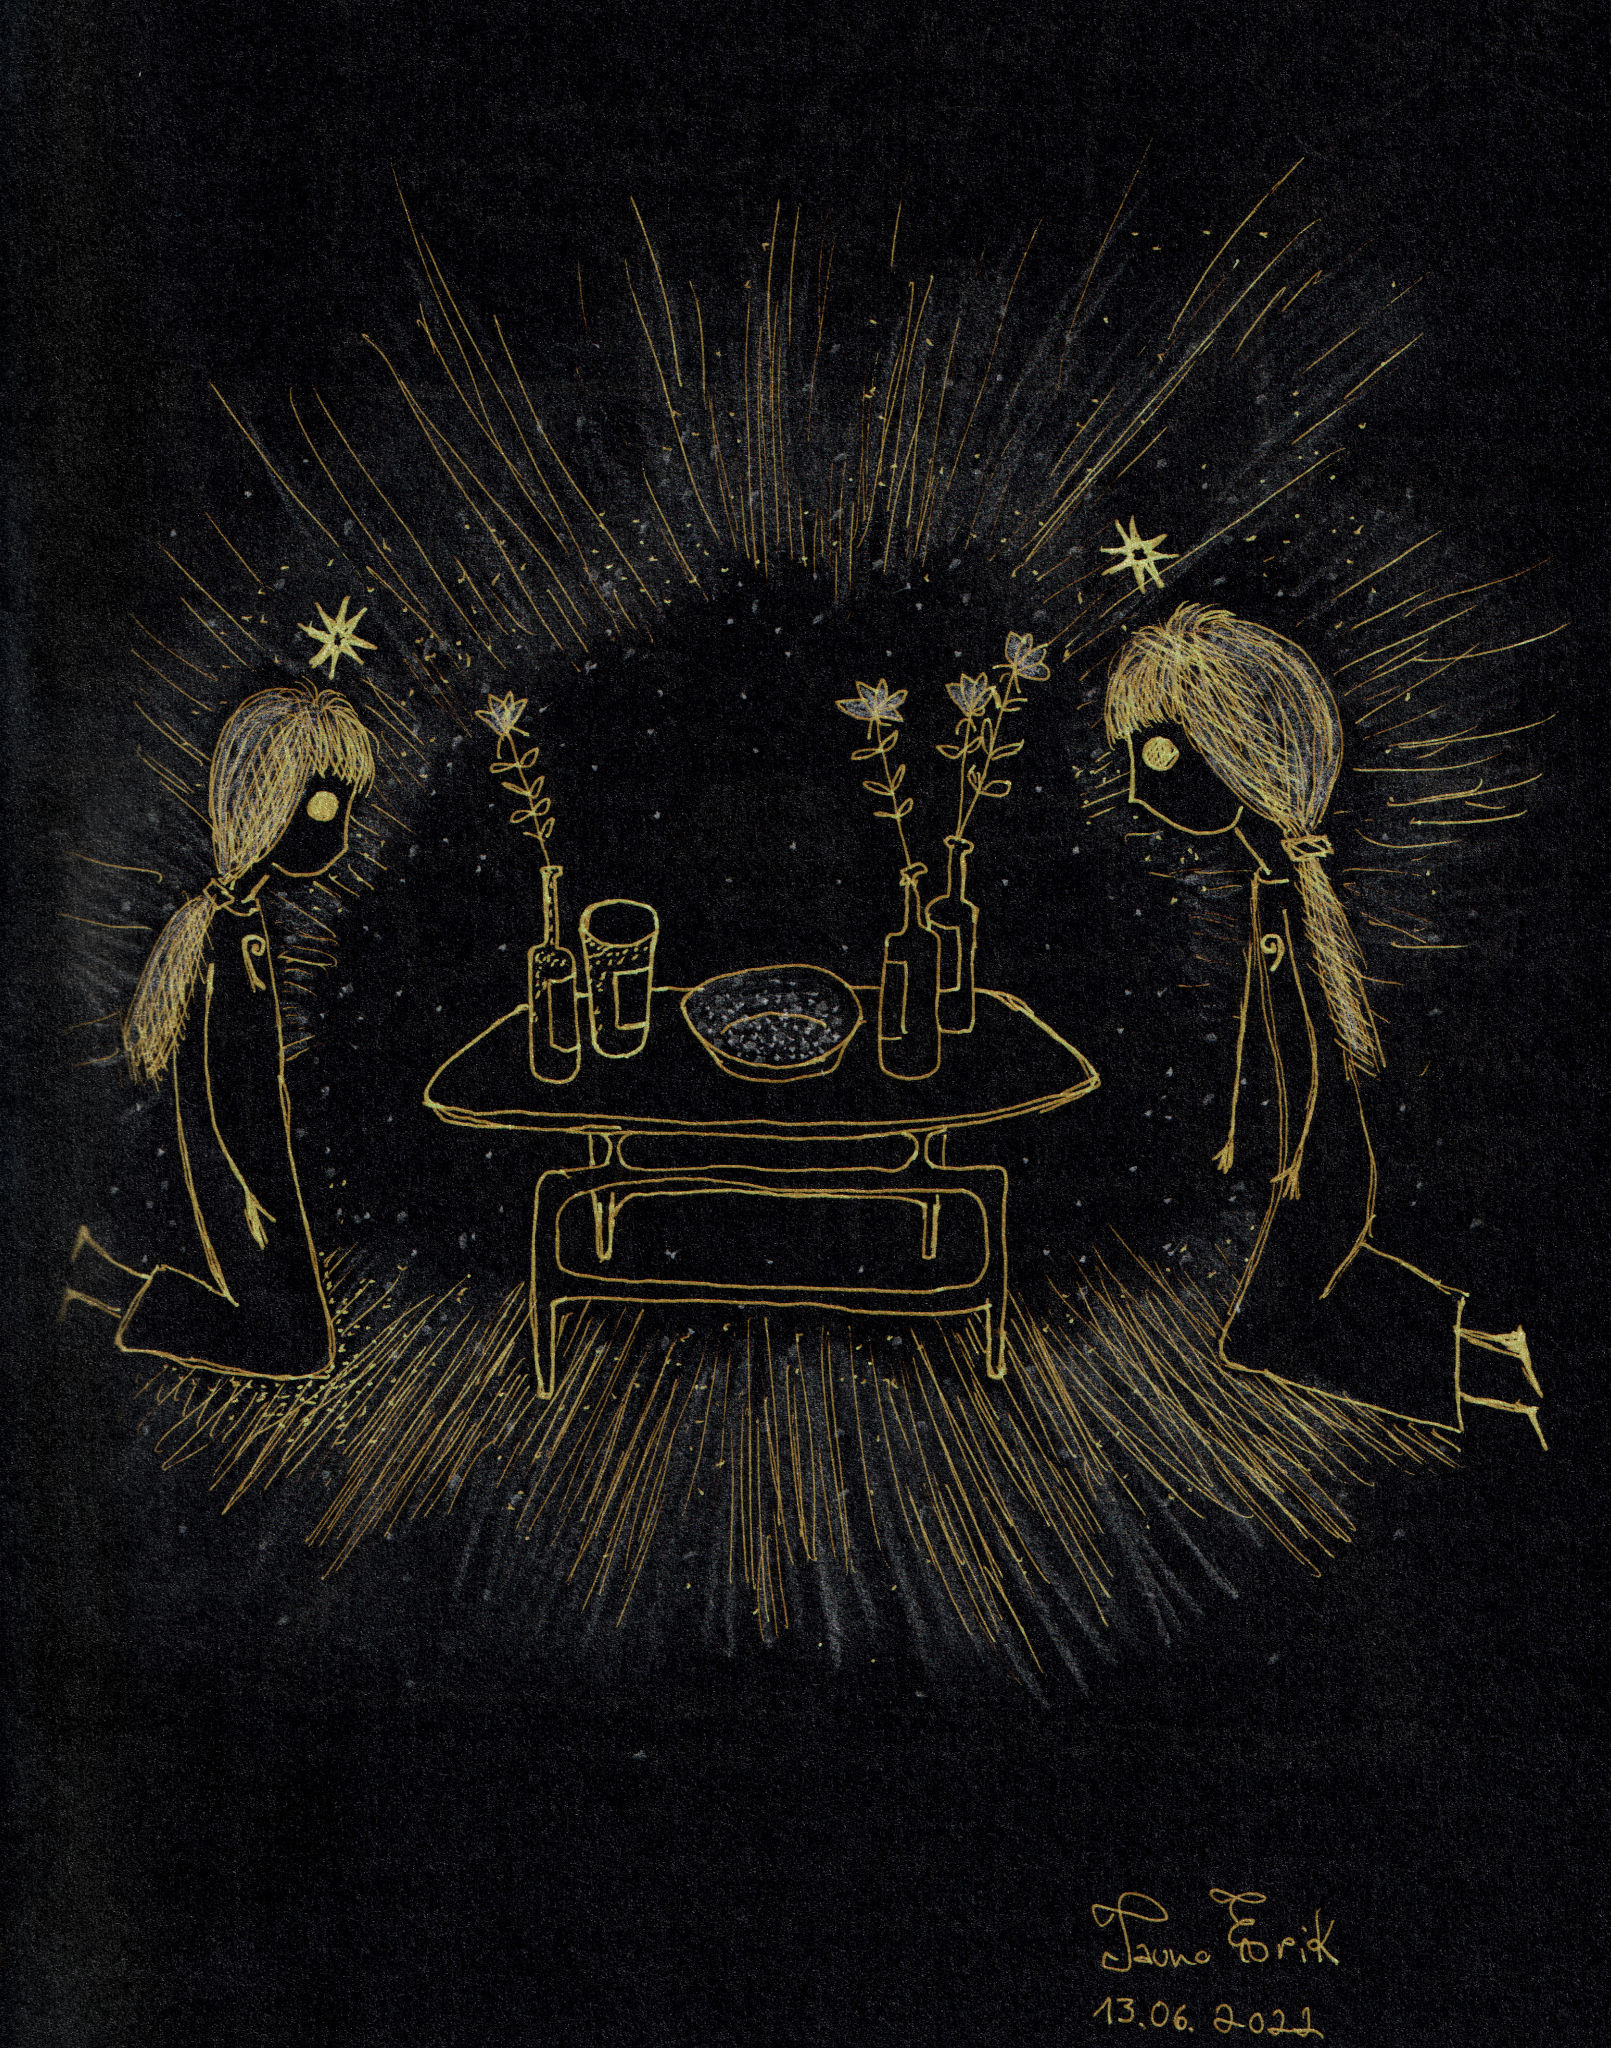
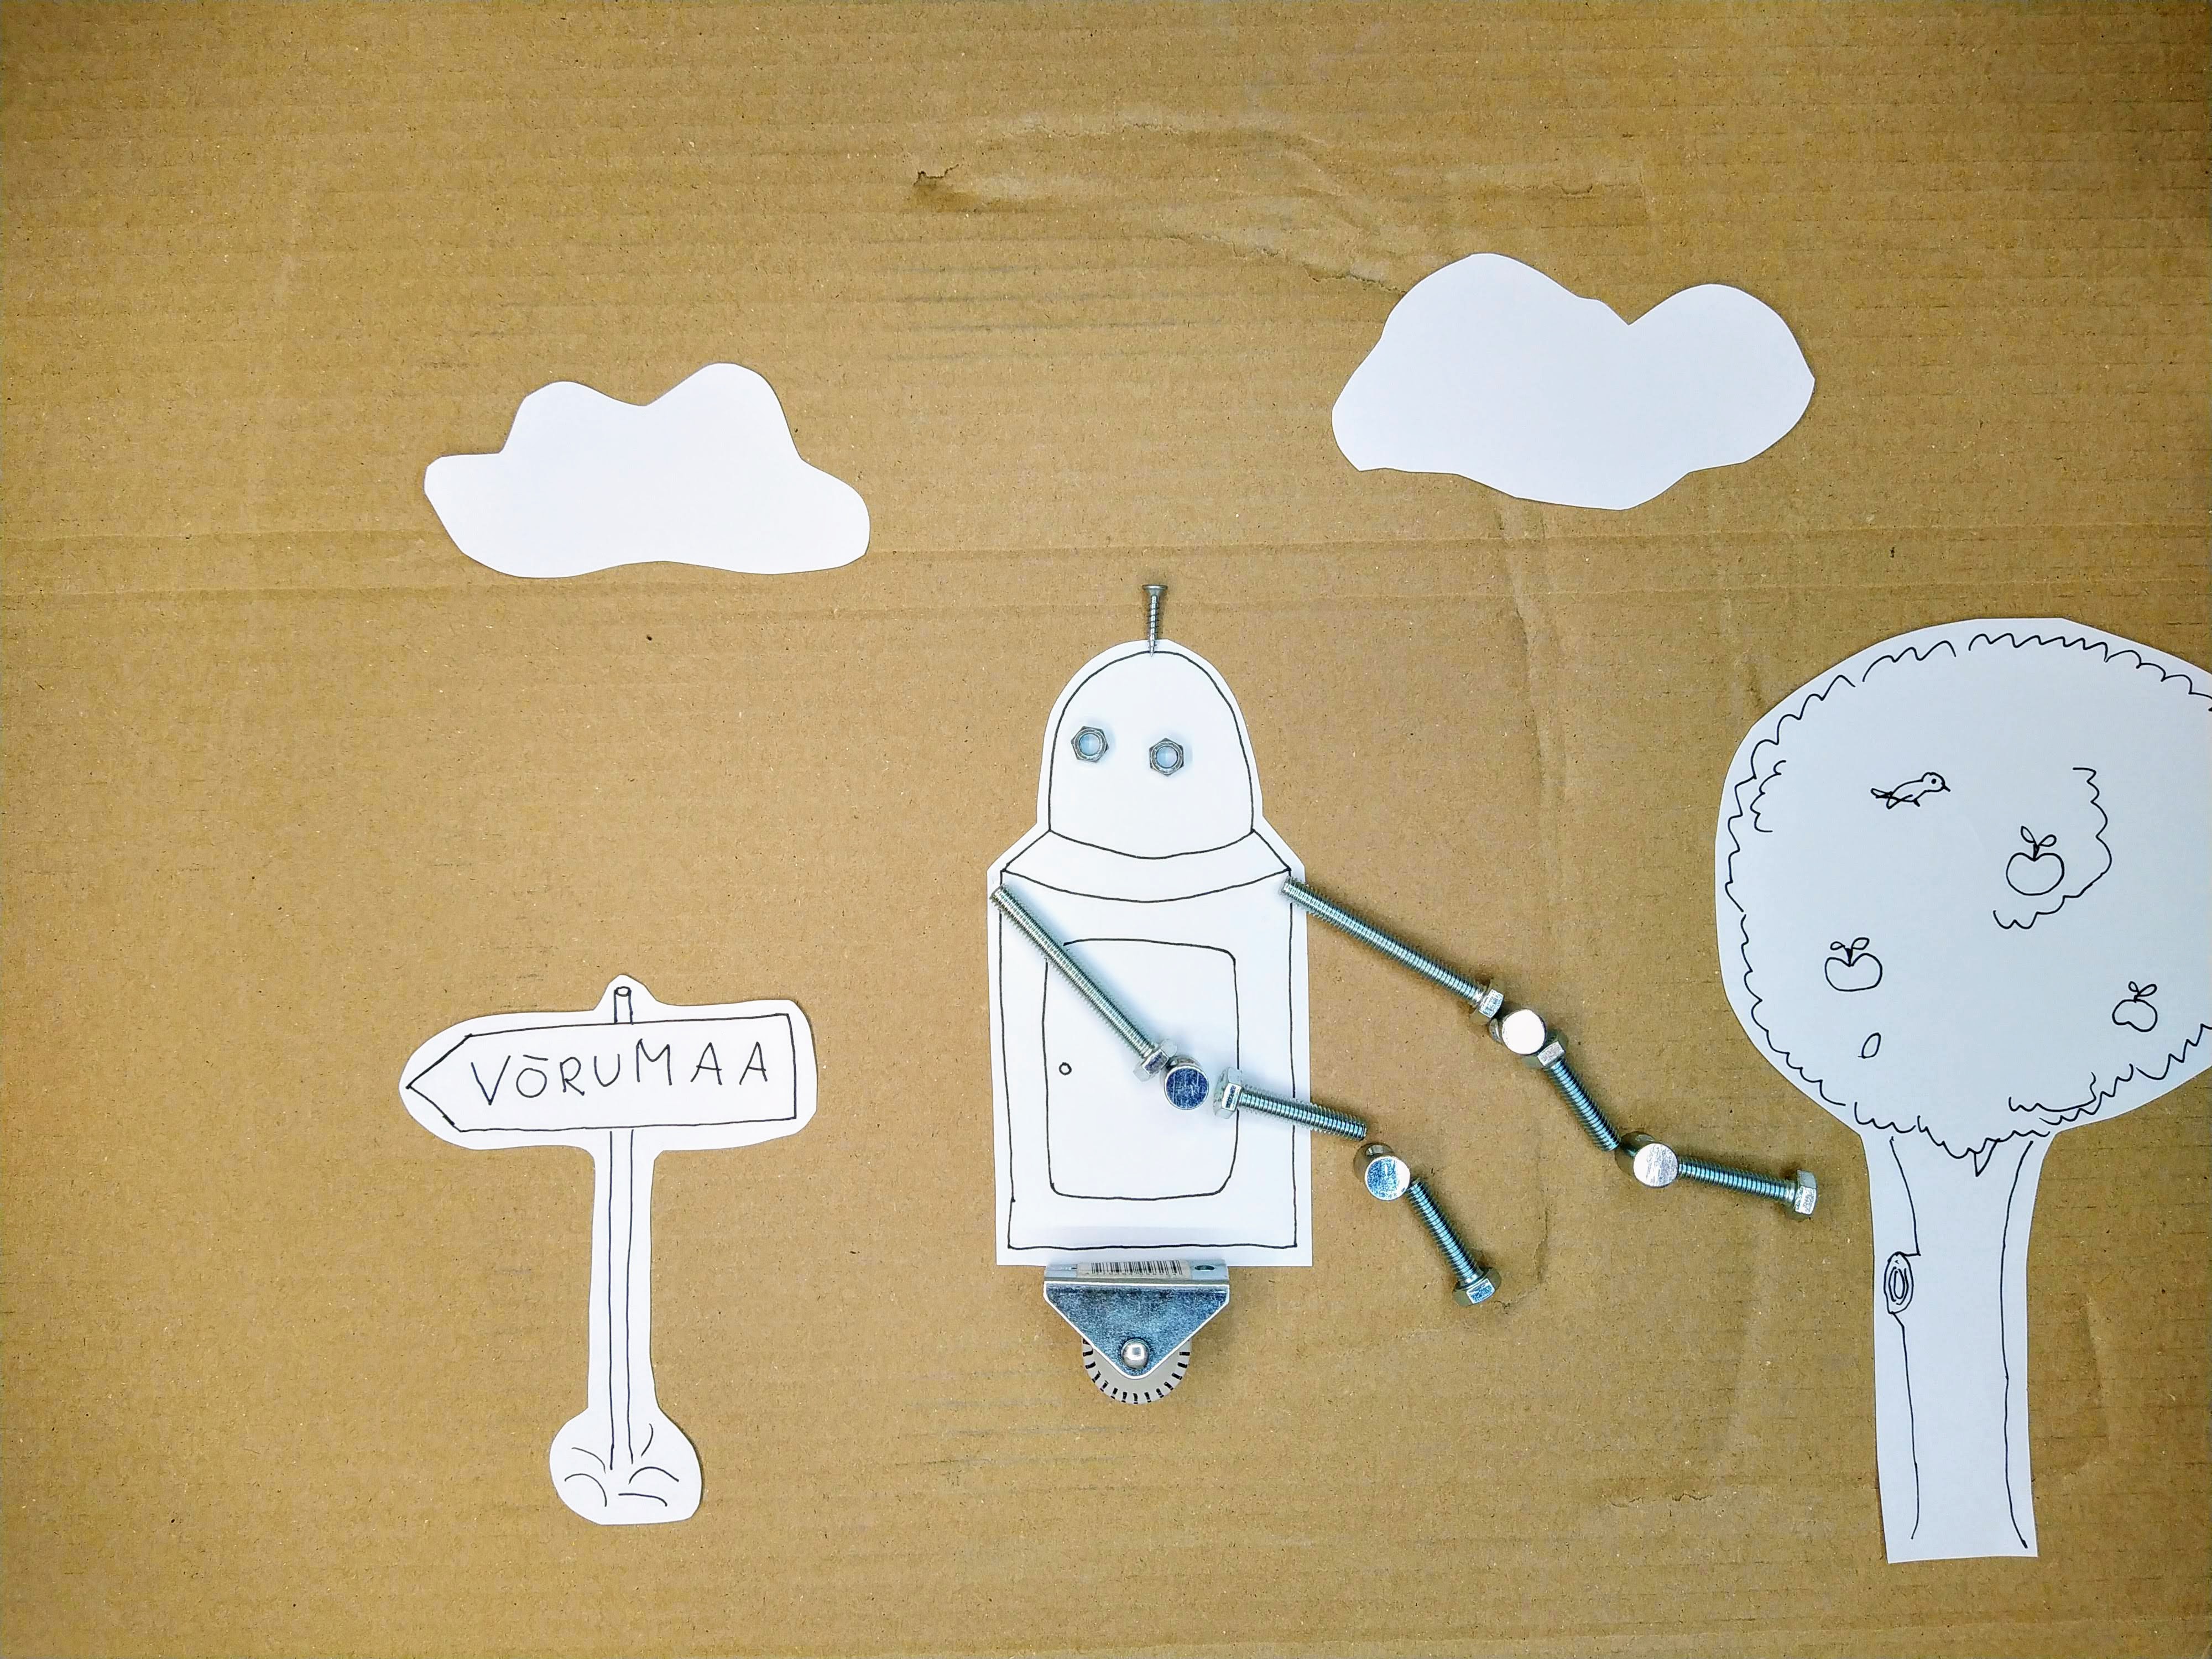
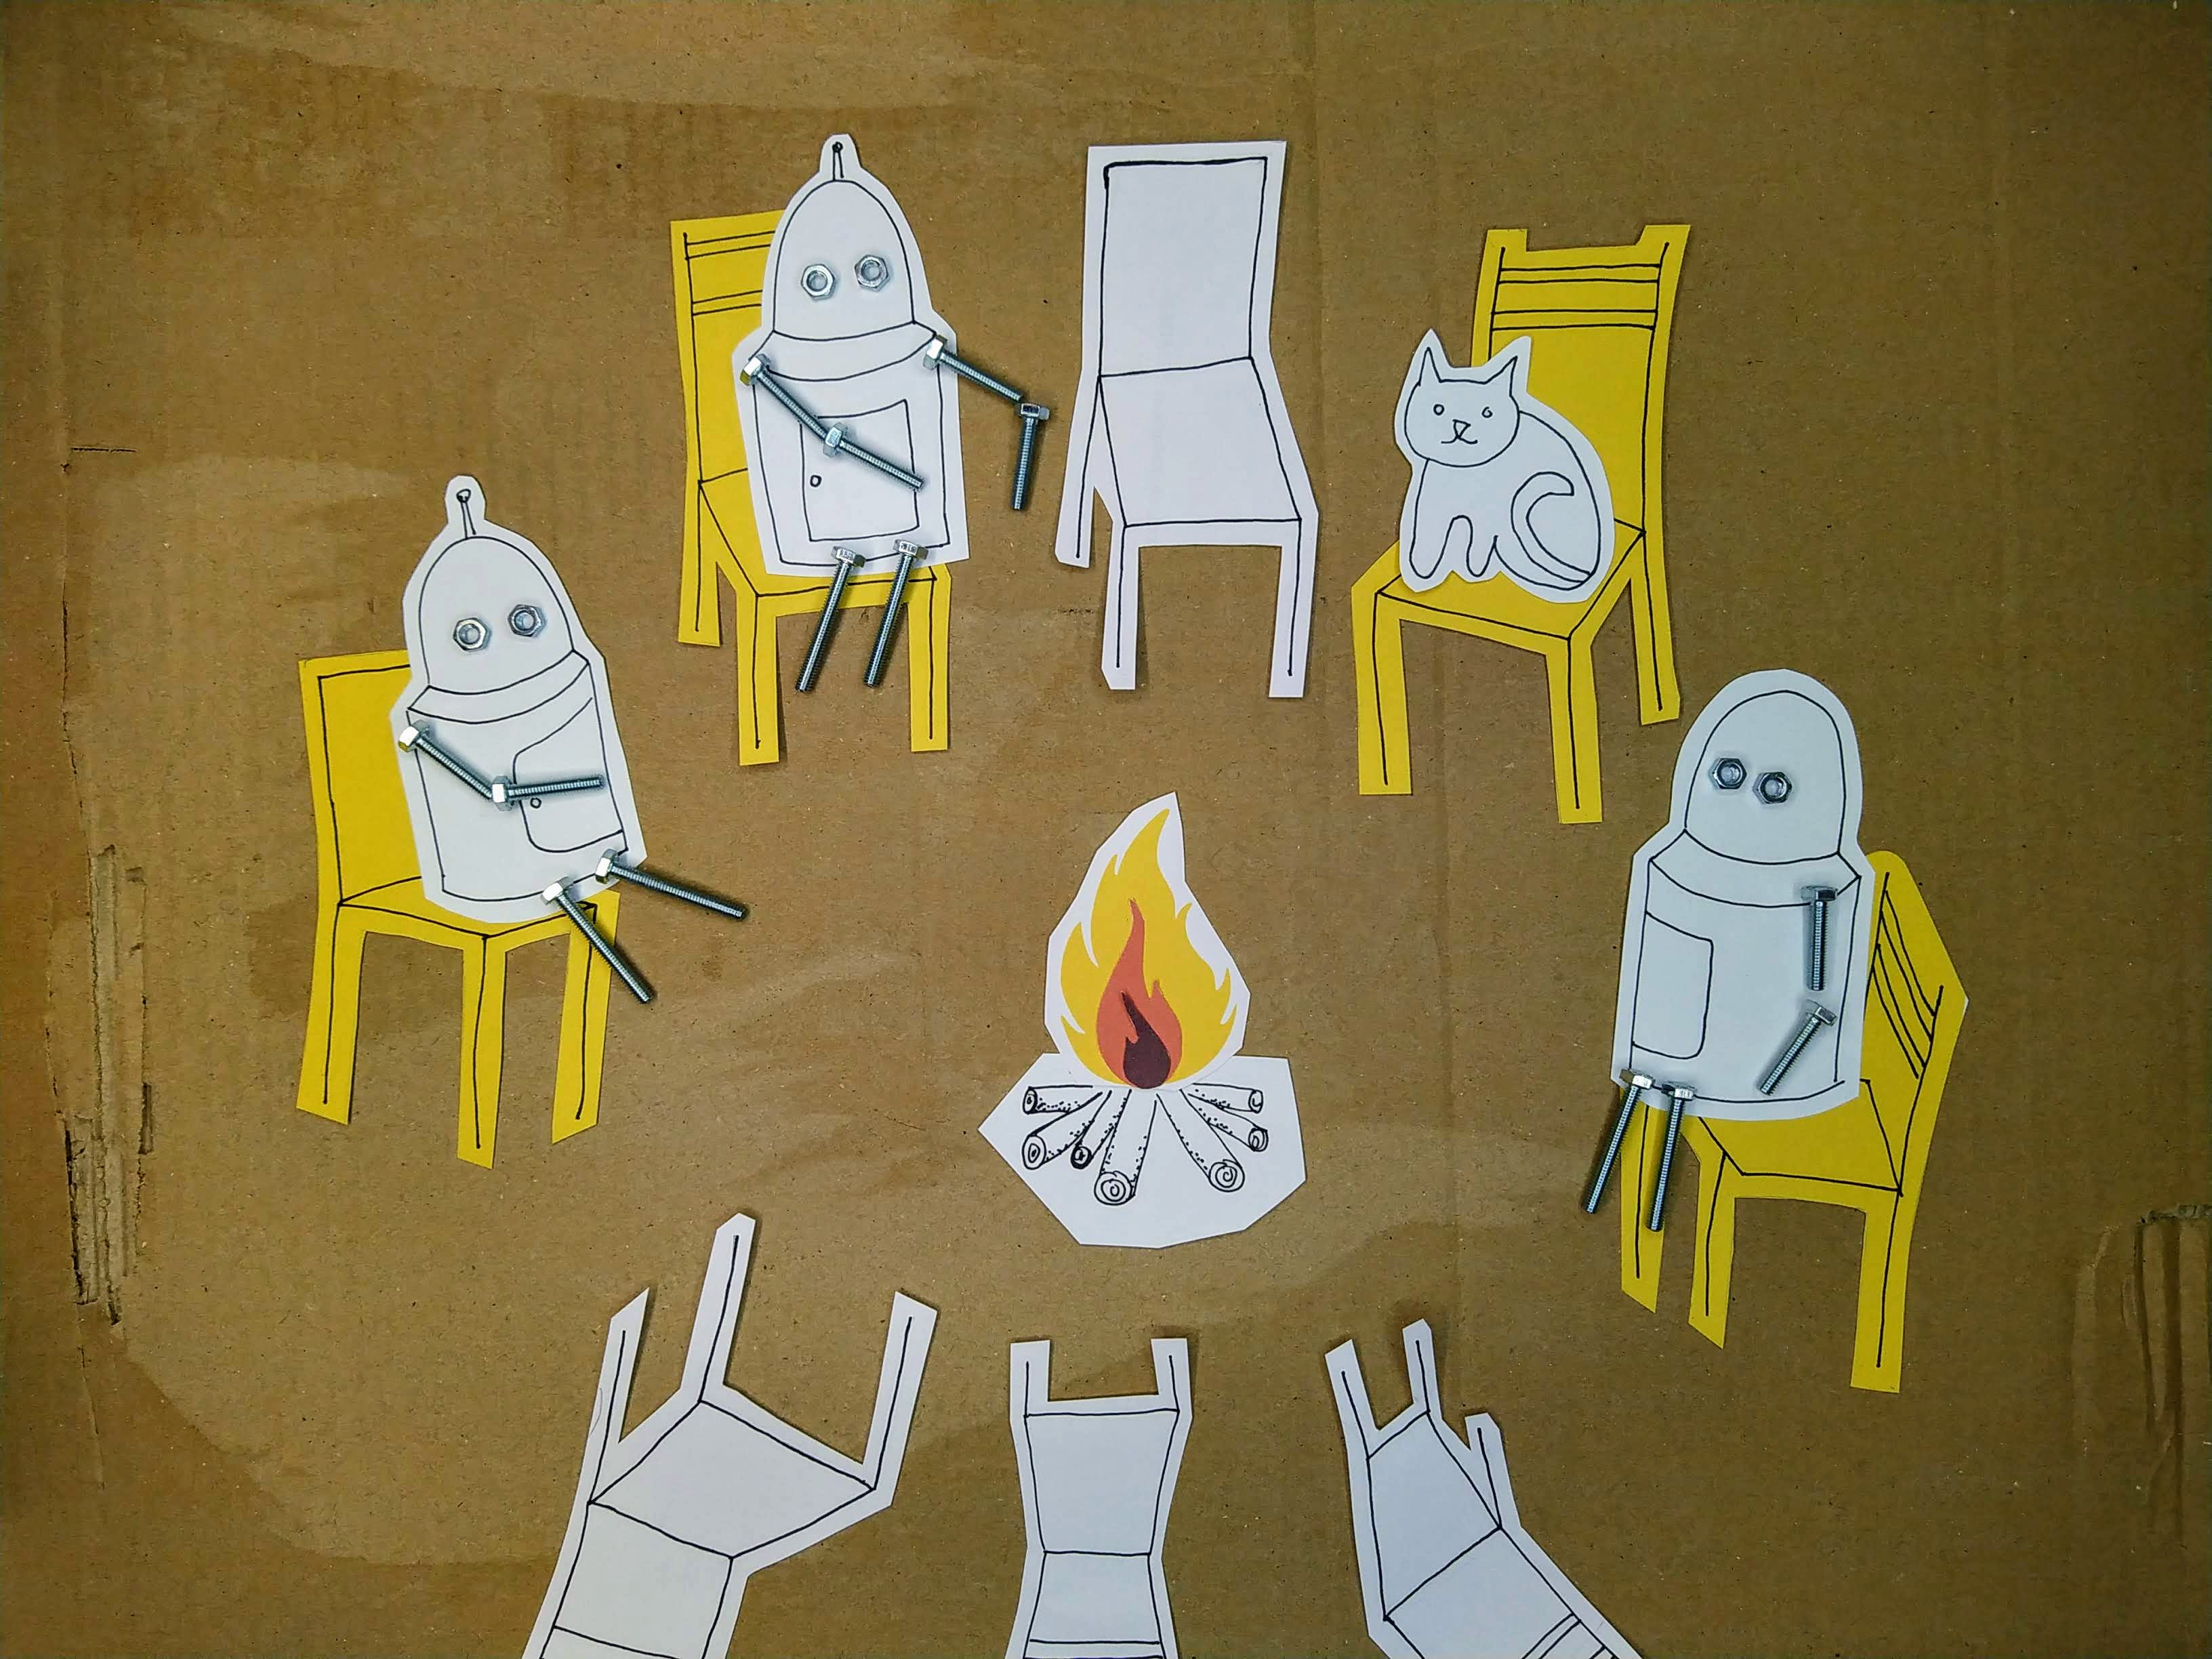
I made another stop-motion animation. This is a description of some creation myths. A day in the life.
I made a short and simple stop-motion animation.


Choose an amount
Or enter a custom amount
Your contribution is appreciated.
Your contribution is appreciated.
Your contribution is appreciated.
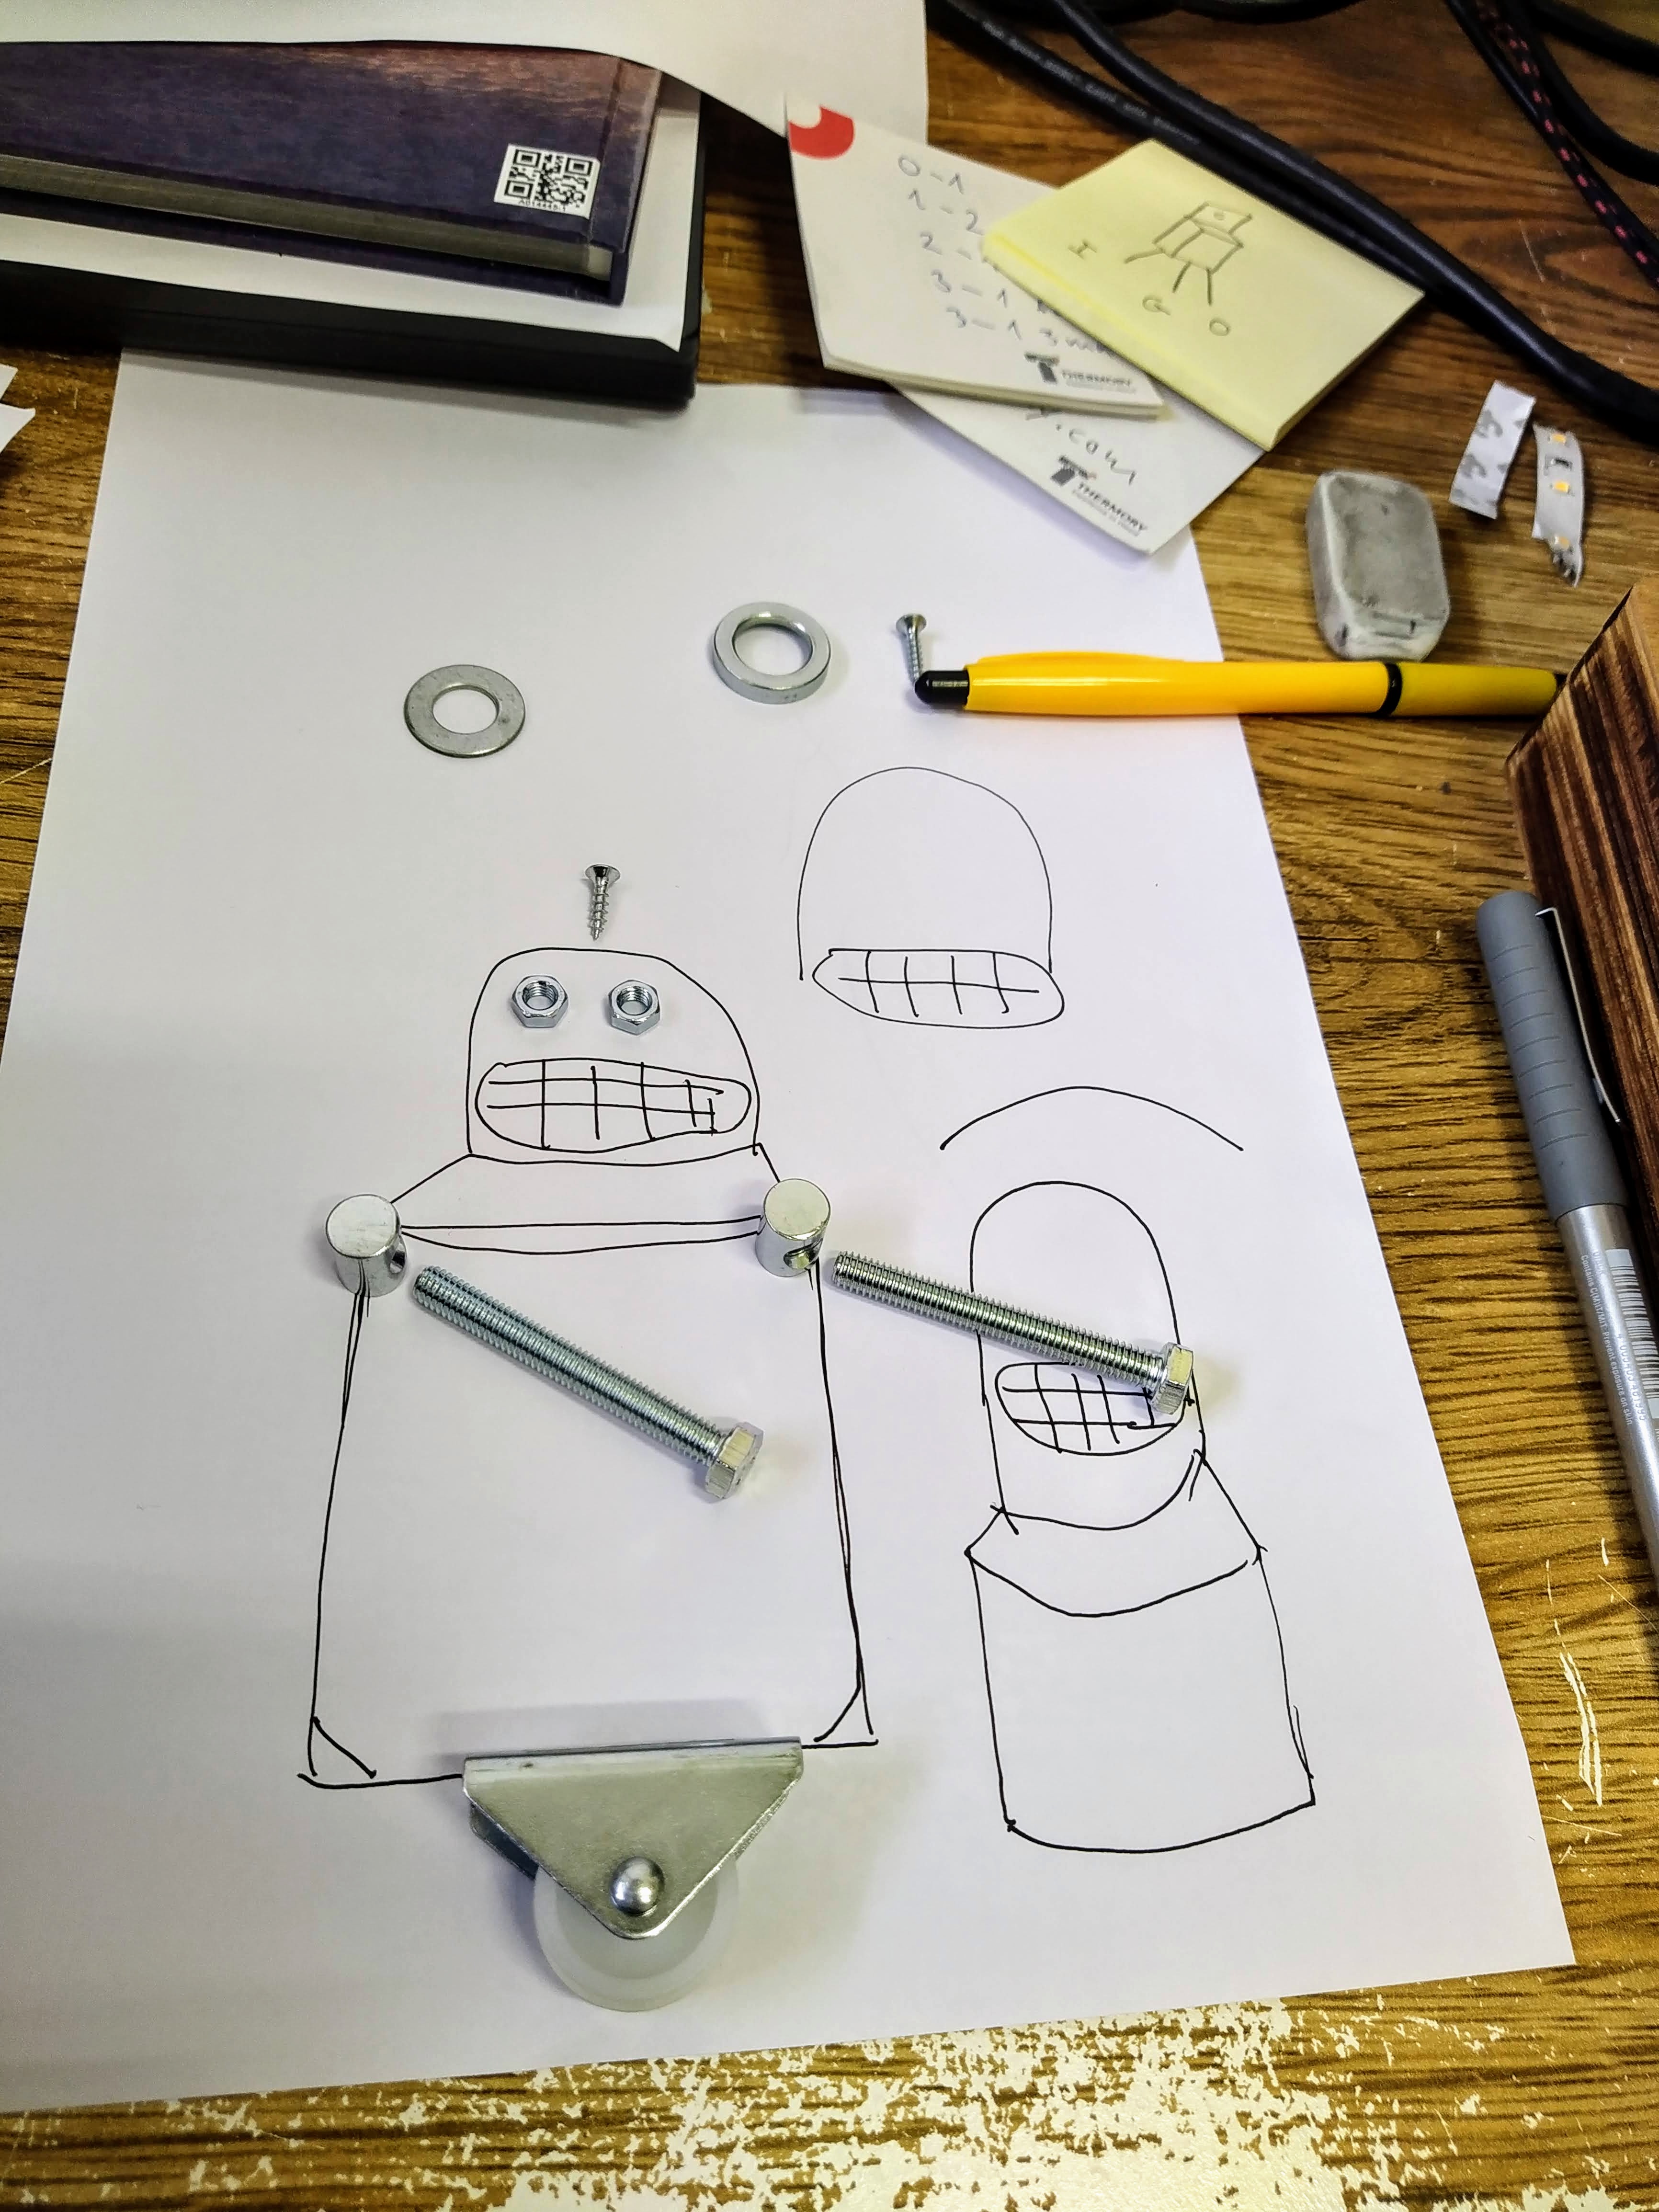
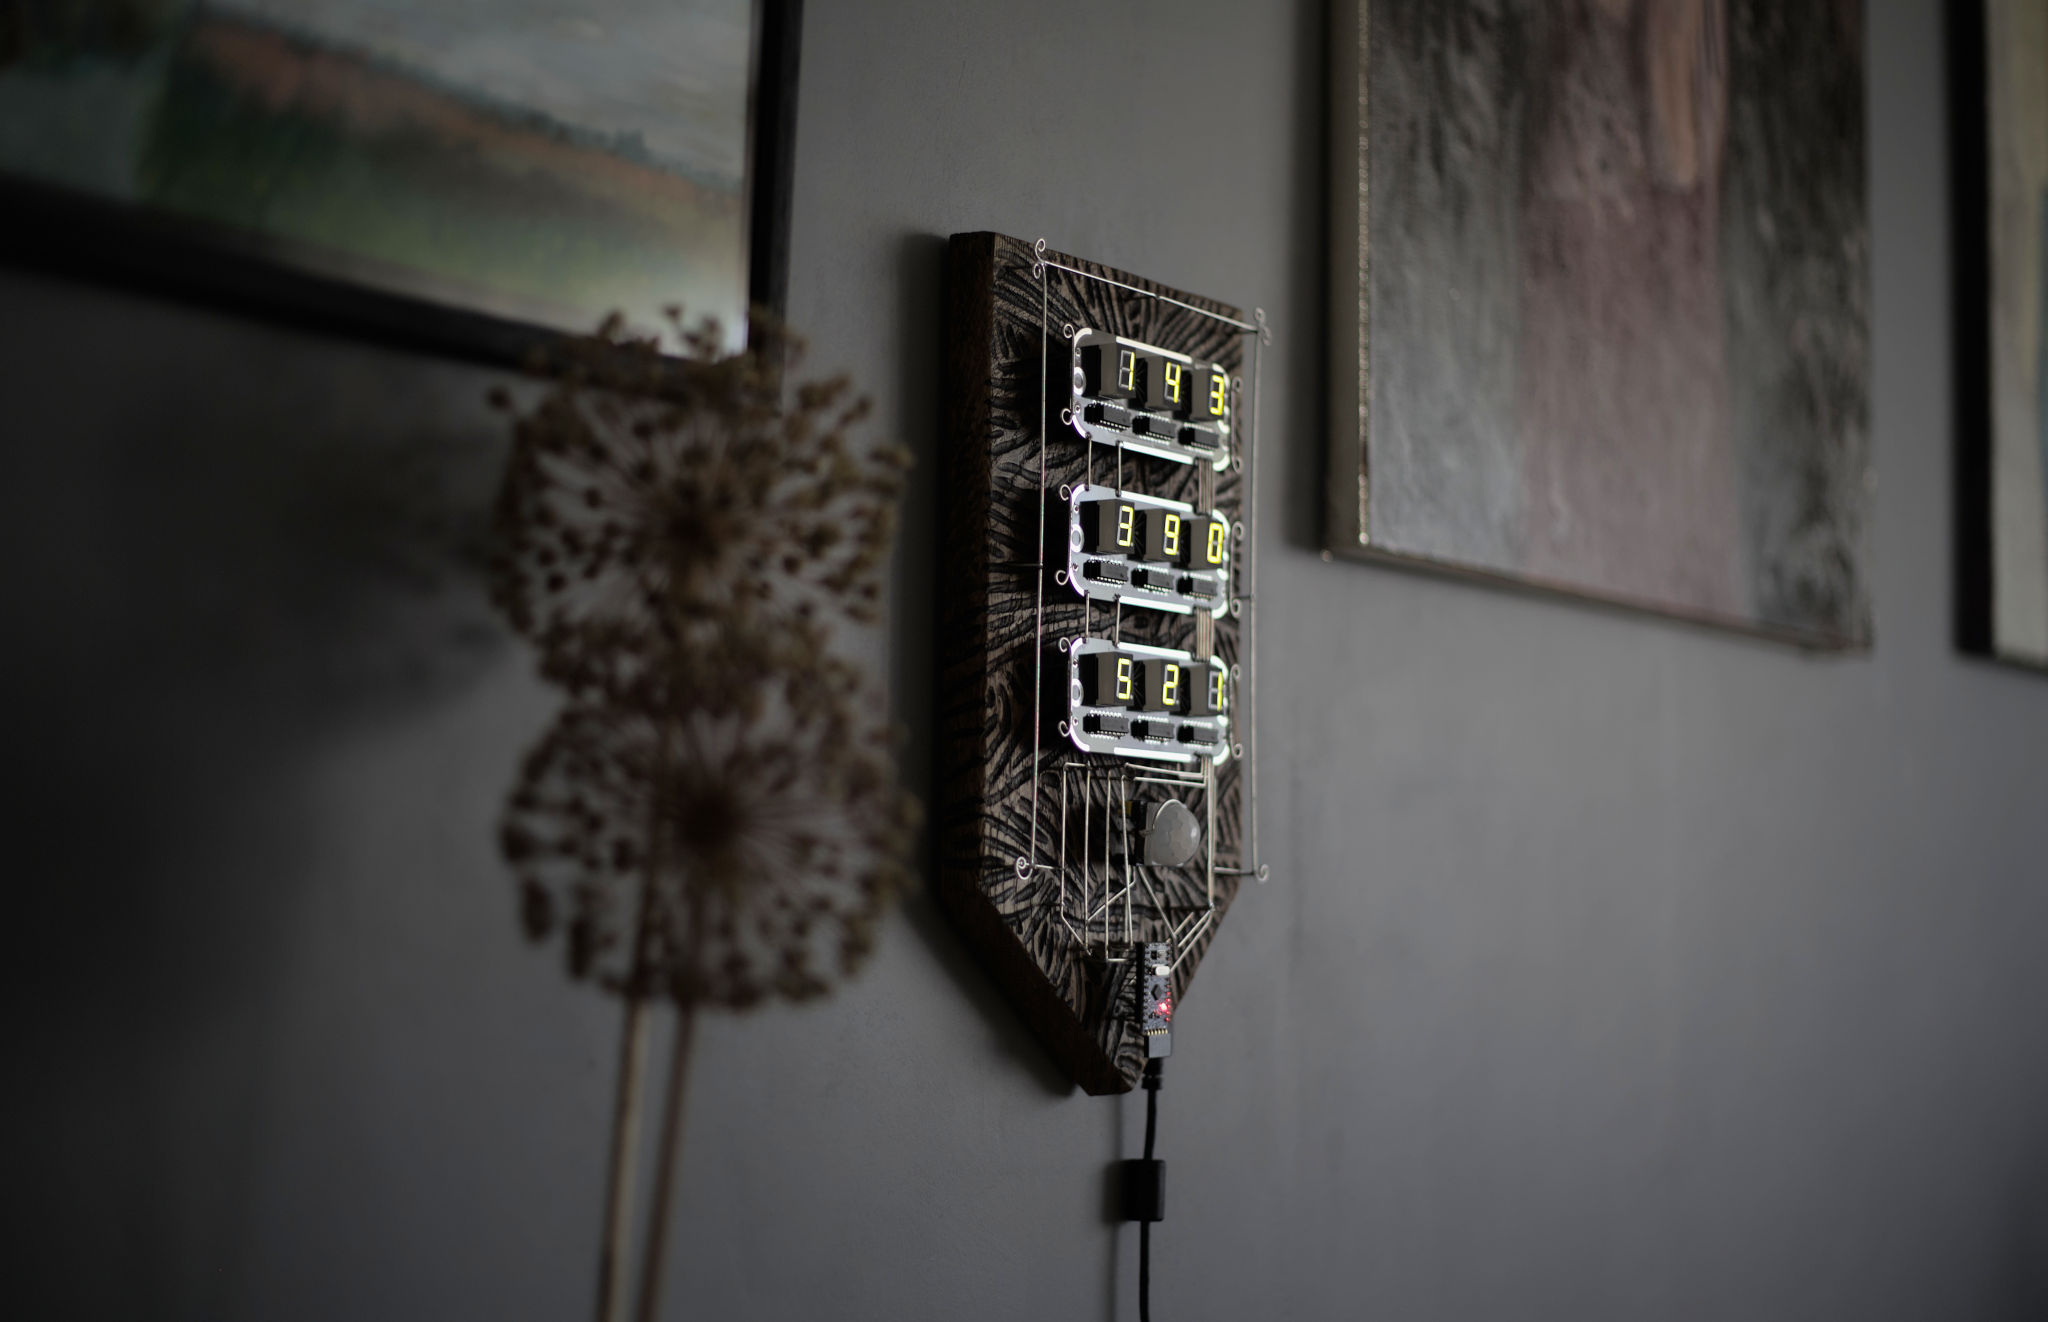
I like history and I like medieval European coats of arms. Of course, nowadays, their design has its own rules and order. But when I have searched the early ones and found some. They can look wild. So I thought to make some mixed ones — medieval combined with modern electronics.
The hardware part is ready. In the software part, I need to still experiment with different ideas.

My first design ideas had a little bit of a different design. Especially on the bottom part.
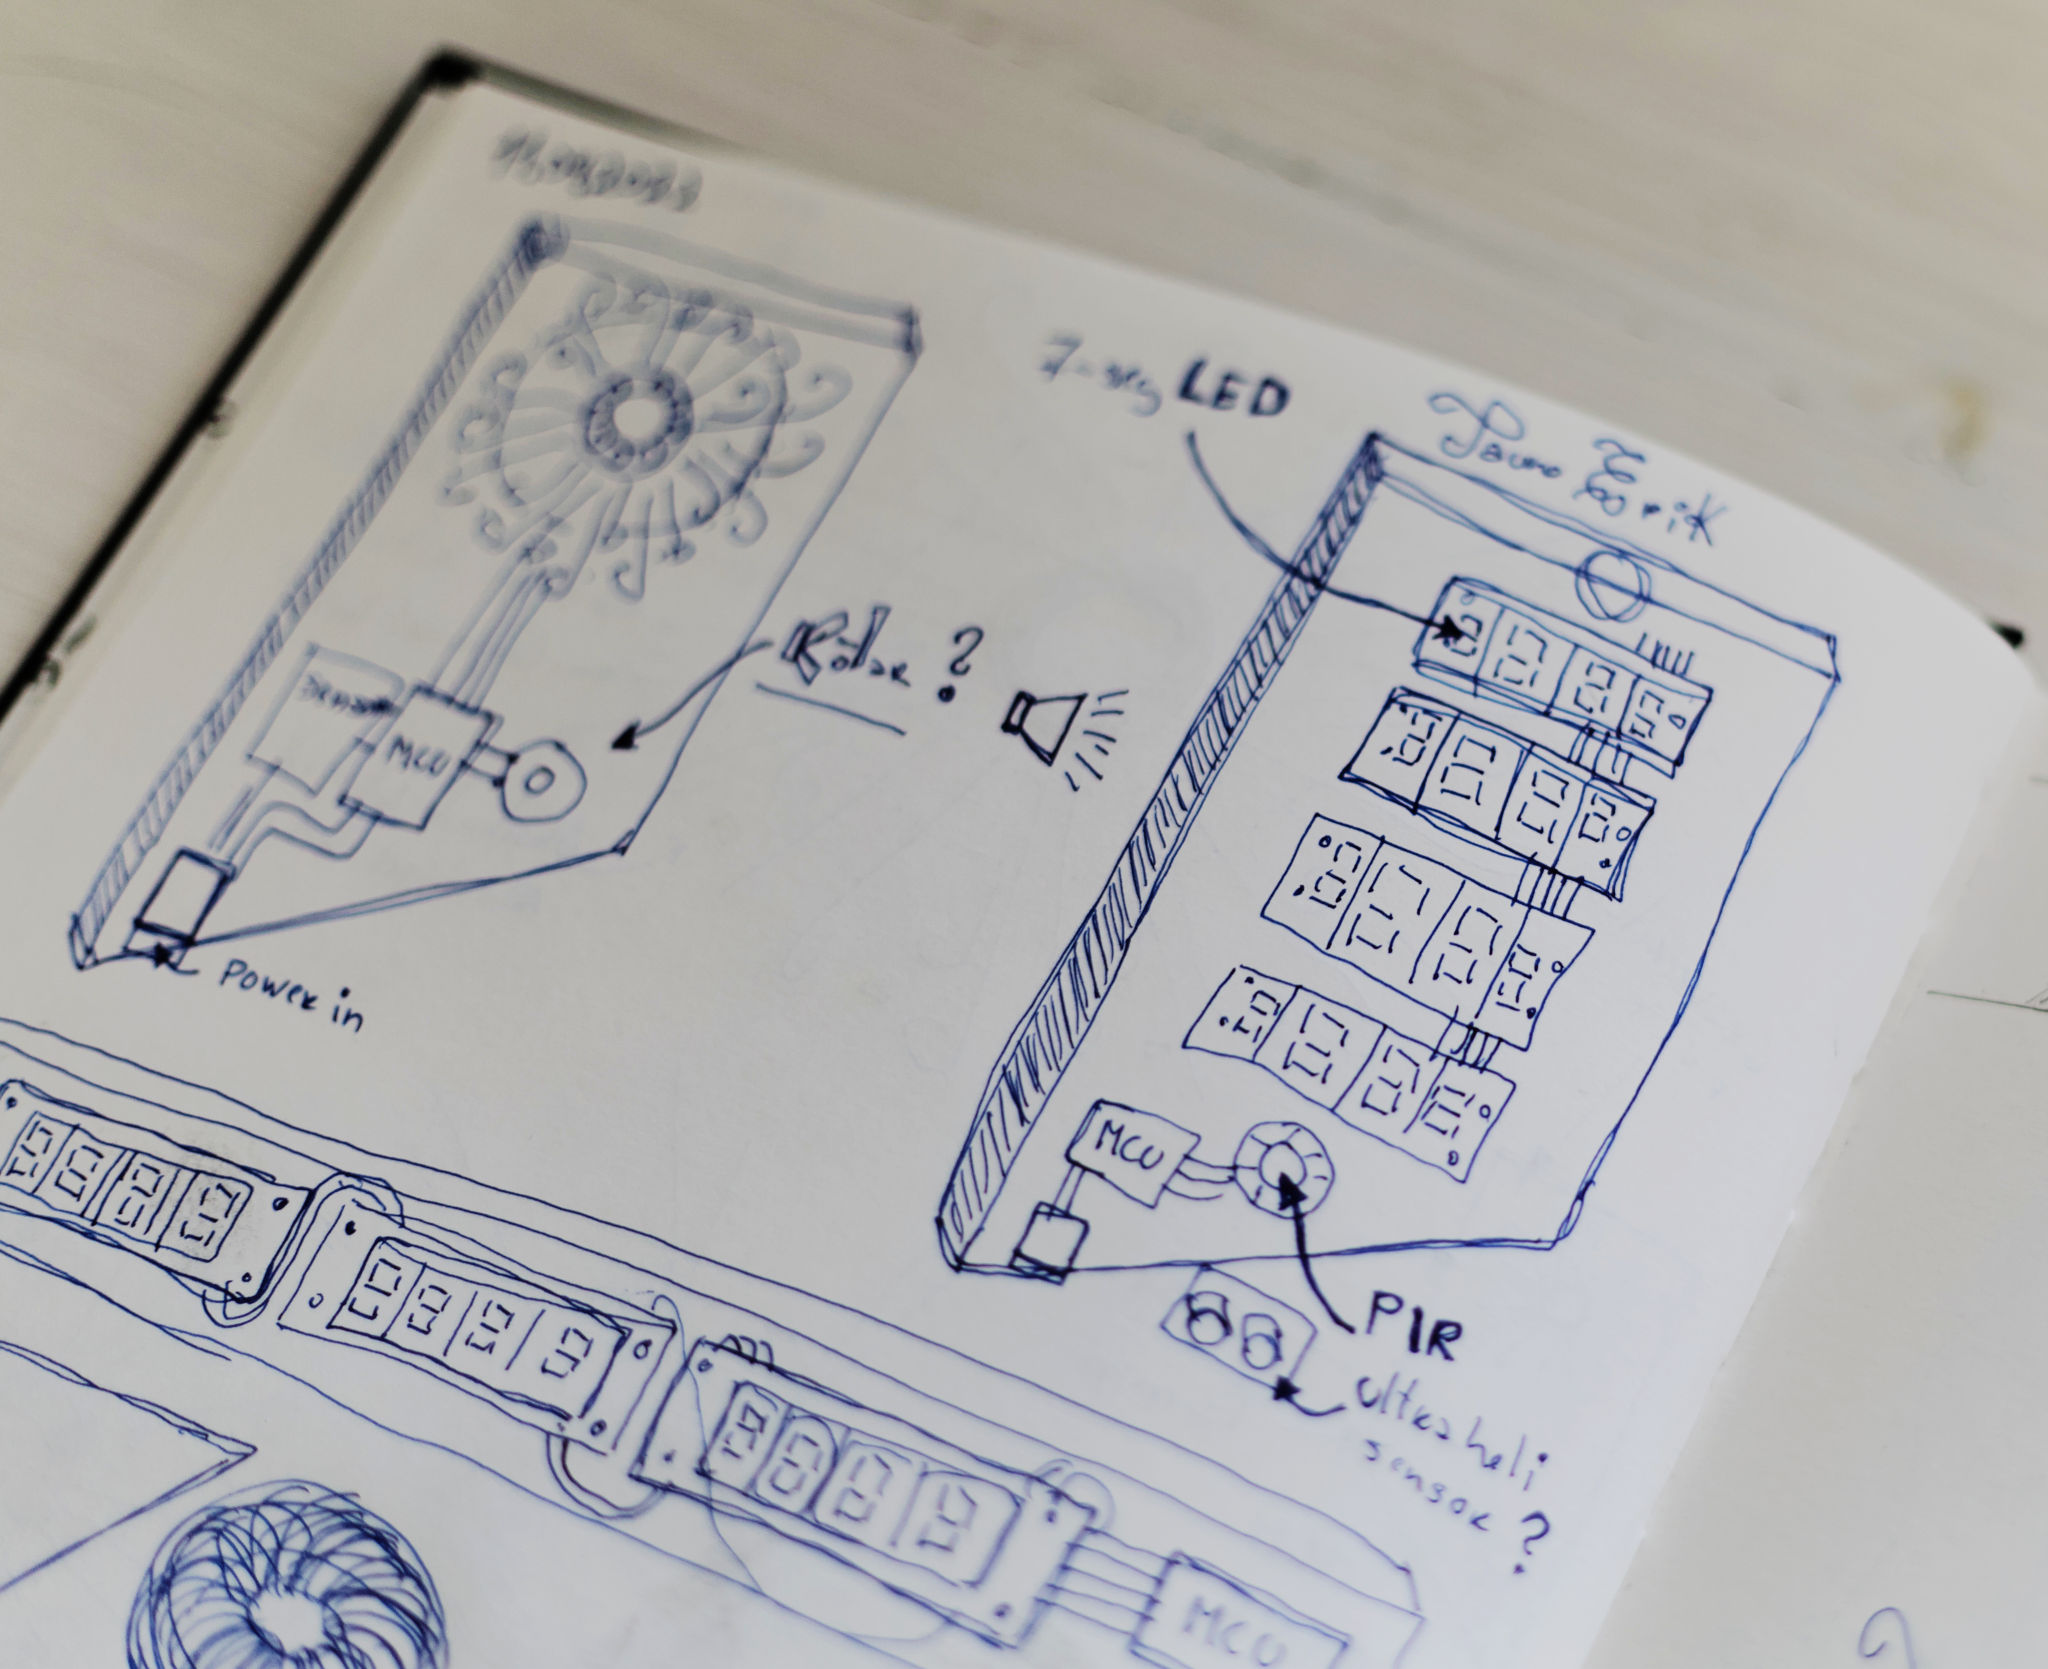
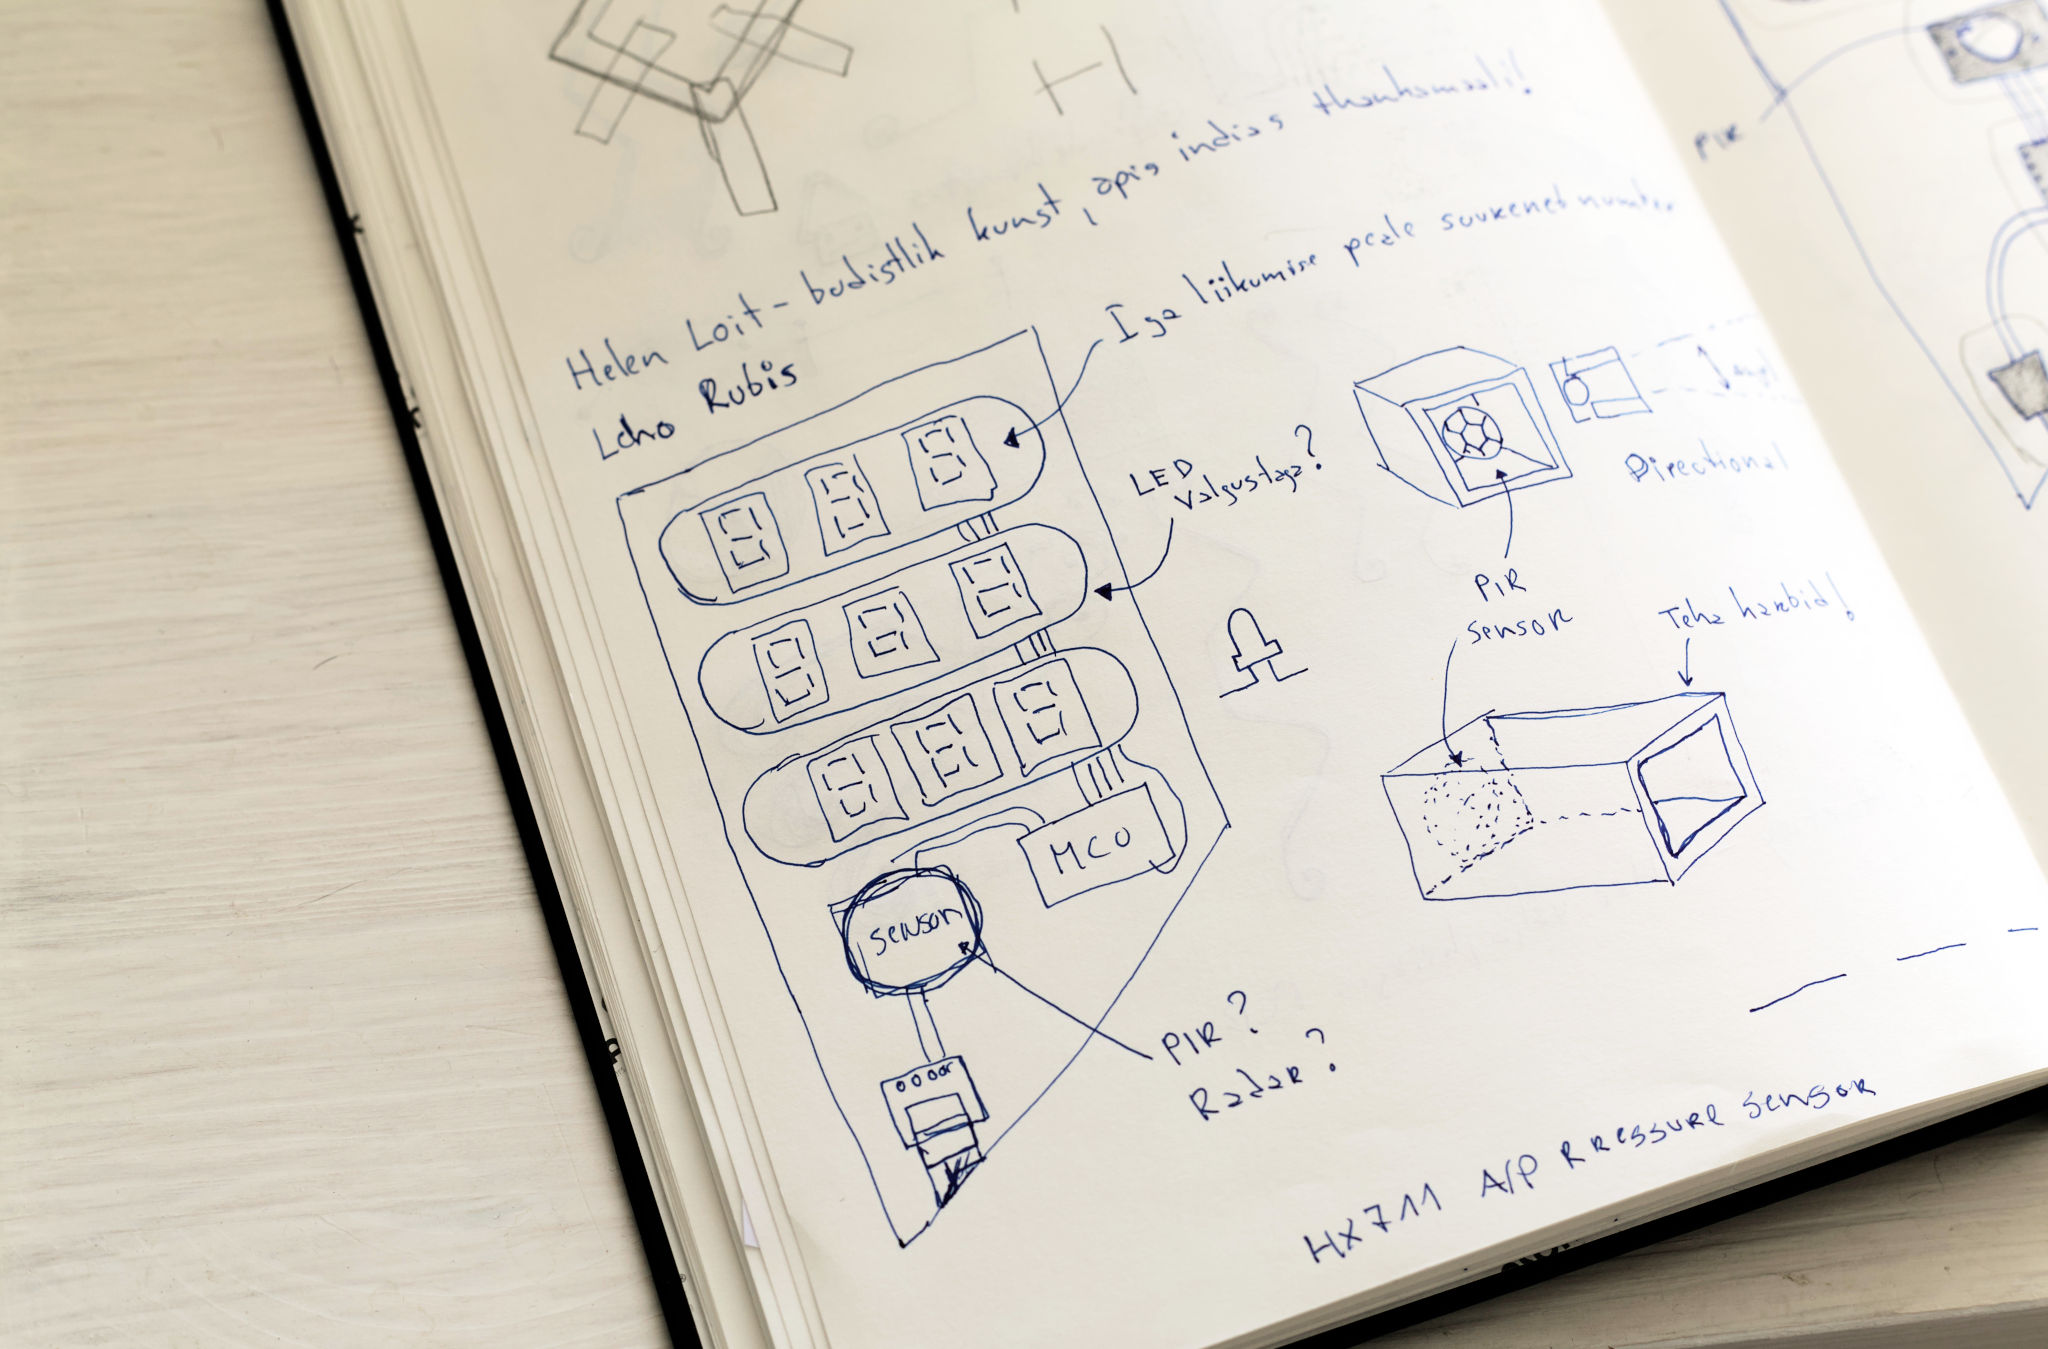
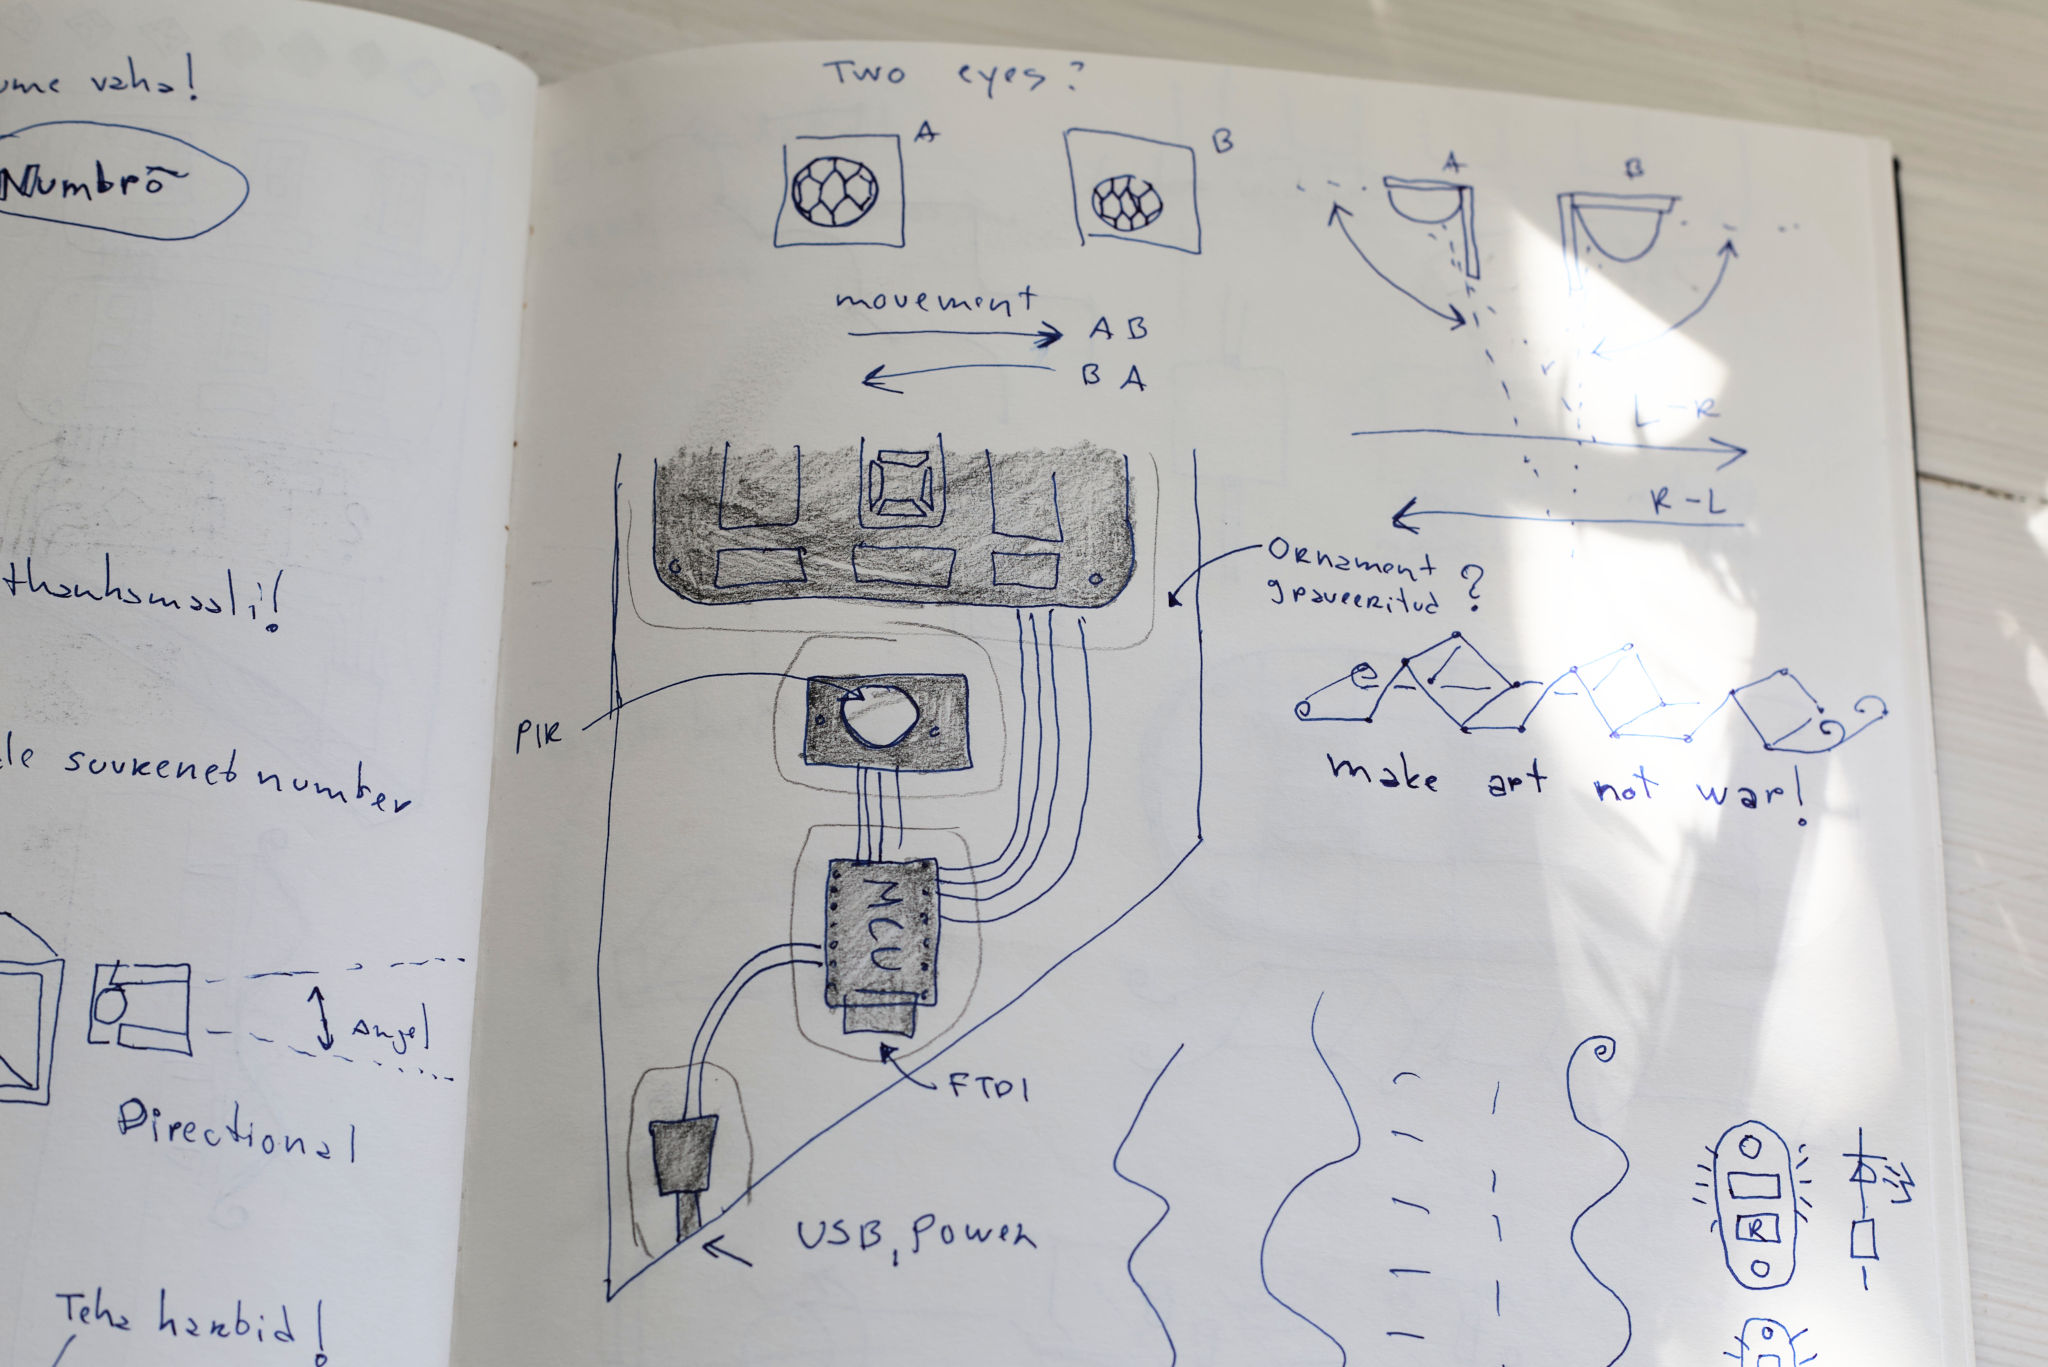
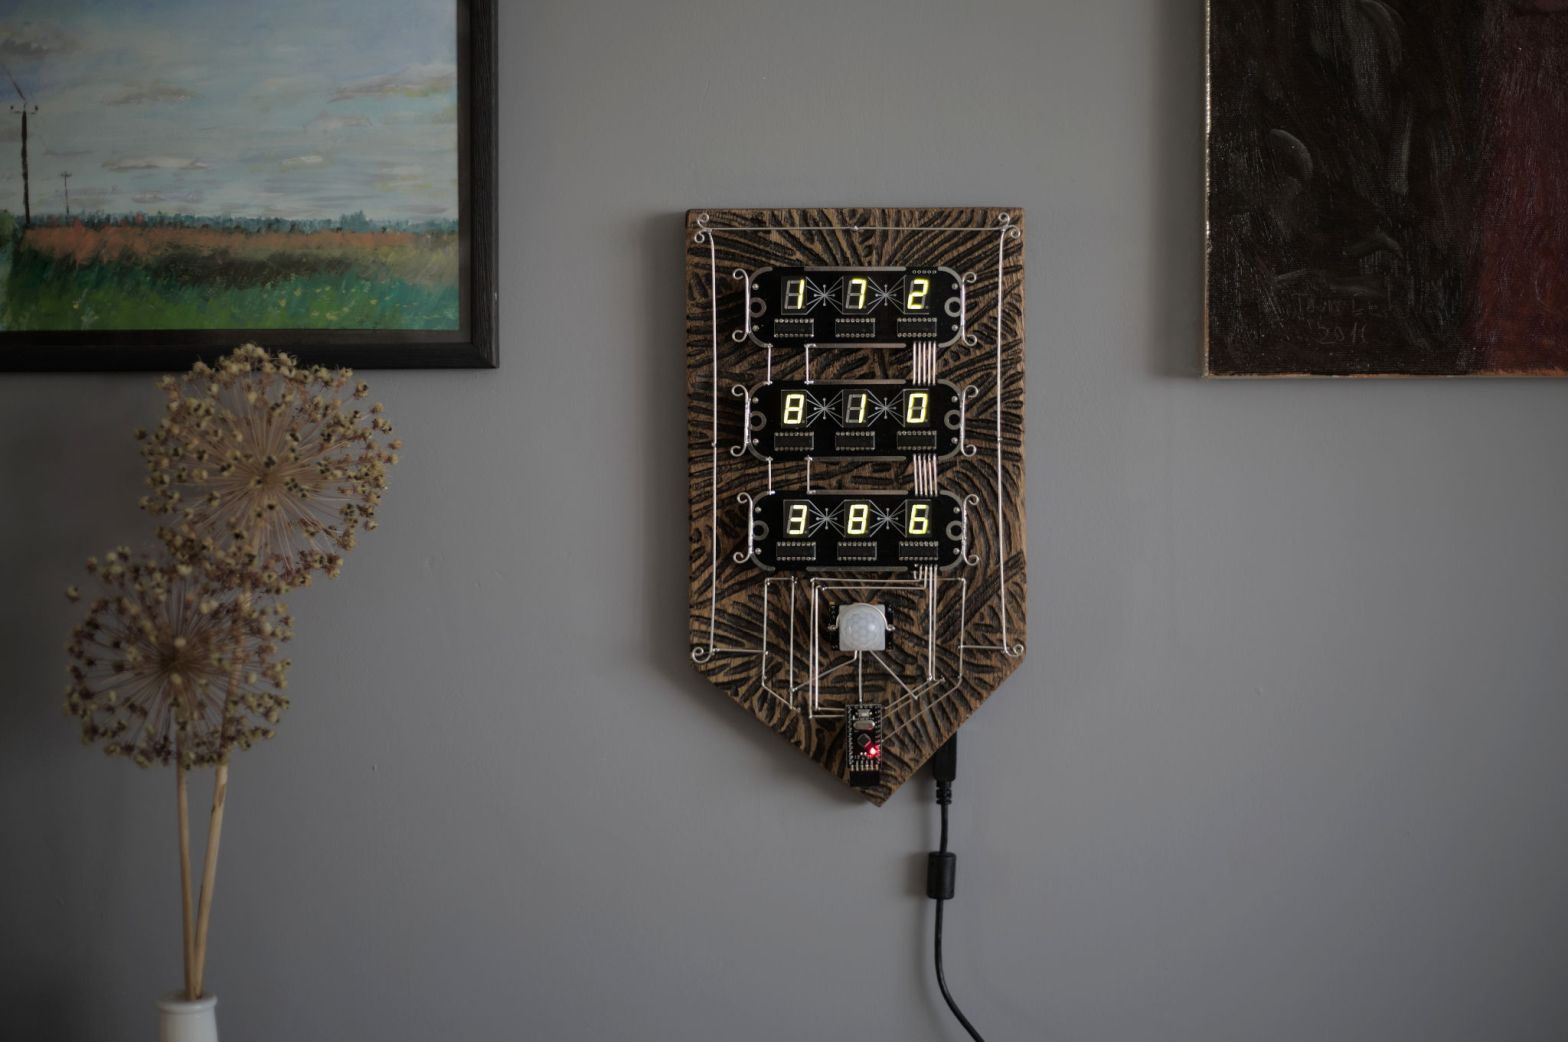
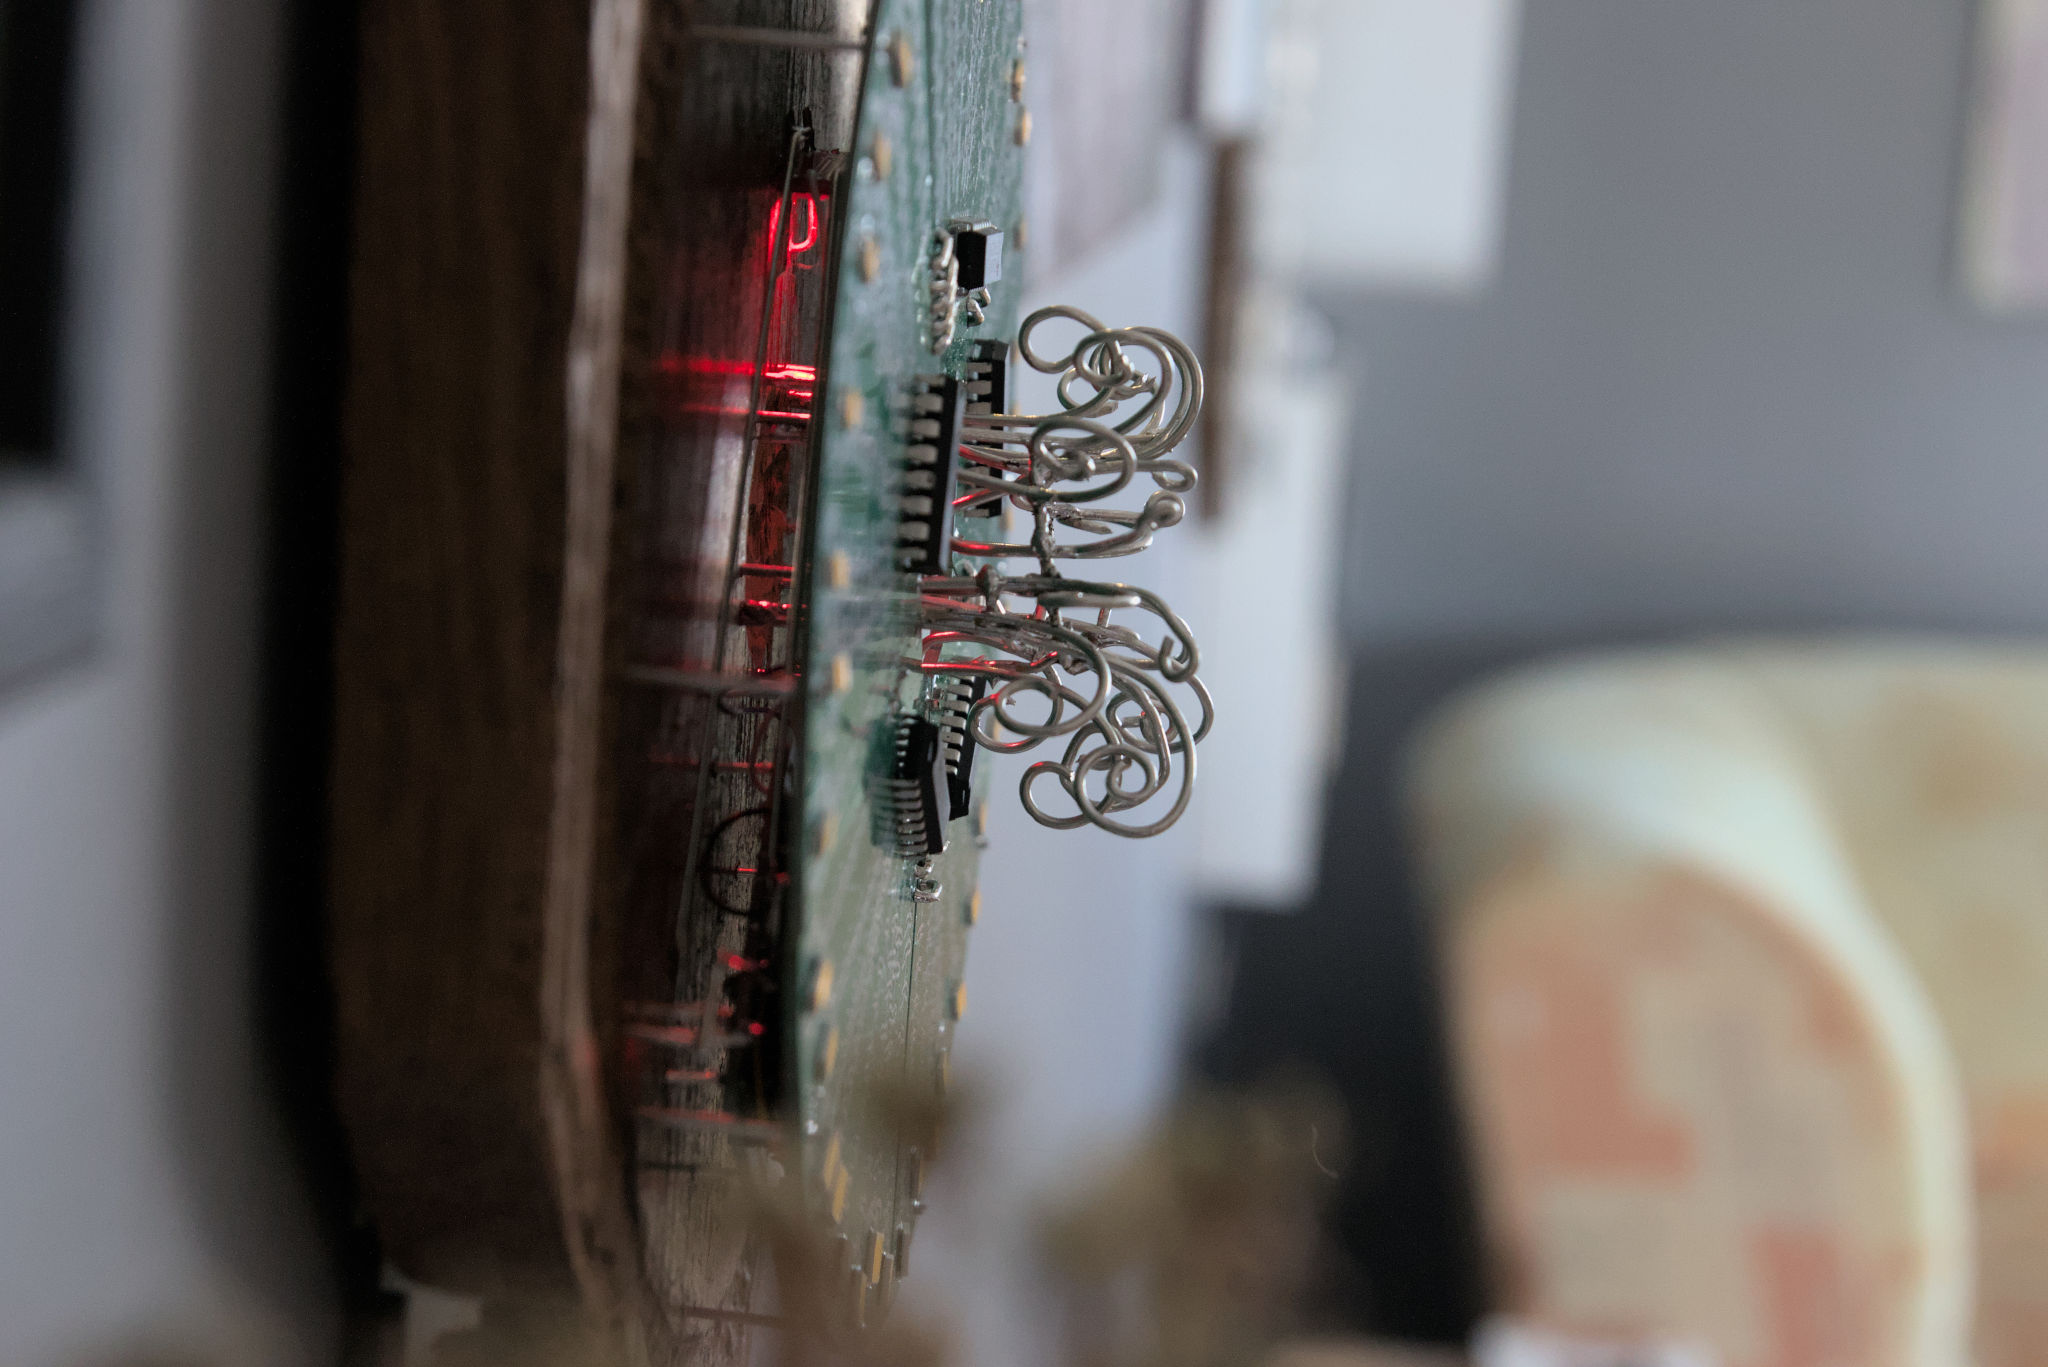
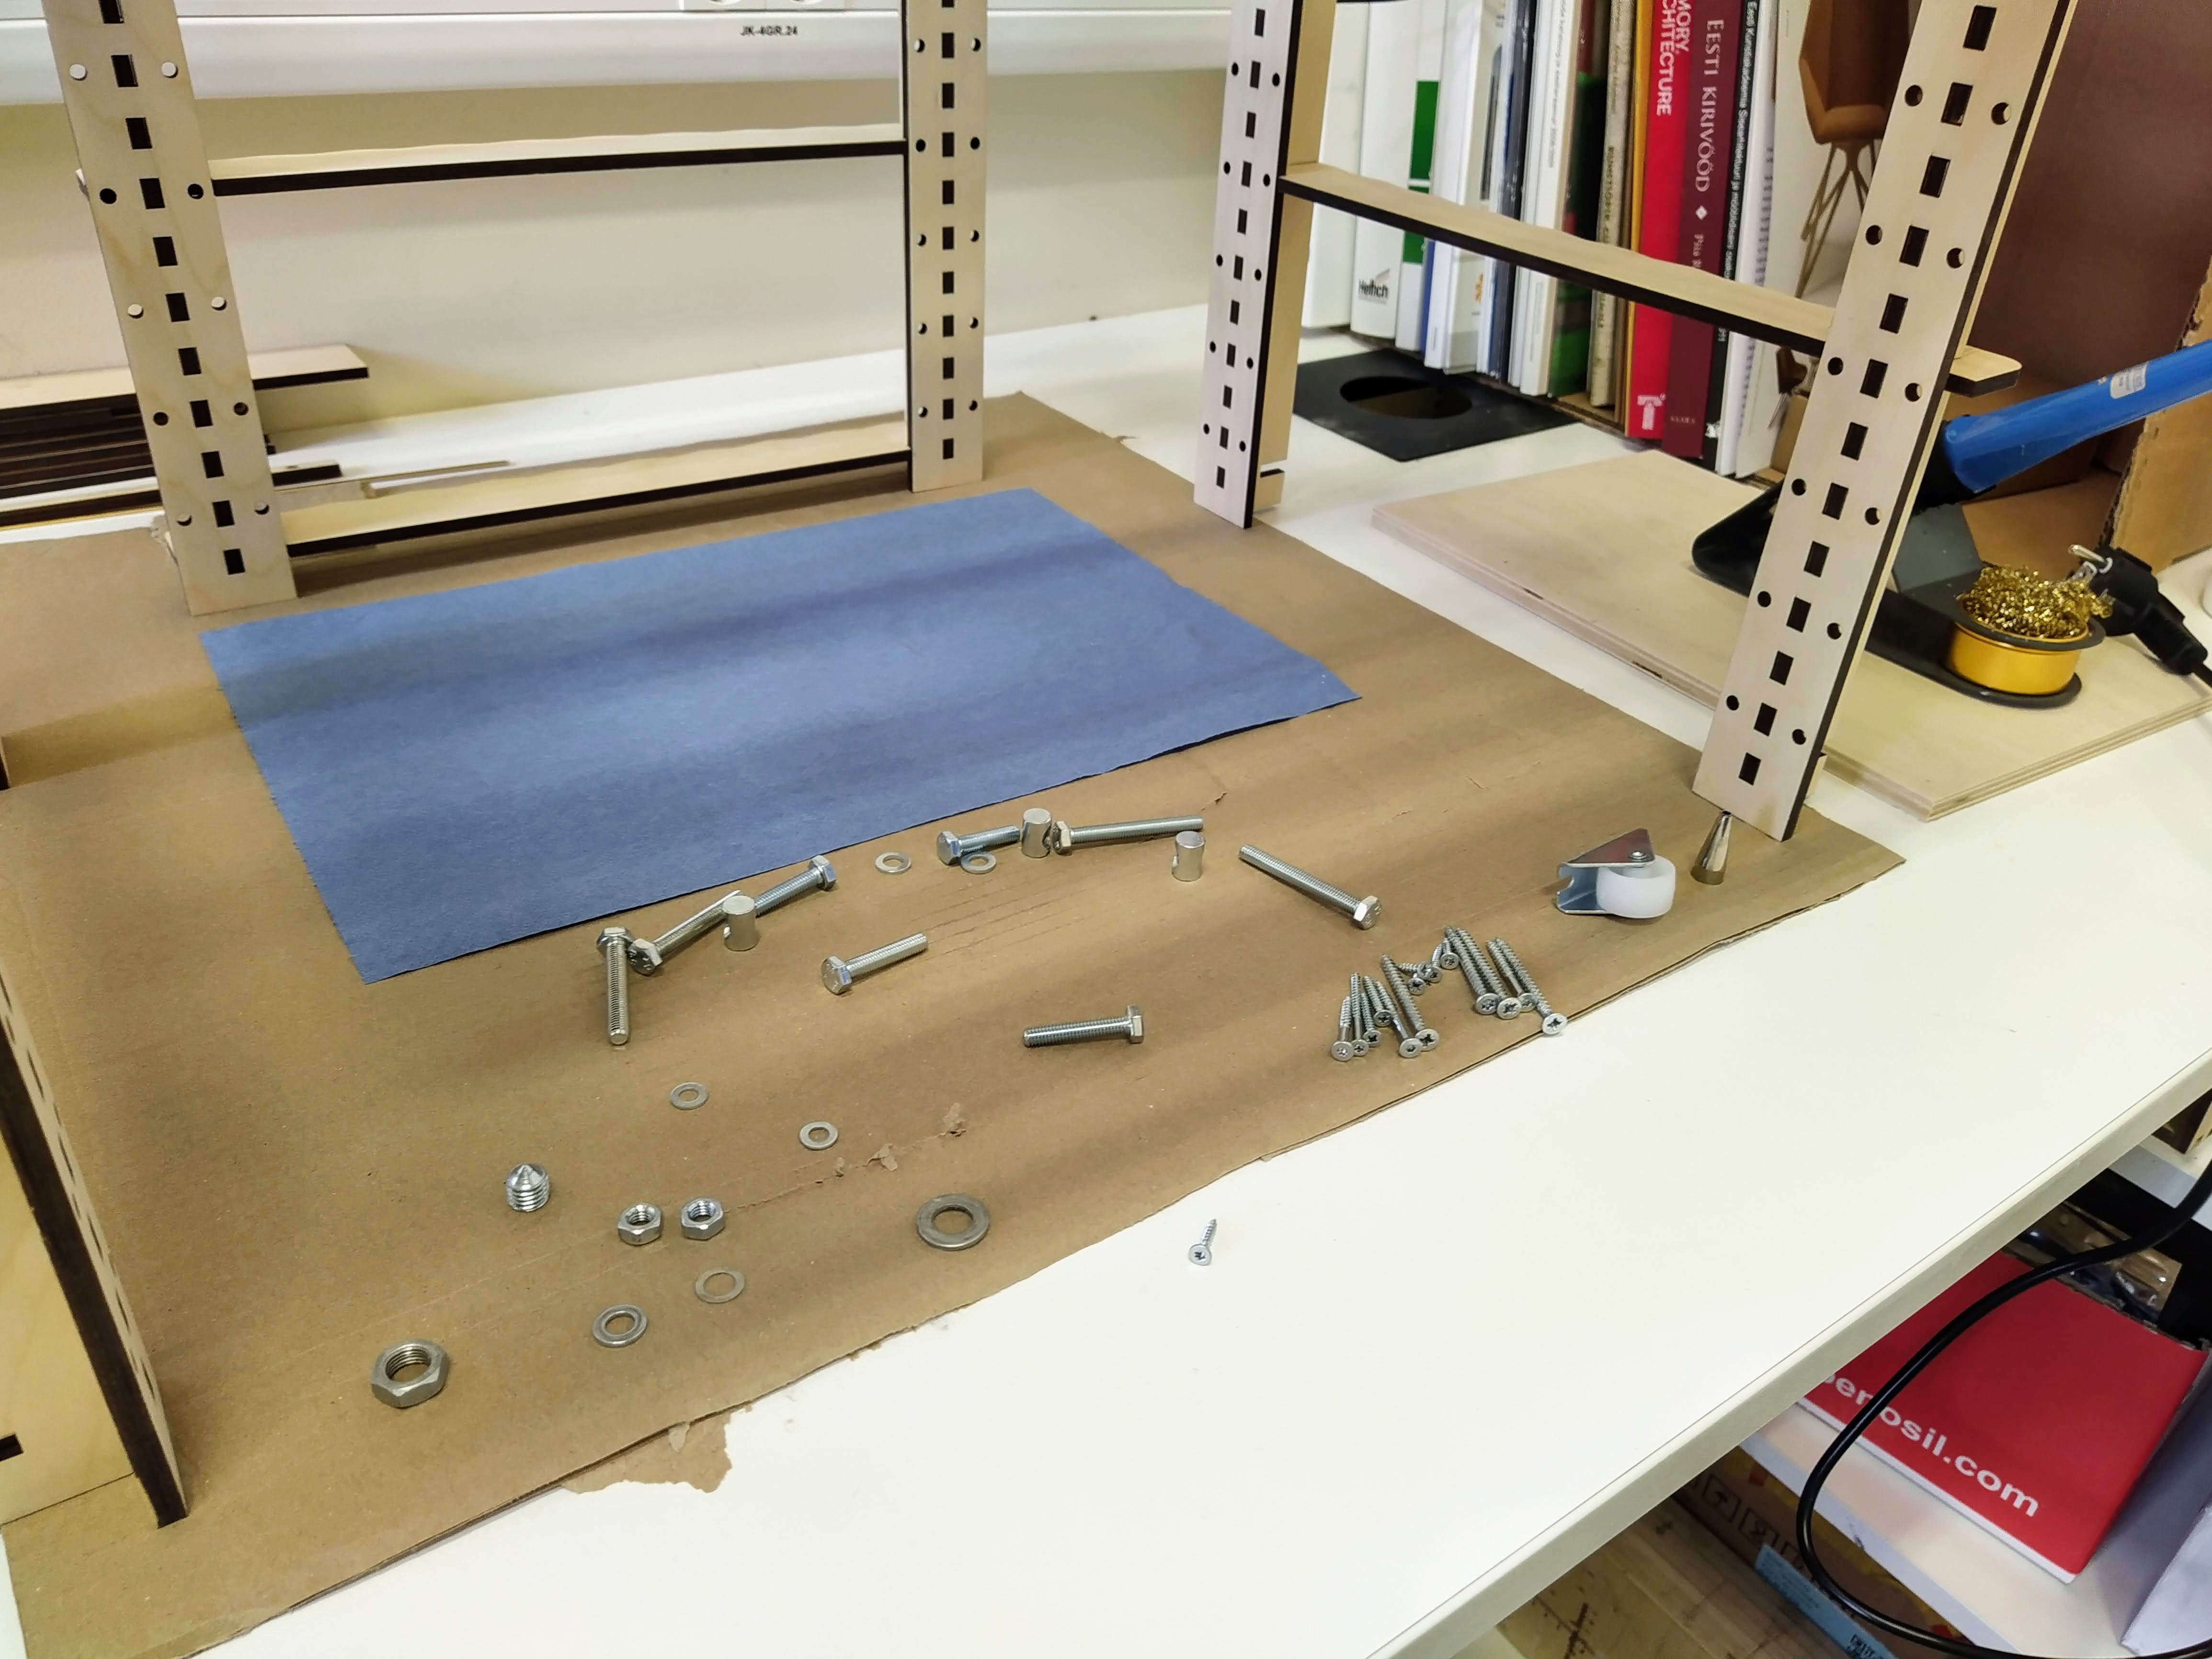
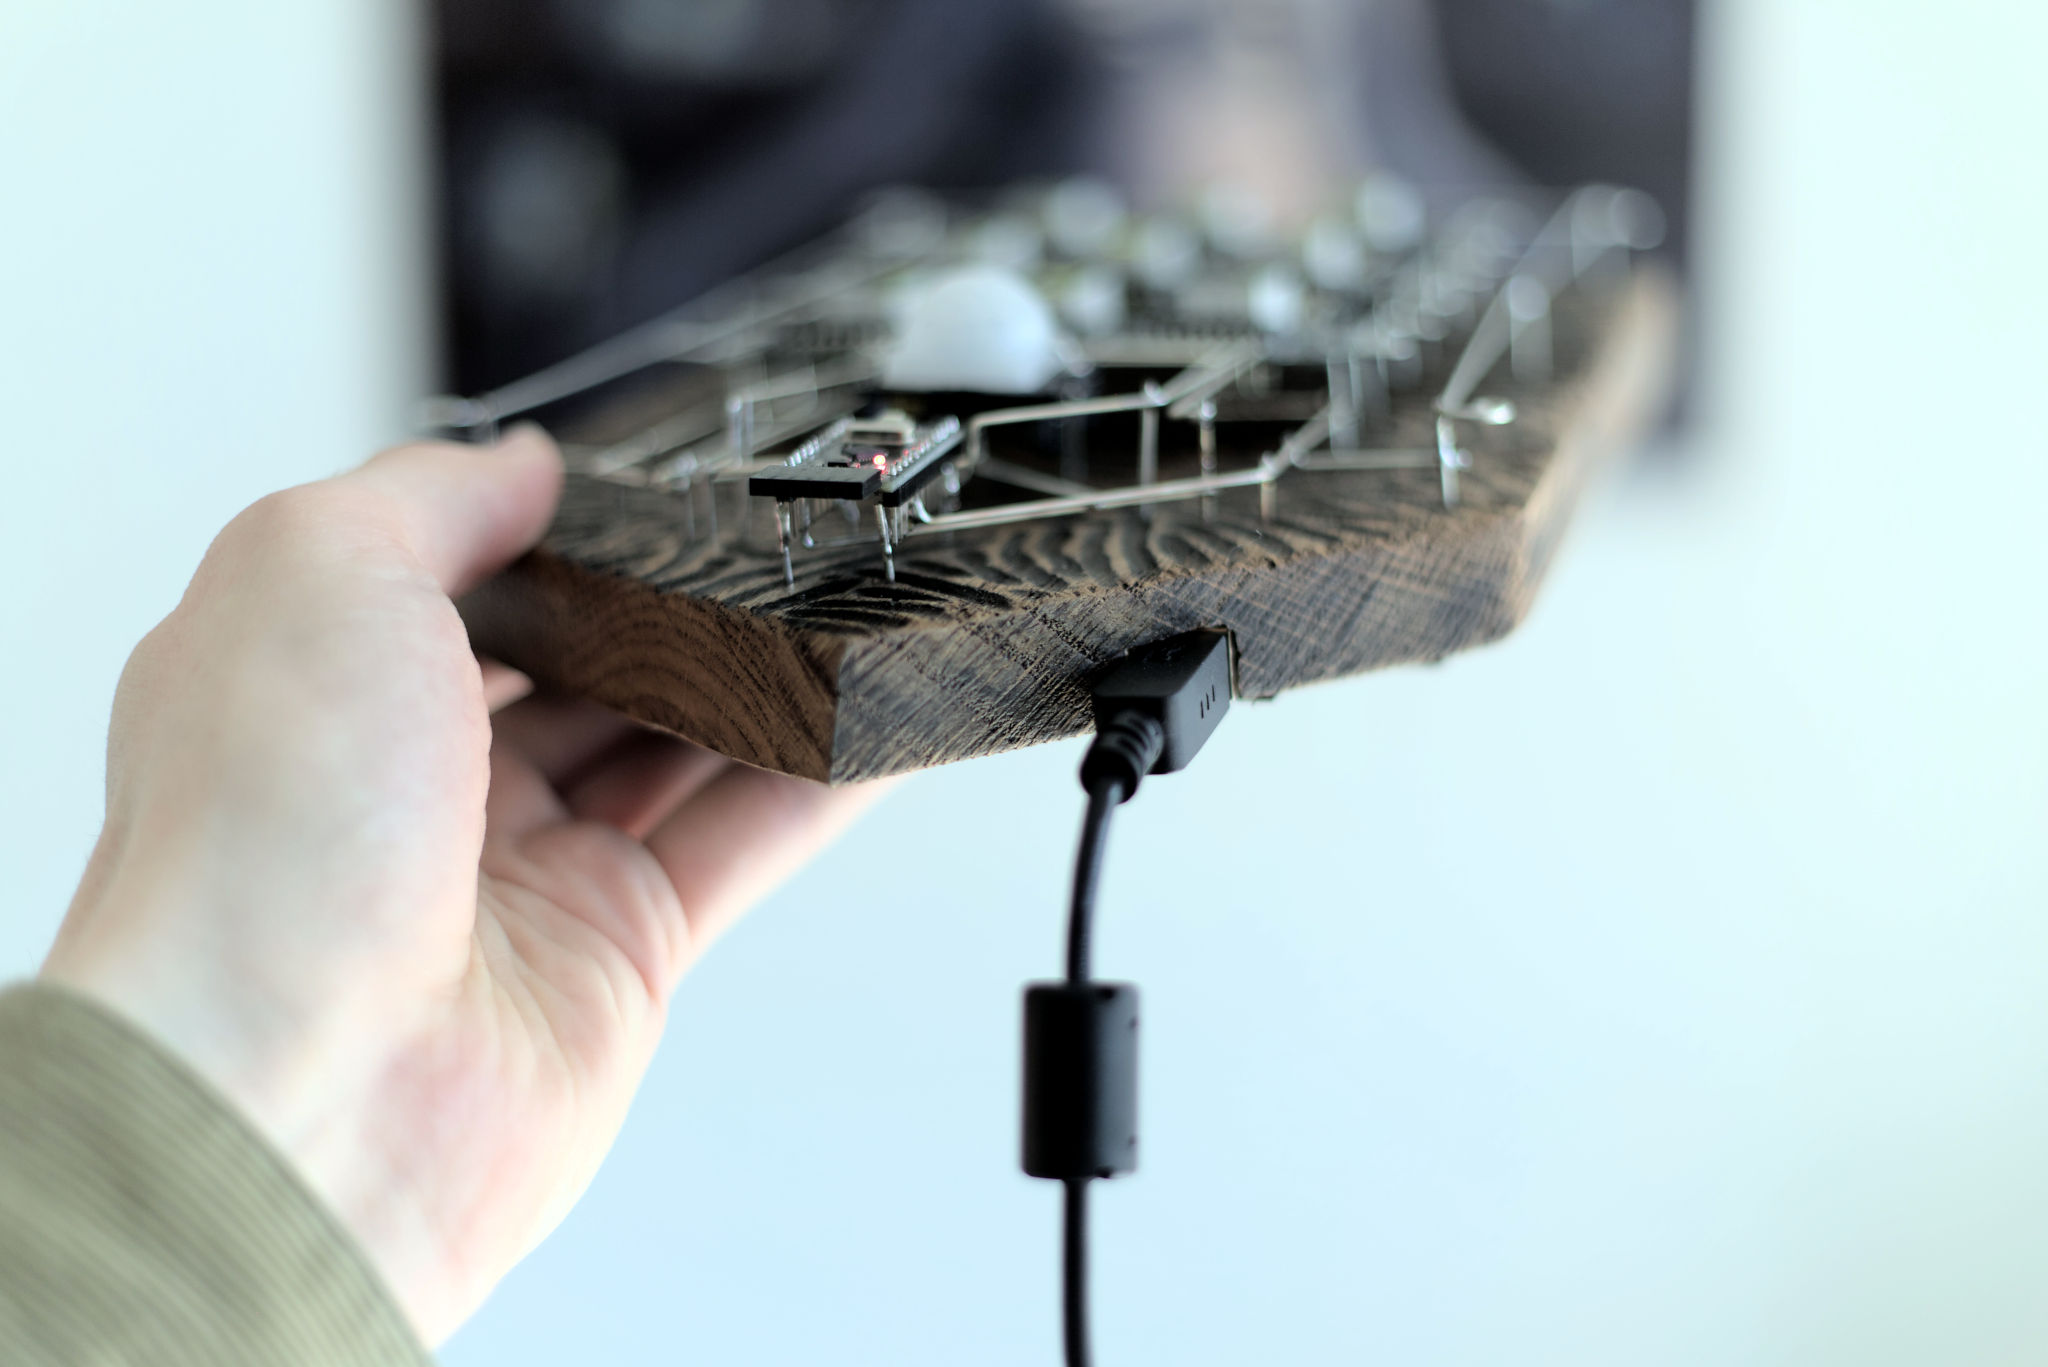
The base is a solid oak panel. Hand carved and coated with antique beeswax. I use tinned copper wire TCW18. The MCU board is an Arduino Pro micro (not original). And I use the PIR HC-SR501 motion sensor.
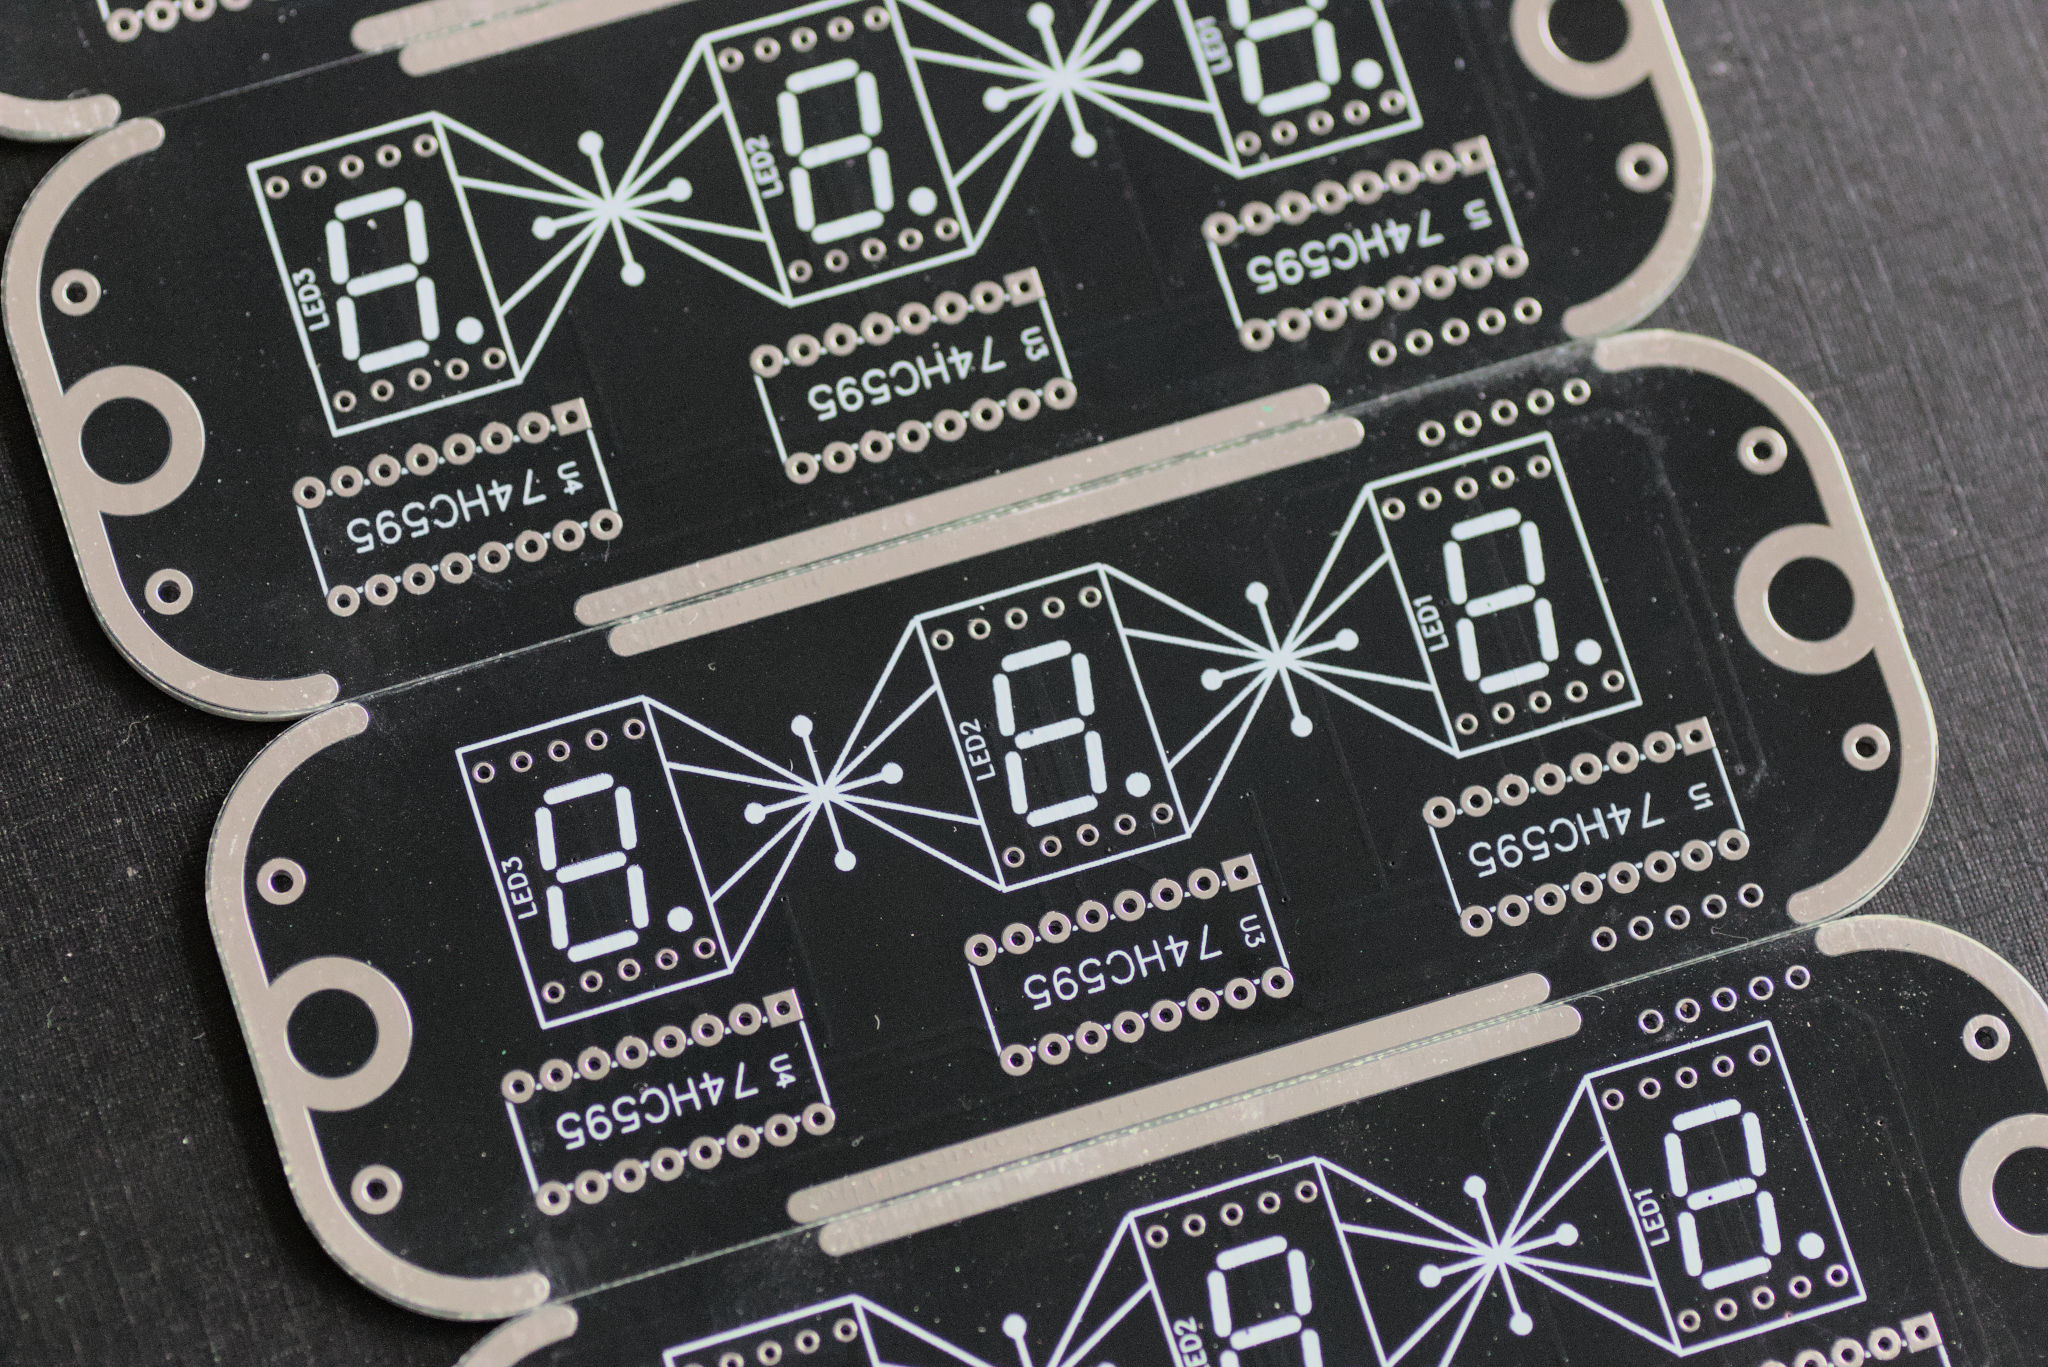
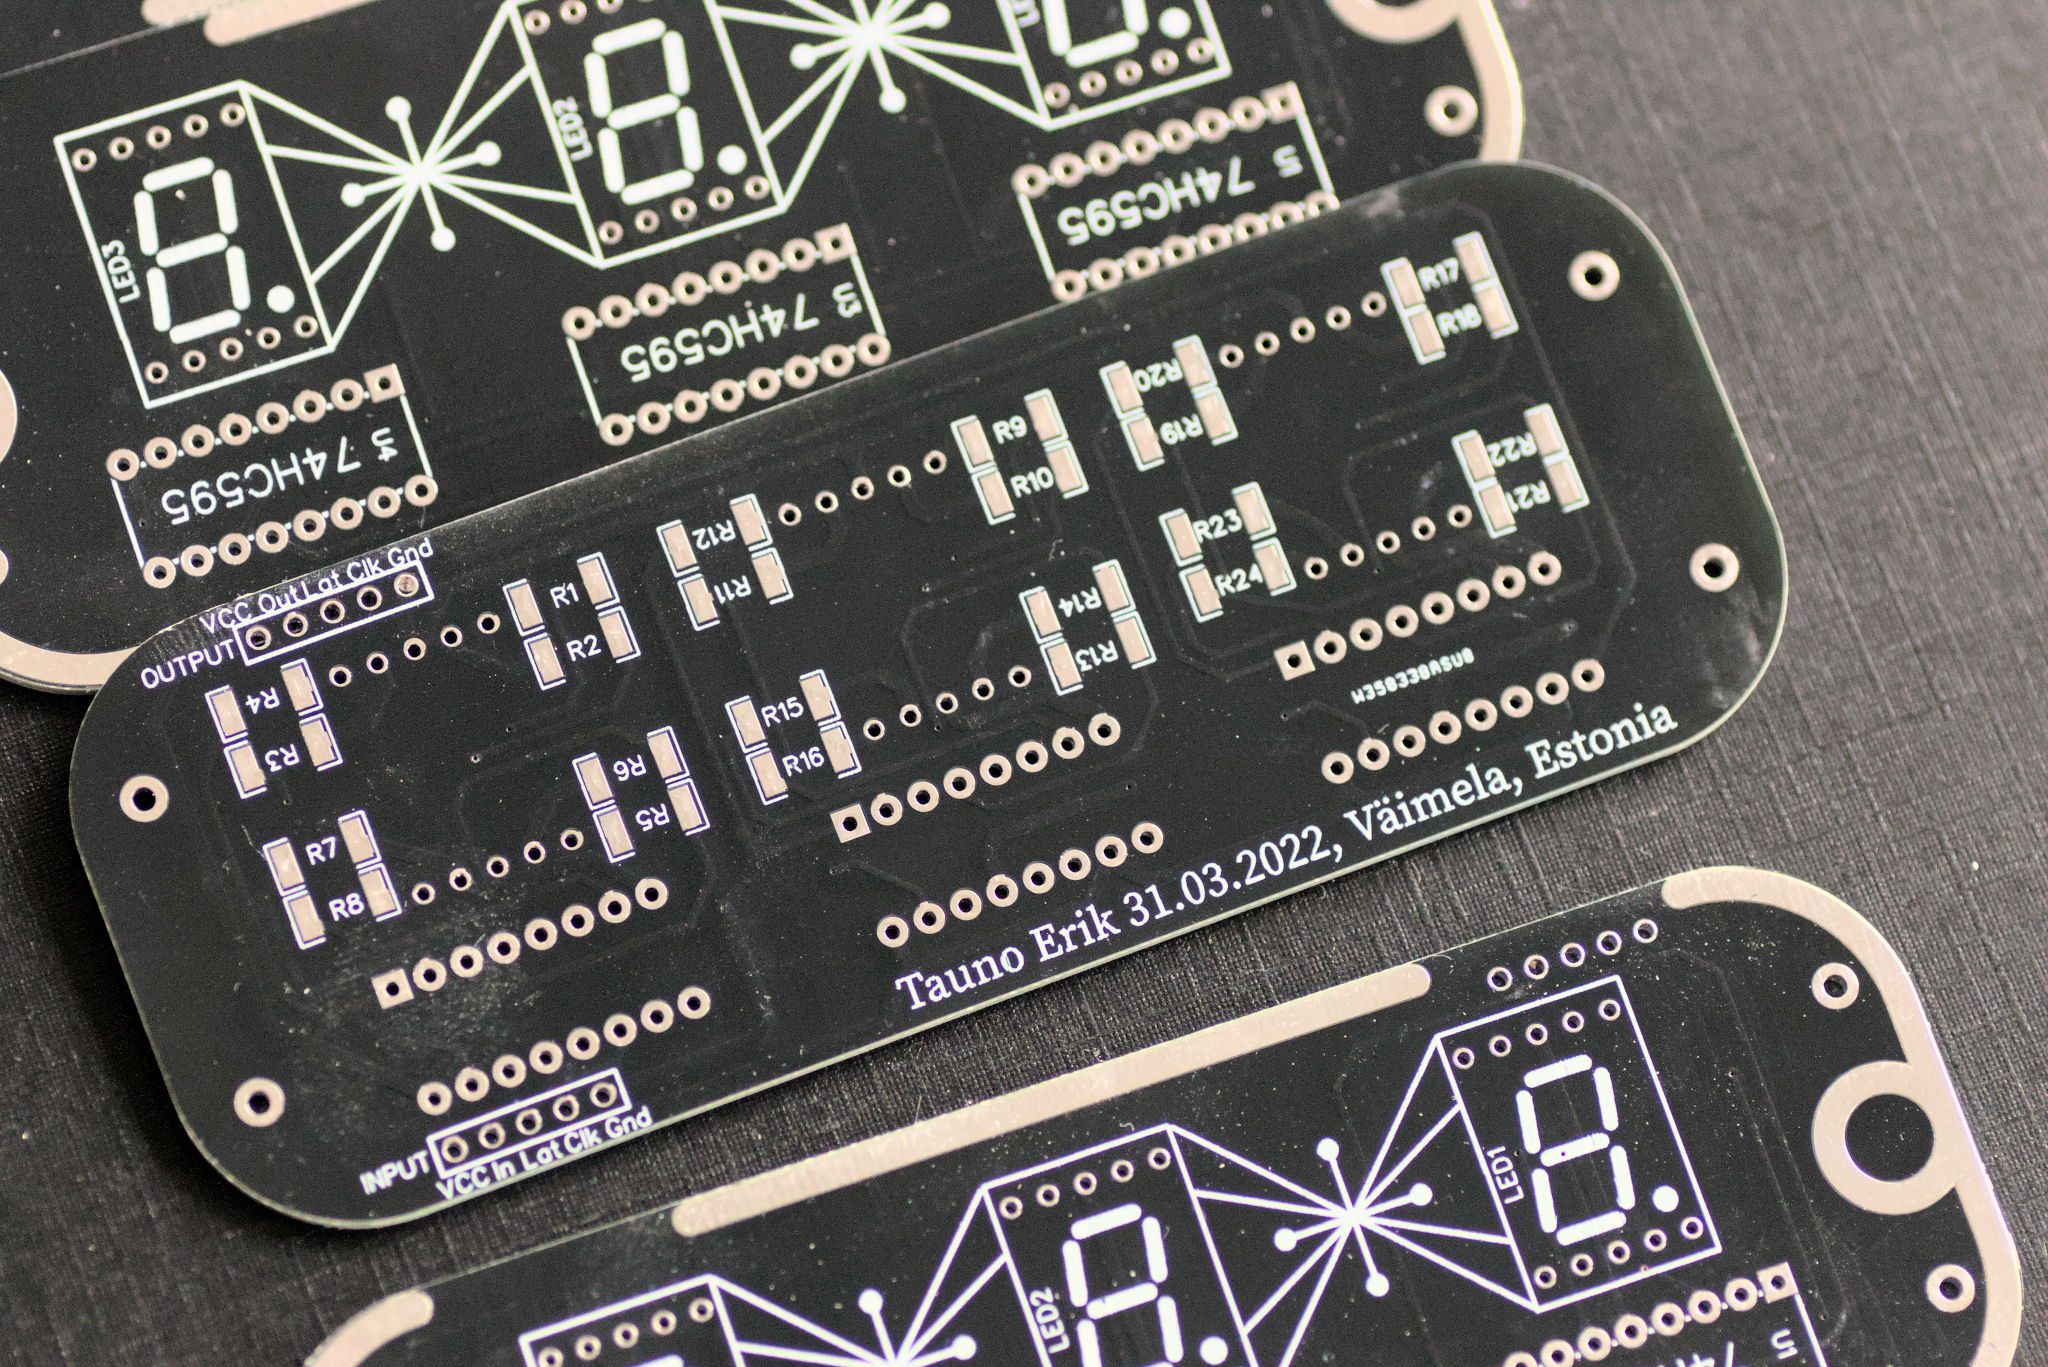
For 7-segment LEDs, I designed a PCB board. Which can hold three of them. I ordered them from PCBWay. My PCB is a mix of through hole and SMD components. Because I already had the Shift registers and only needed to buy SMD resistors. Took some time to find affordable 7-segment LEDs with a green colour. Most of them are red and other colours are usually much more expensive.
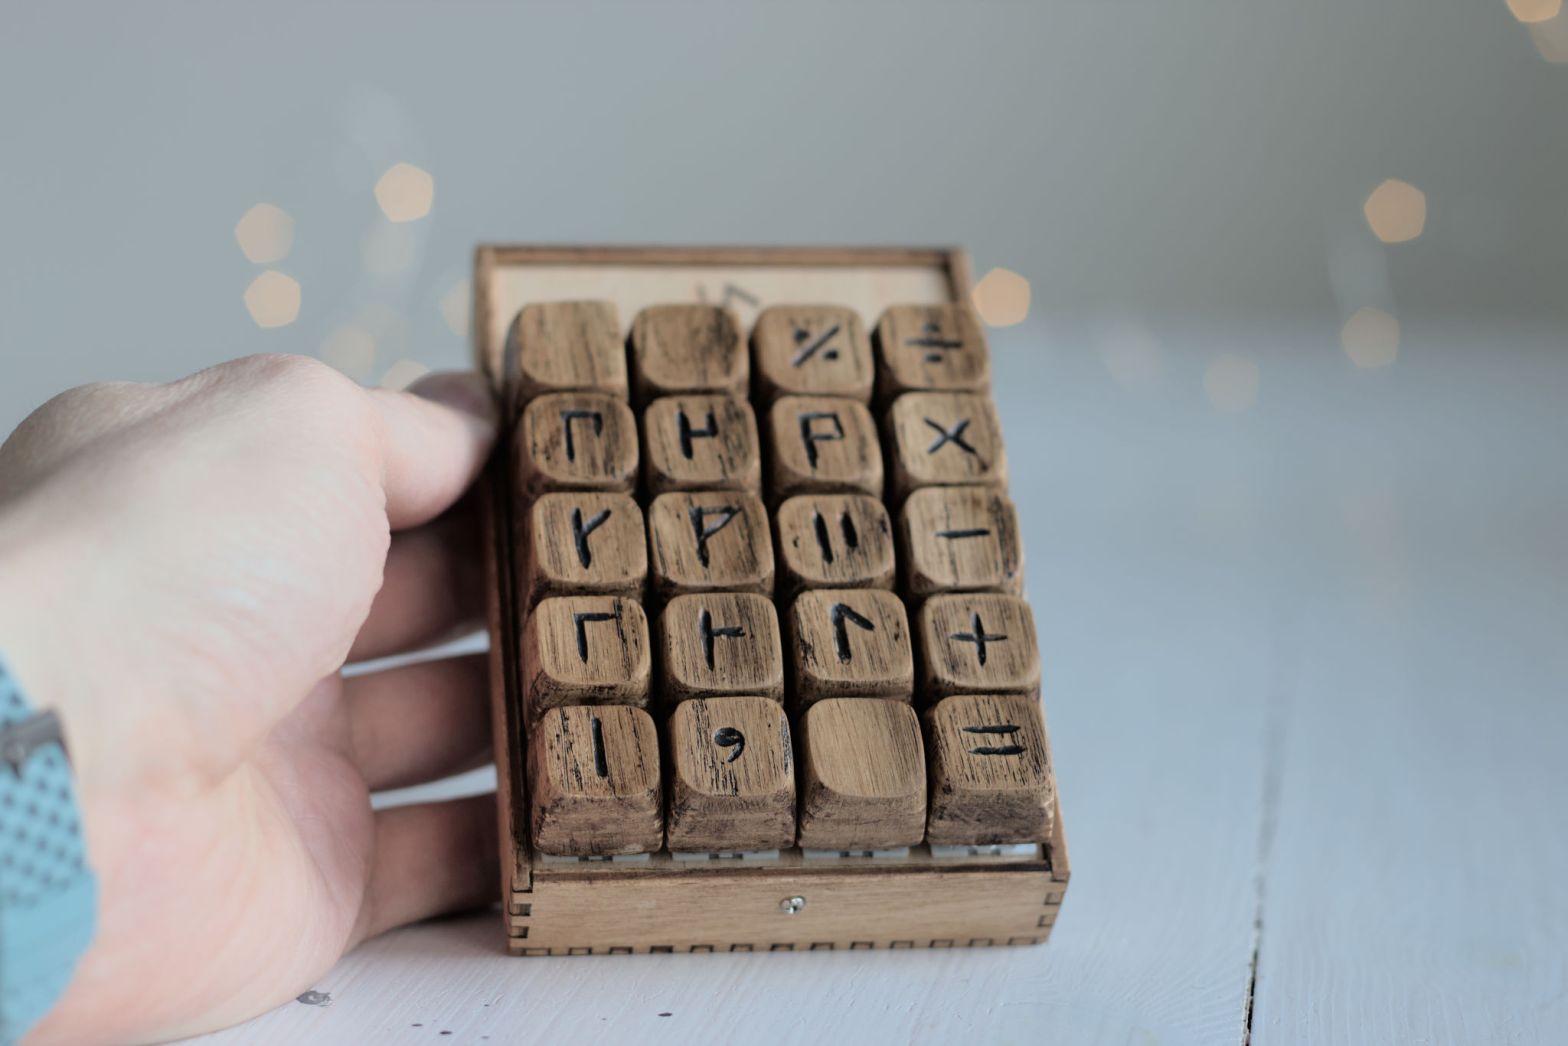
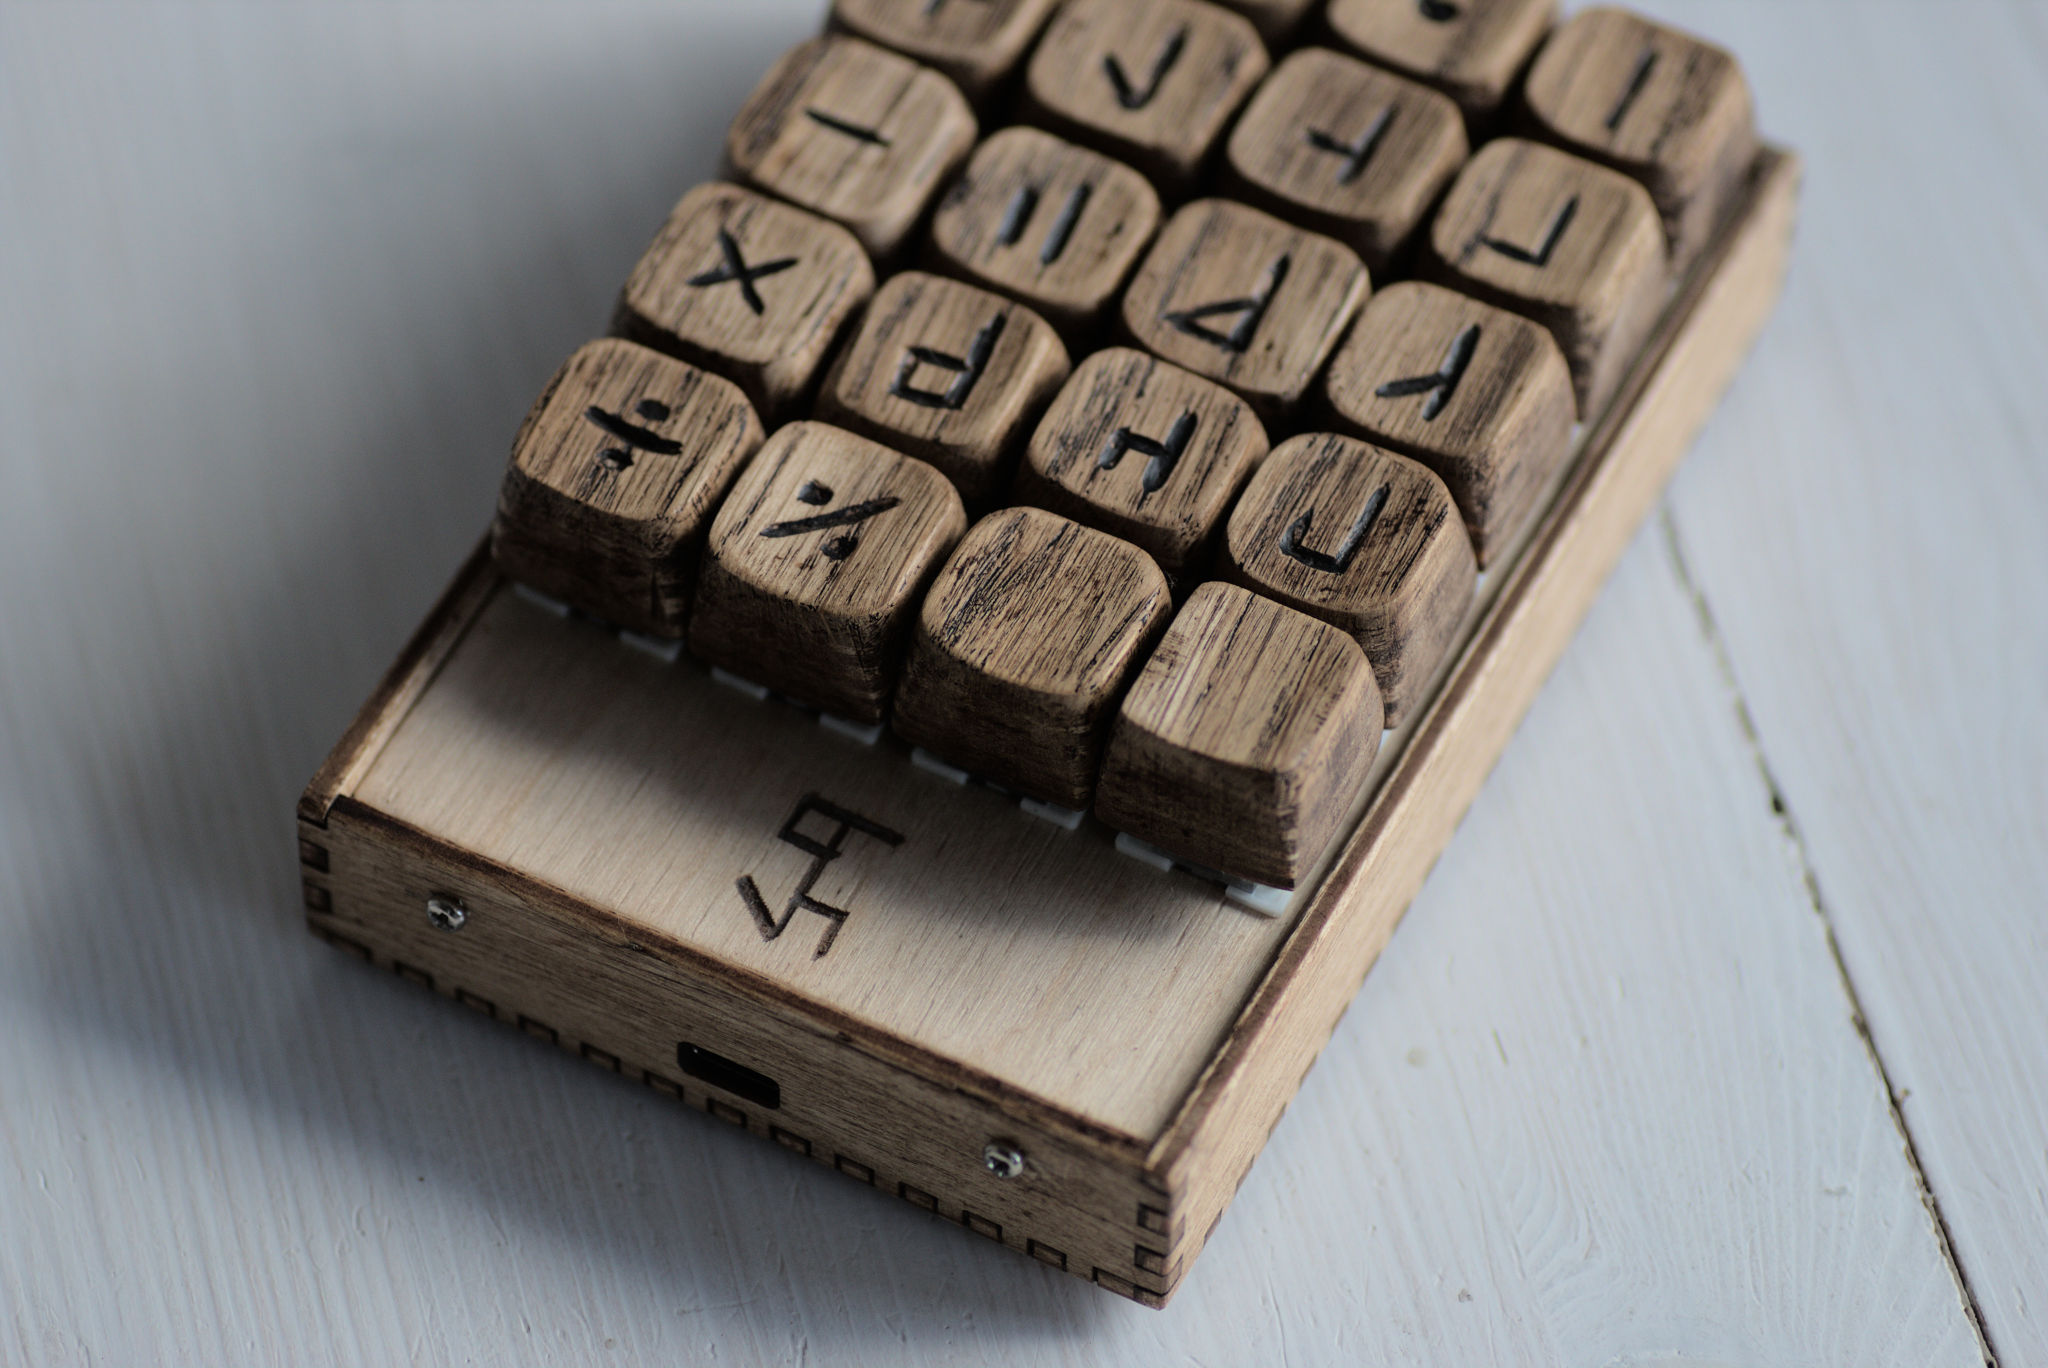
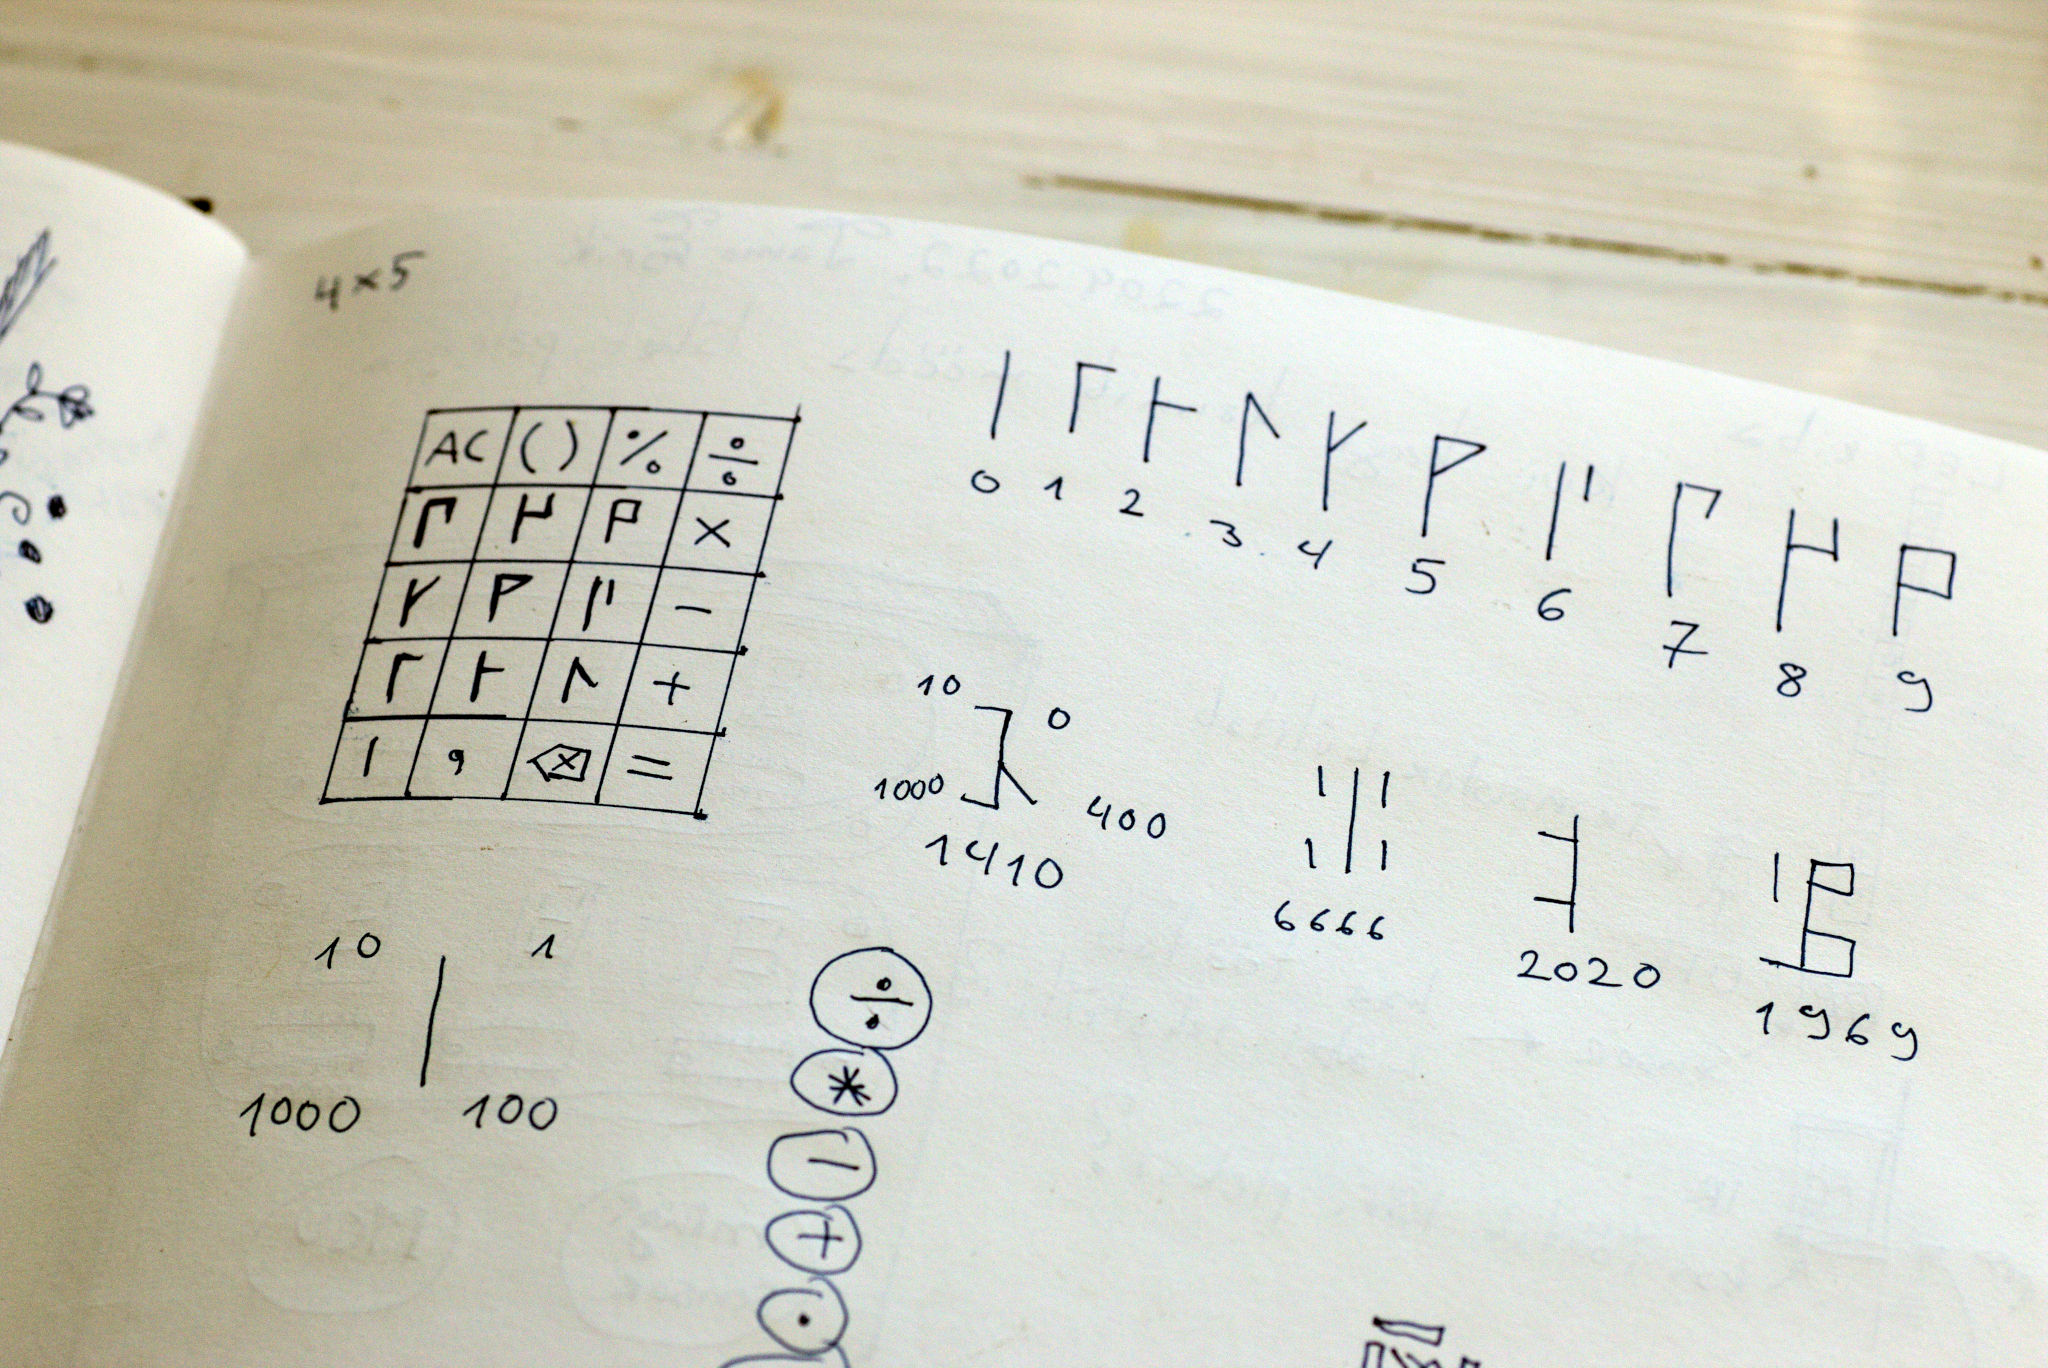
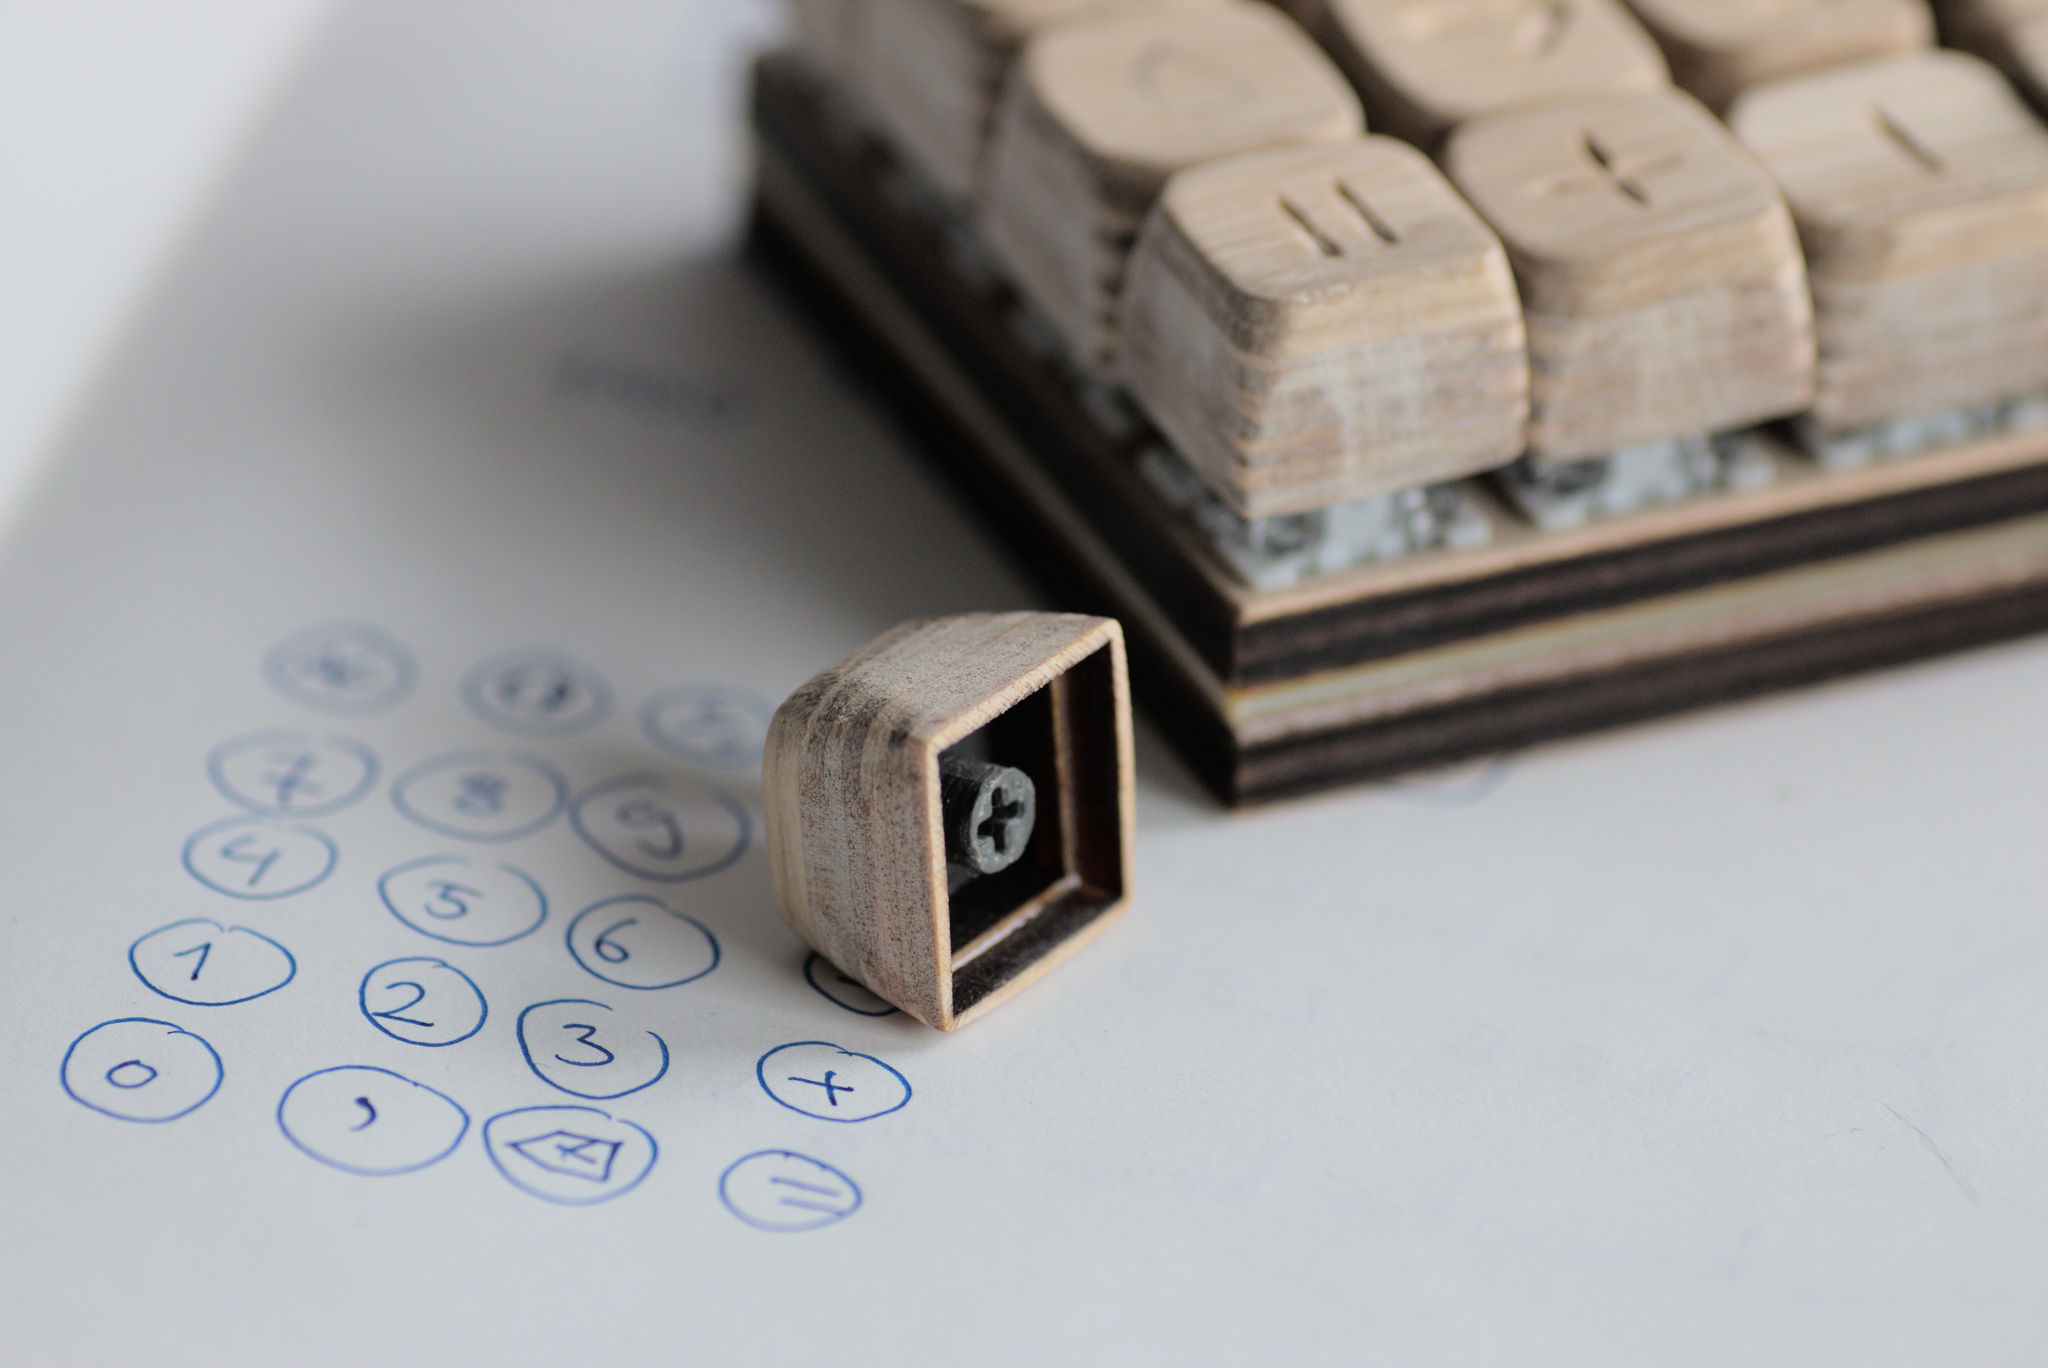
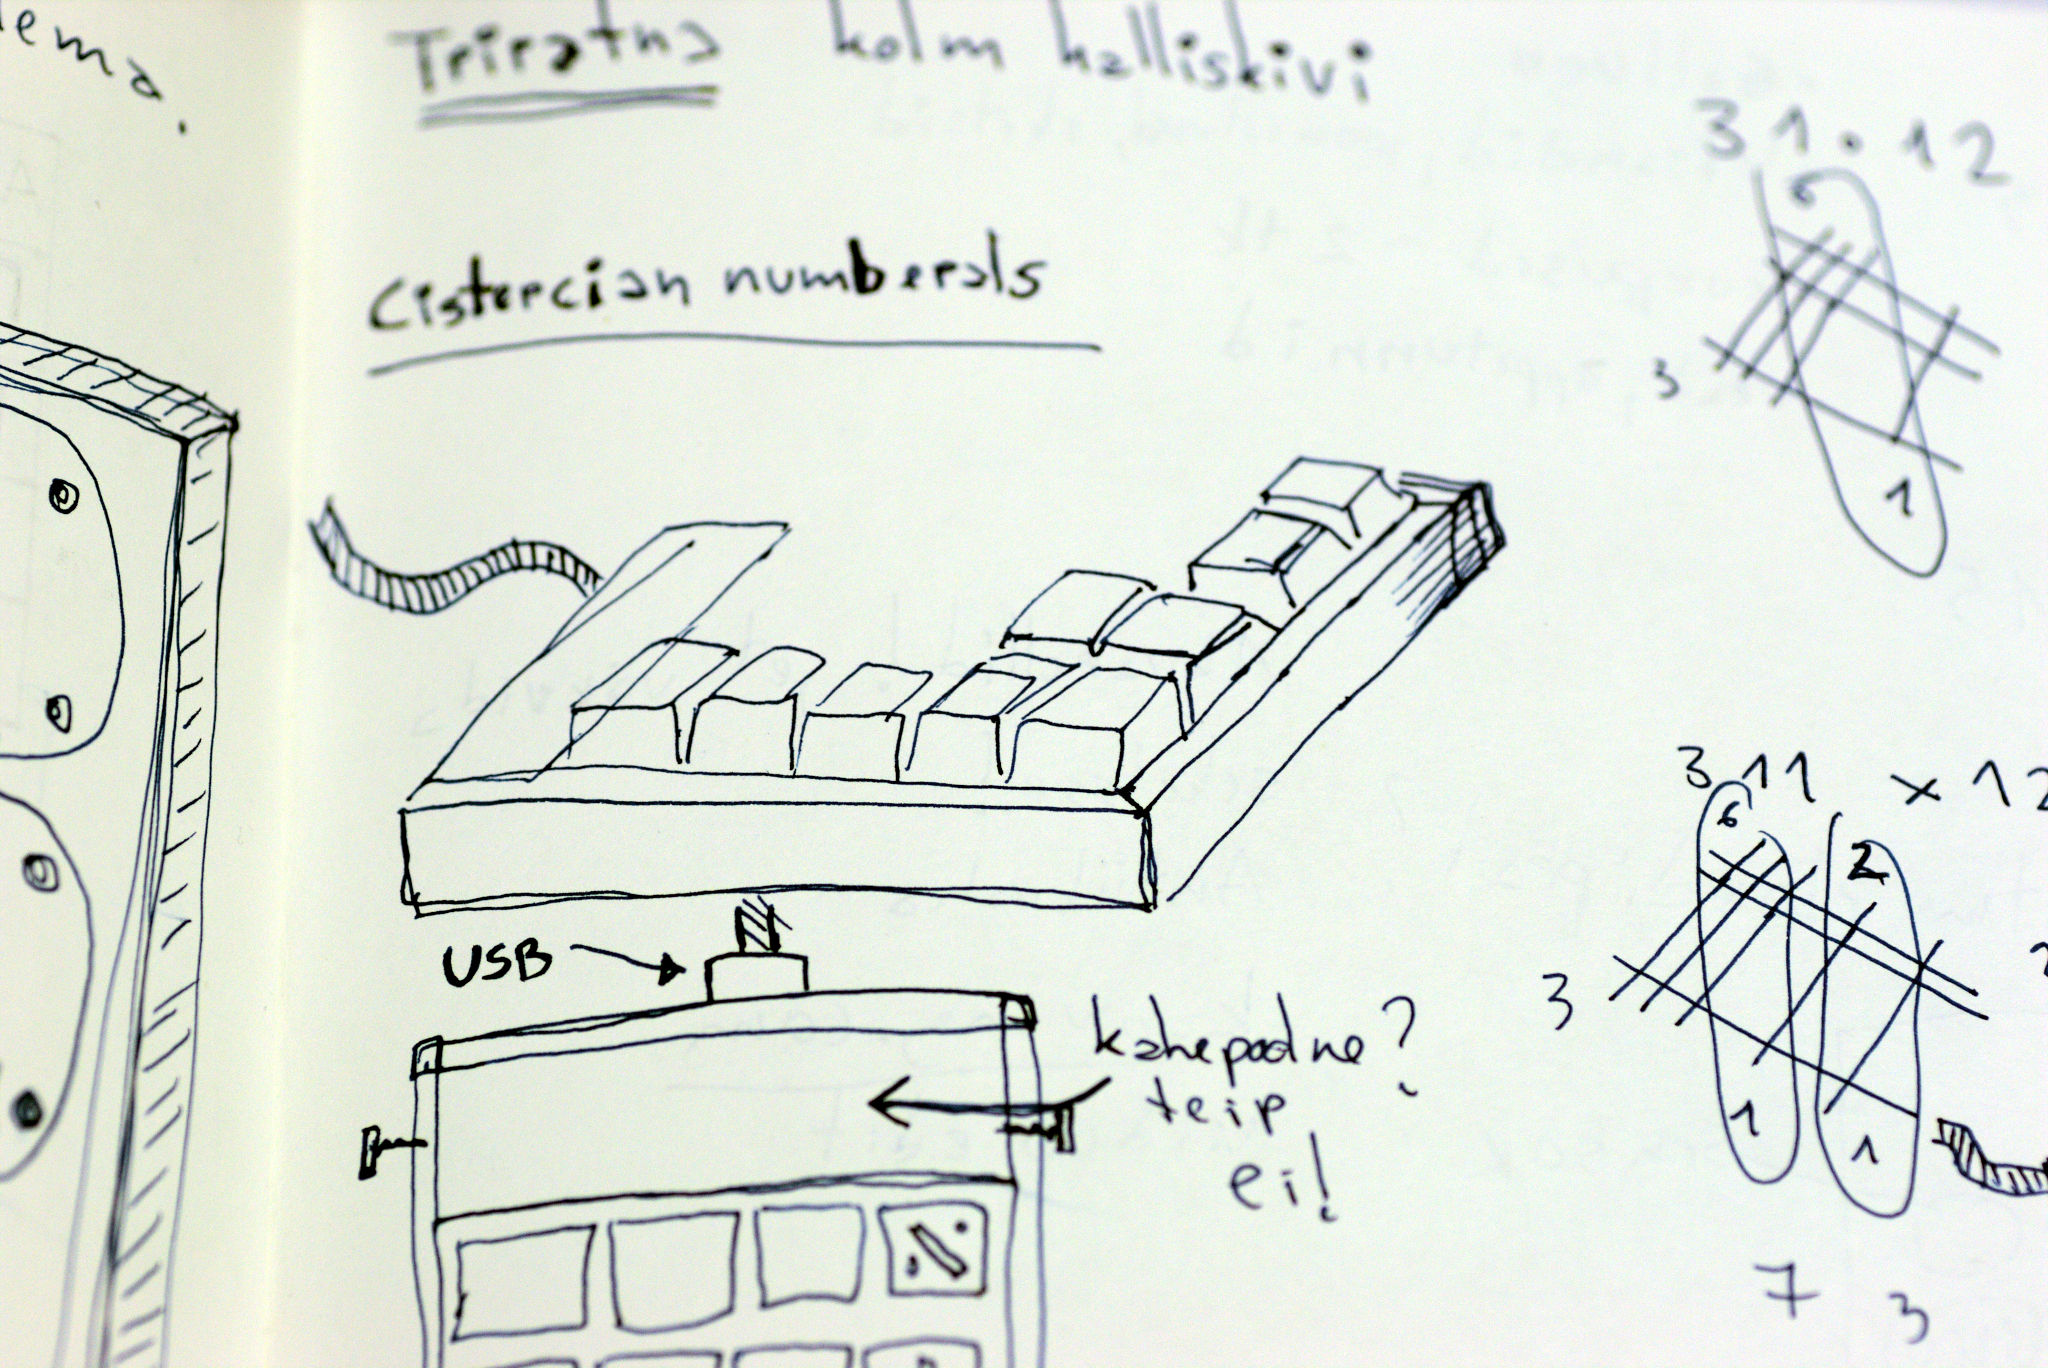
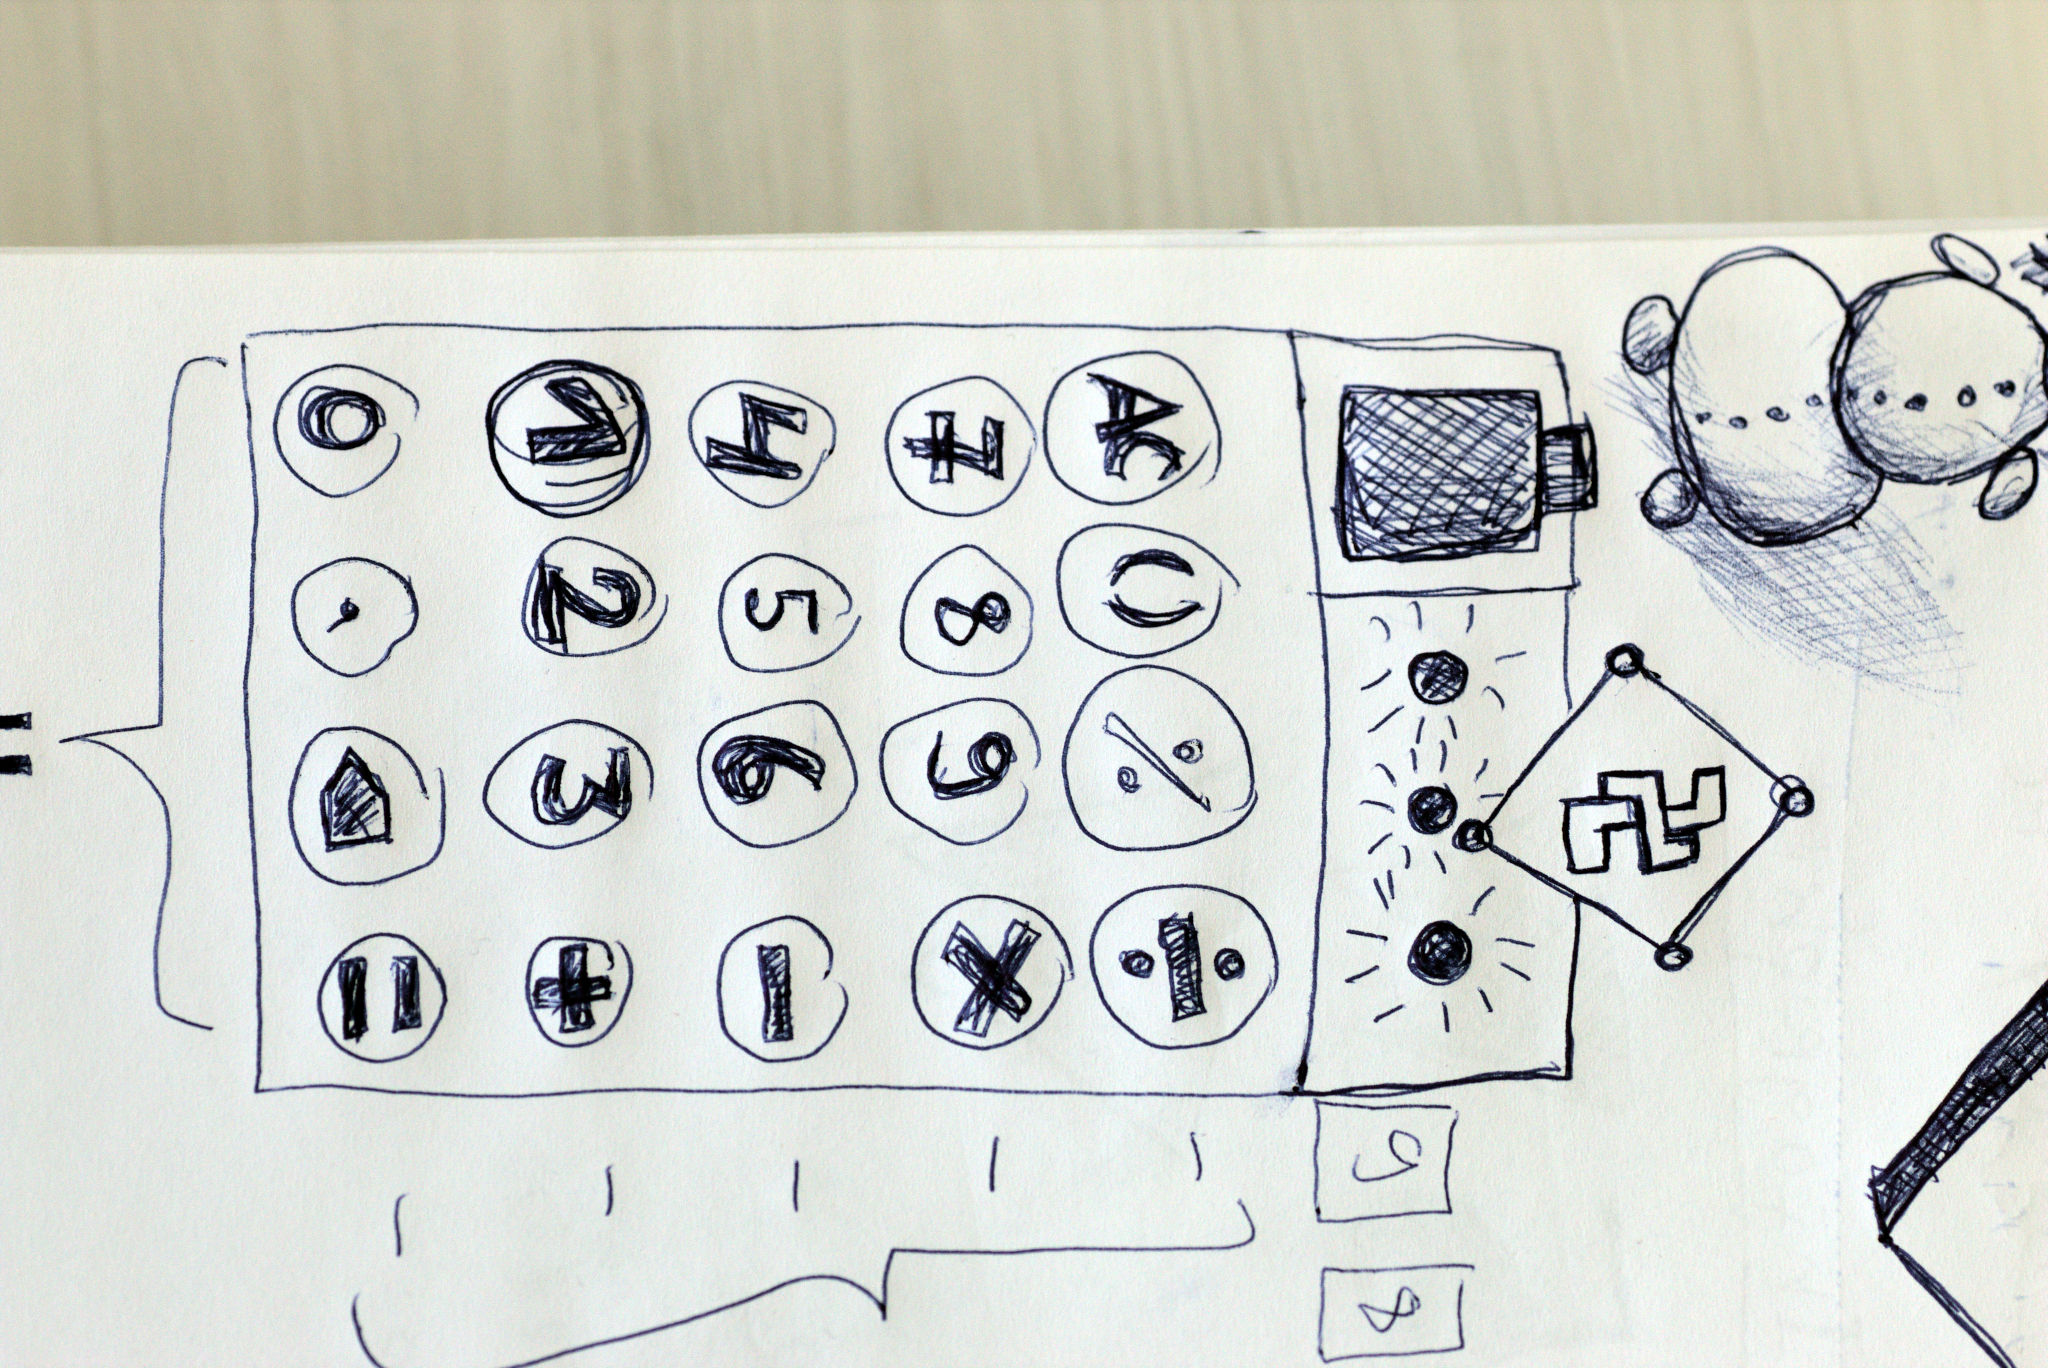
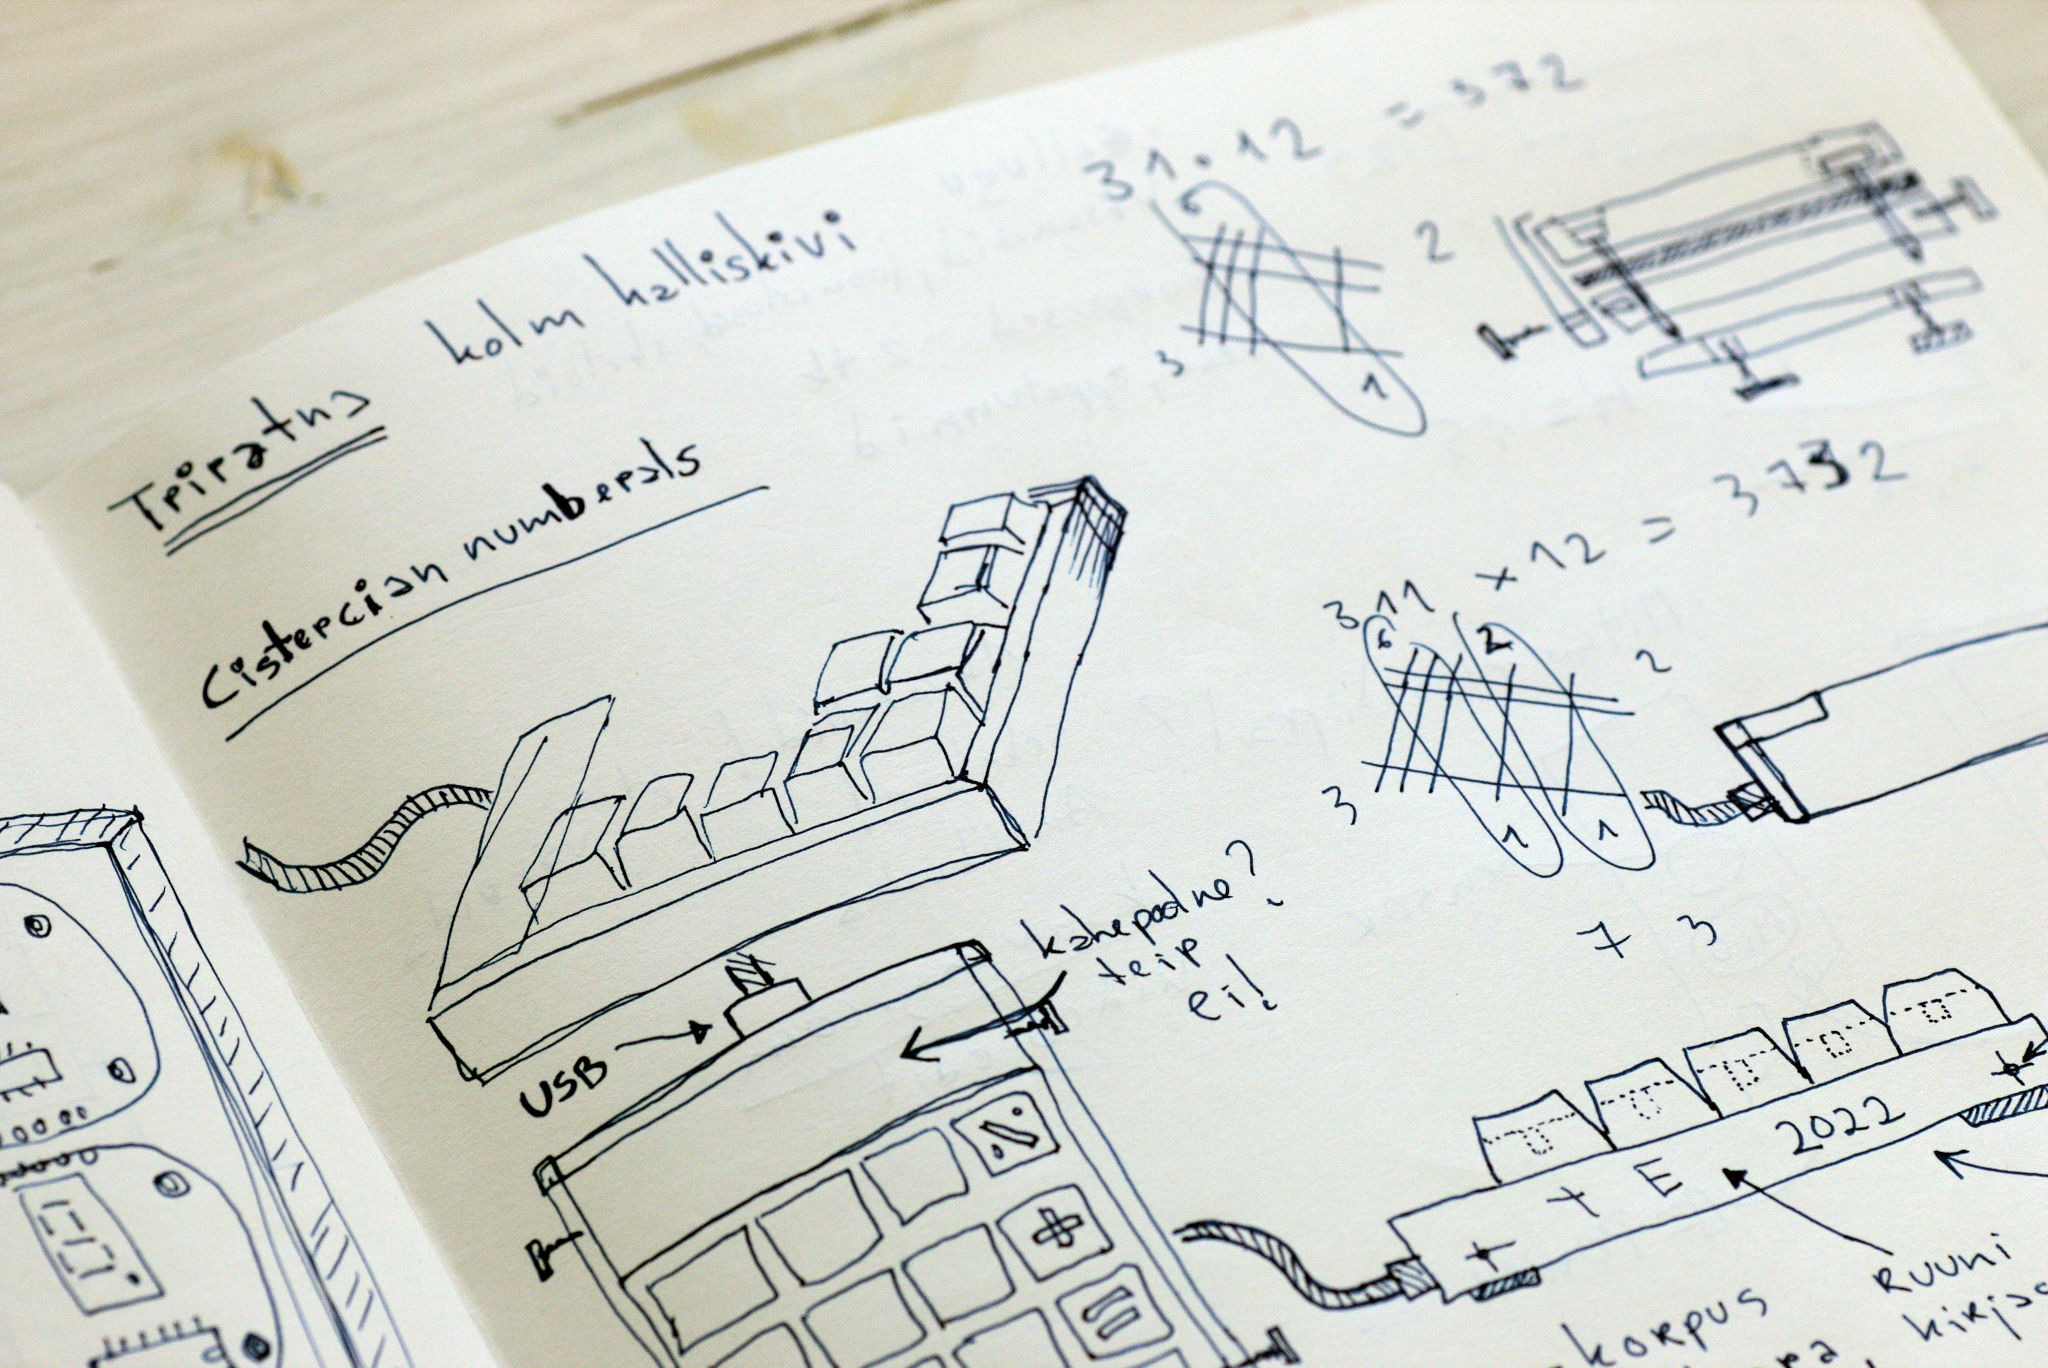
Keypad with cipher numerals.


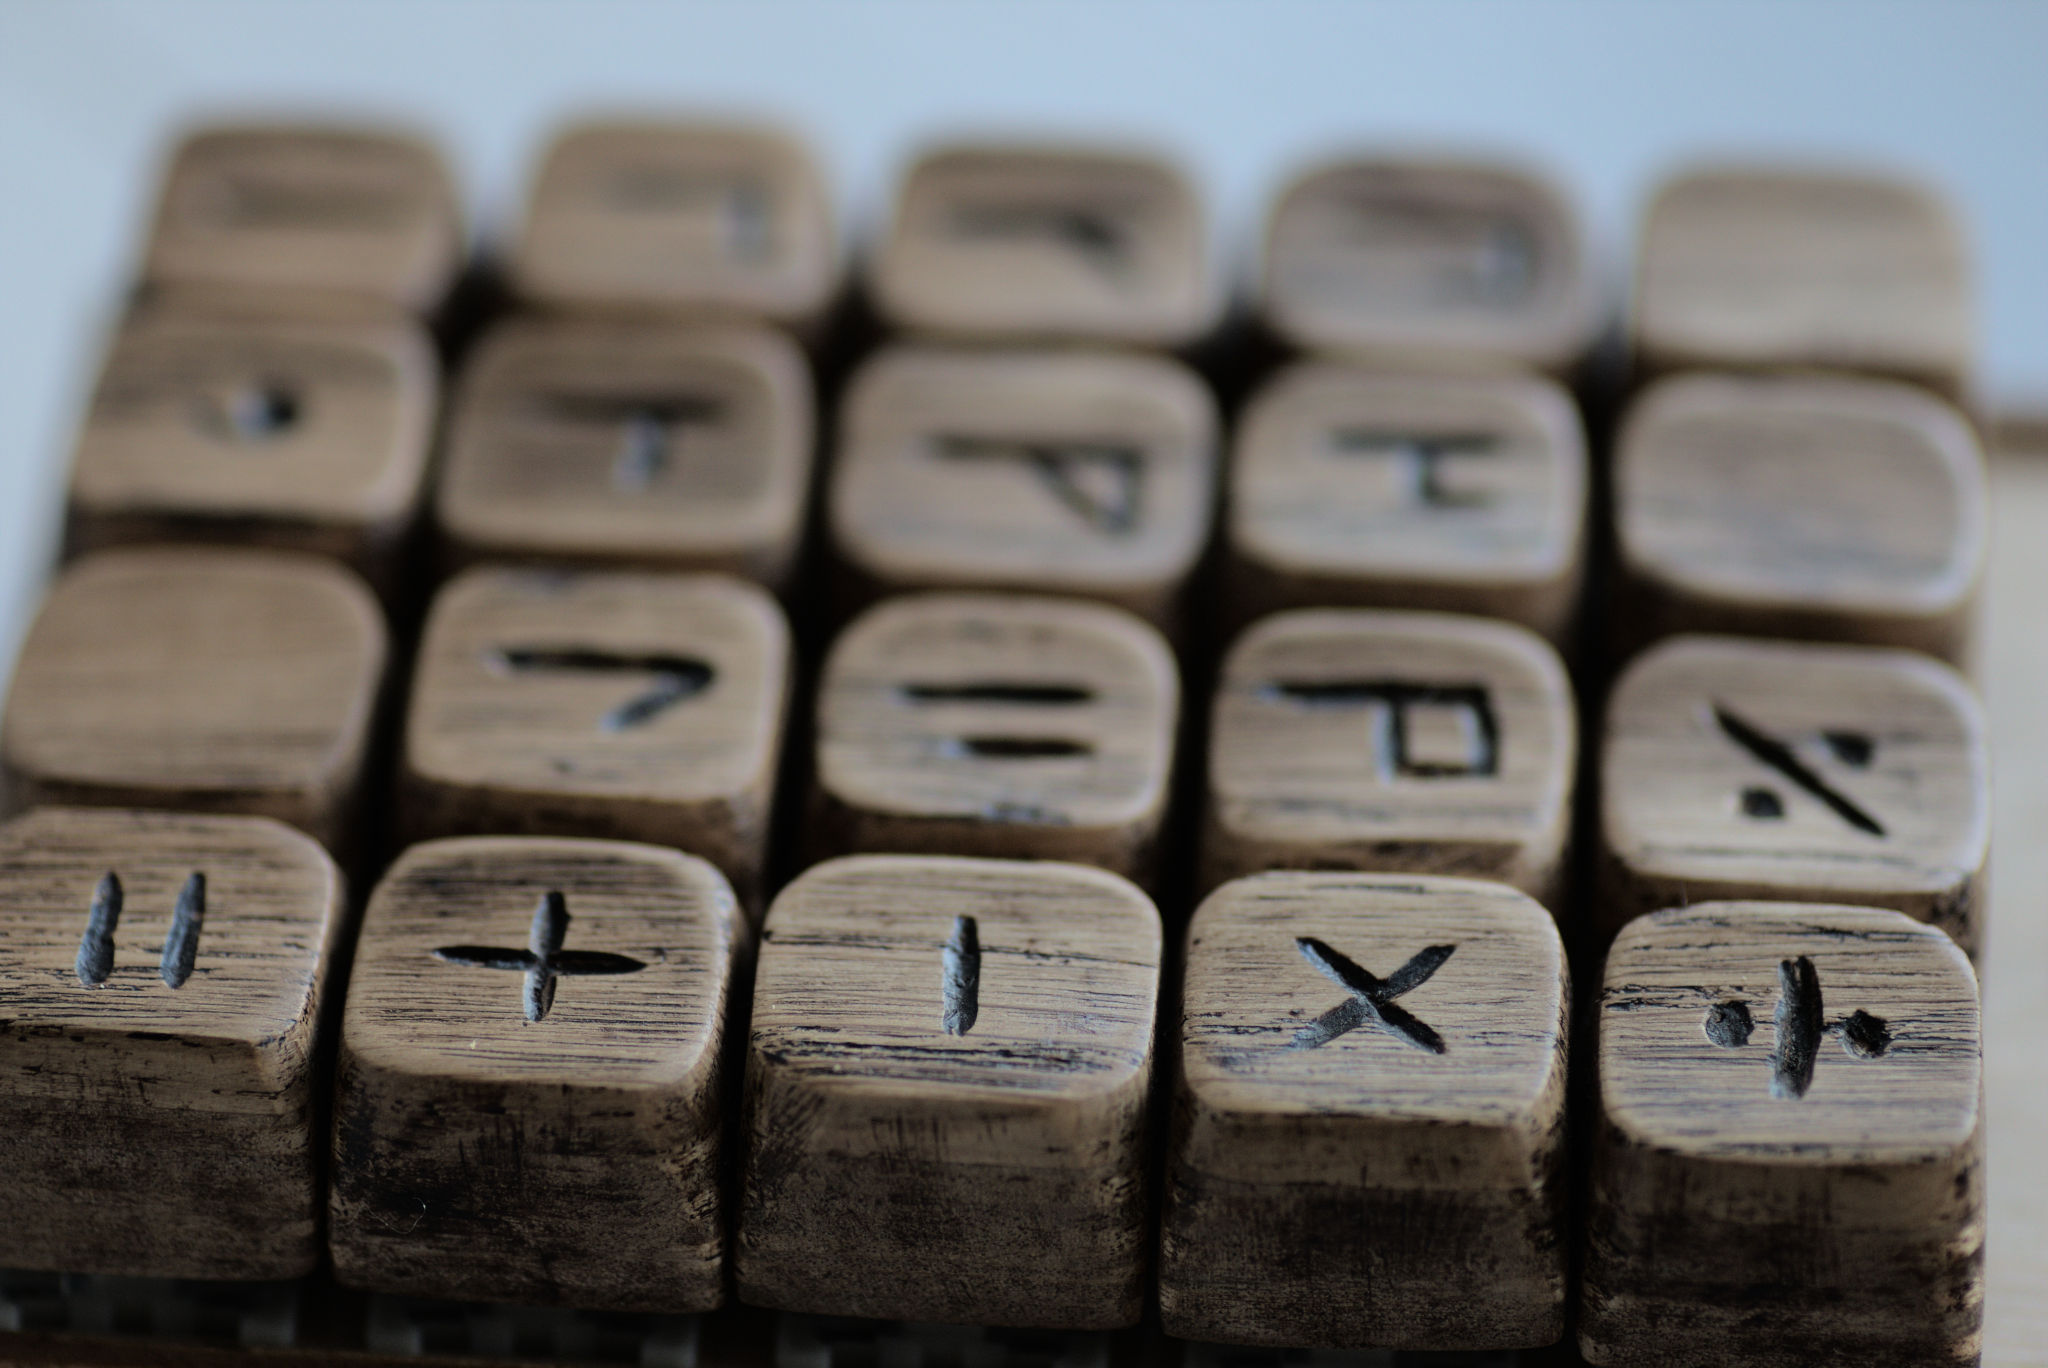
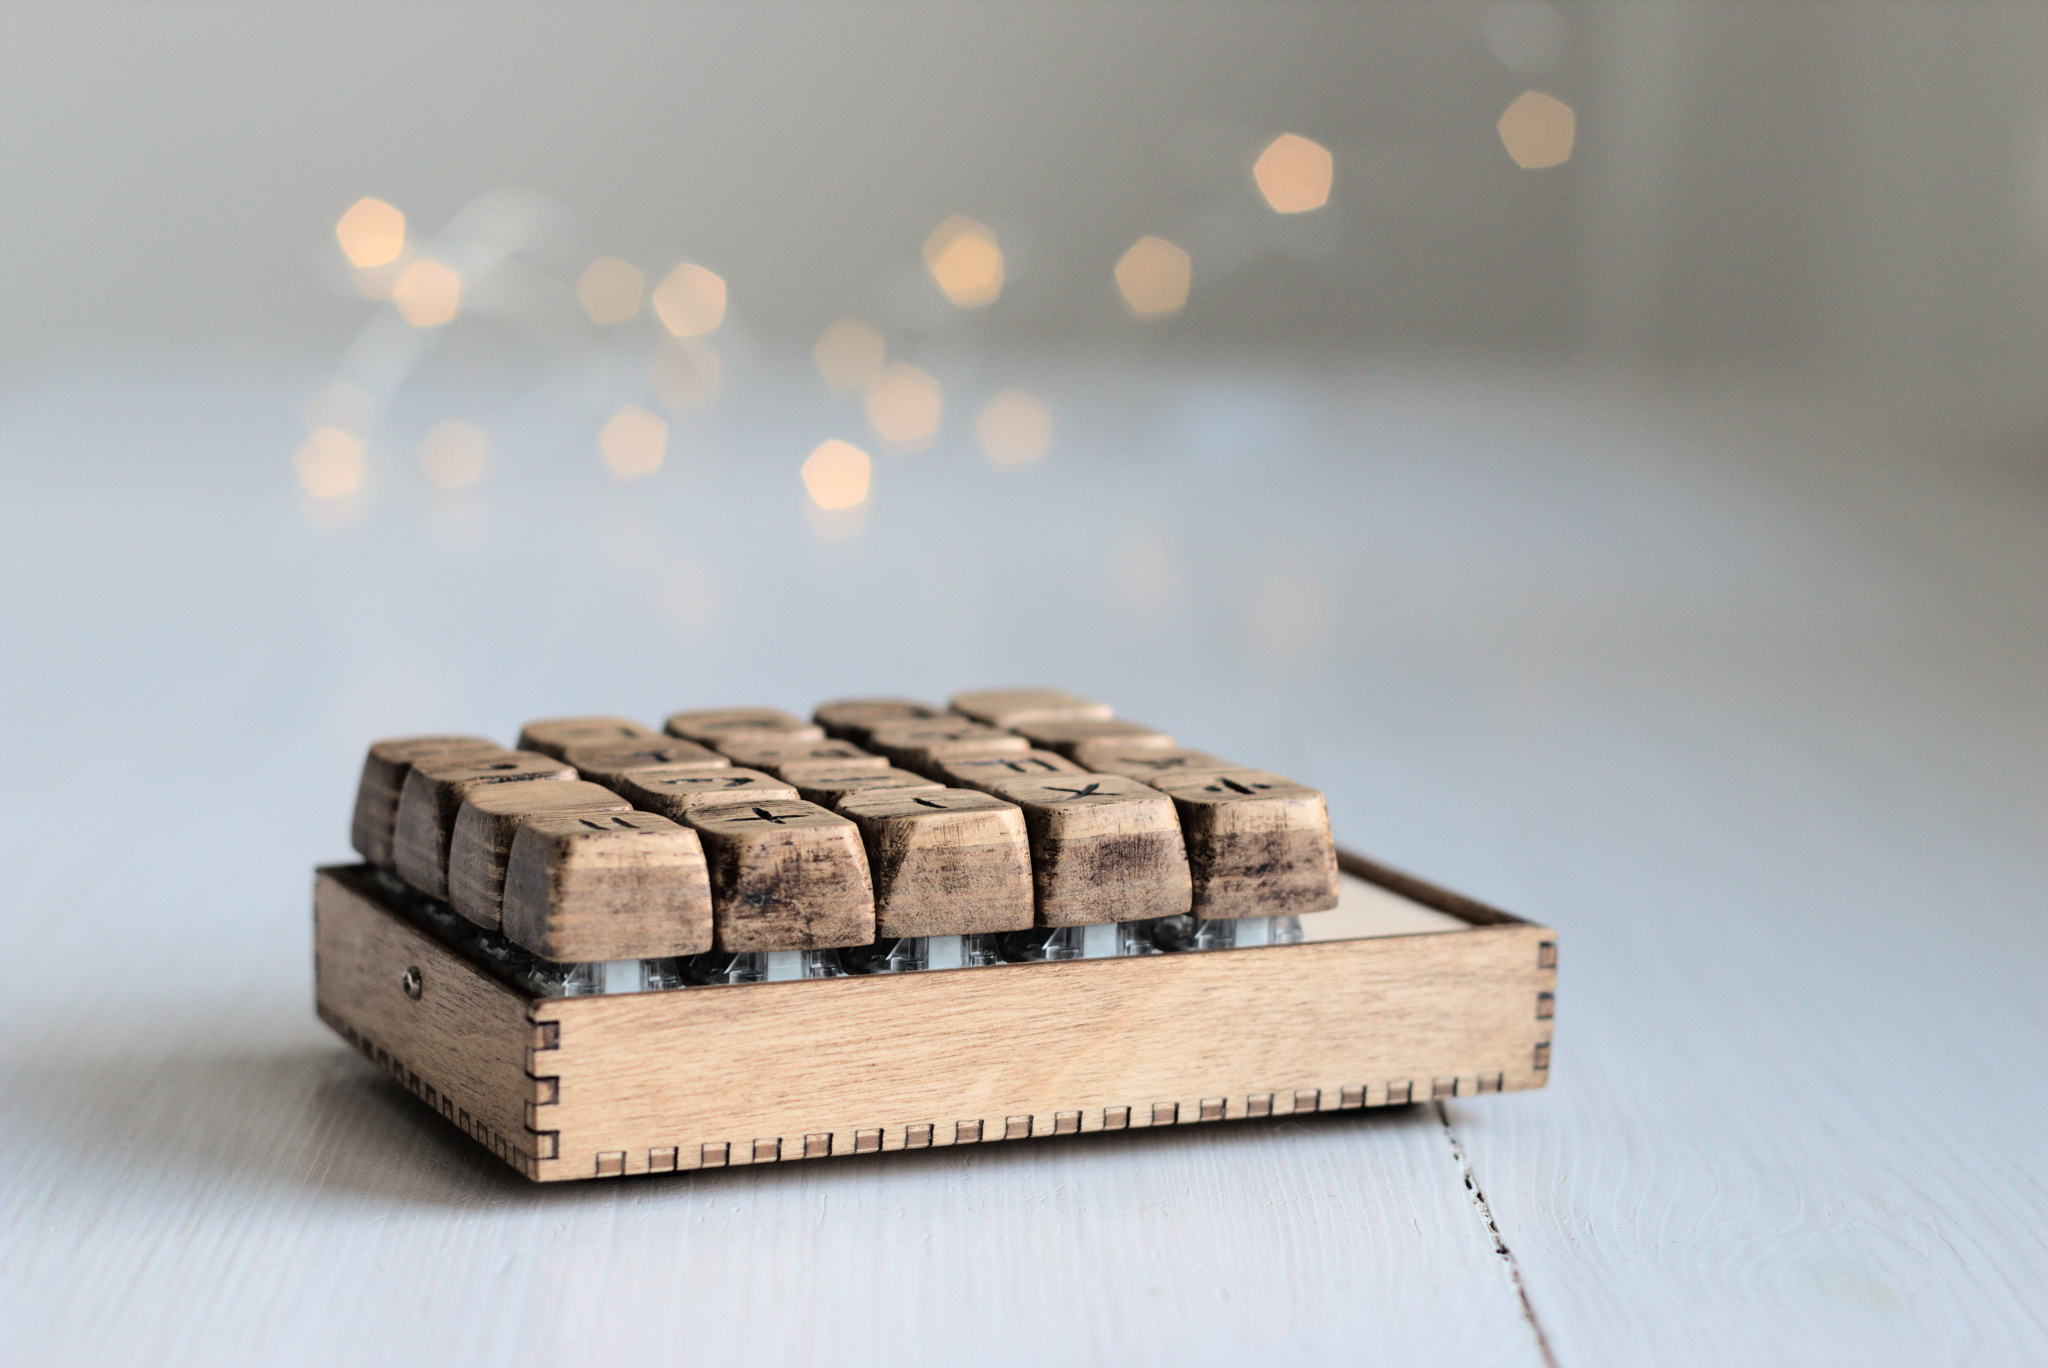


This keyboard is for me more of an art project. And the opportunity to learn how things work. What is the underlying code and history! Arouse people’s curiosity.
The medieval number system was invented by the Cistercian order in Europe in the 13th century. Cistercians are a Catholic religious order of monks and nuns. They used, amongst themselves, a secret number notation. No one really knows about it until about 20 years ago, a British orientalist and historian David A. King wrote a book about it. It was used by various different groups for kinds of medieval cyphers and secret number systems. It is a system that can only write every number from 0 to 9999. It can not to any other numbers. It is really easy to use for dates and page numbers of books.

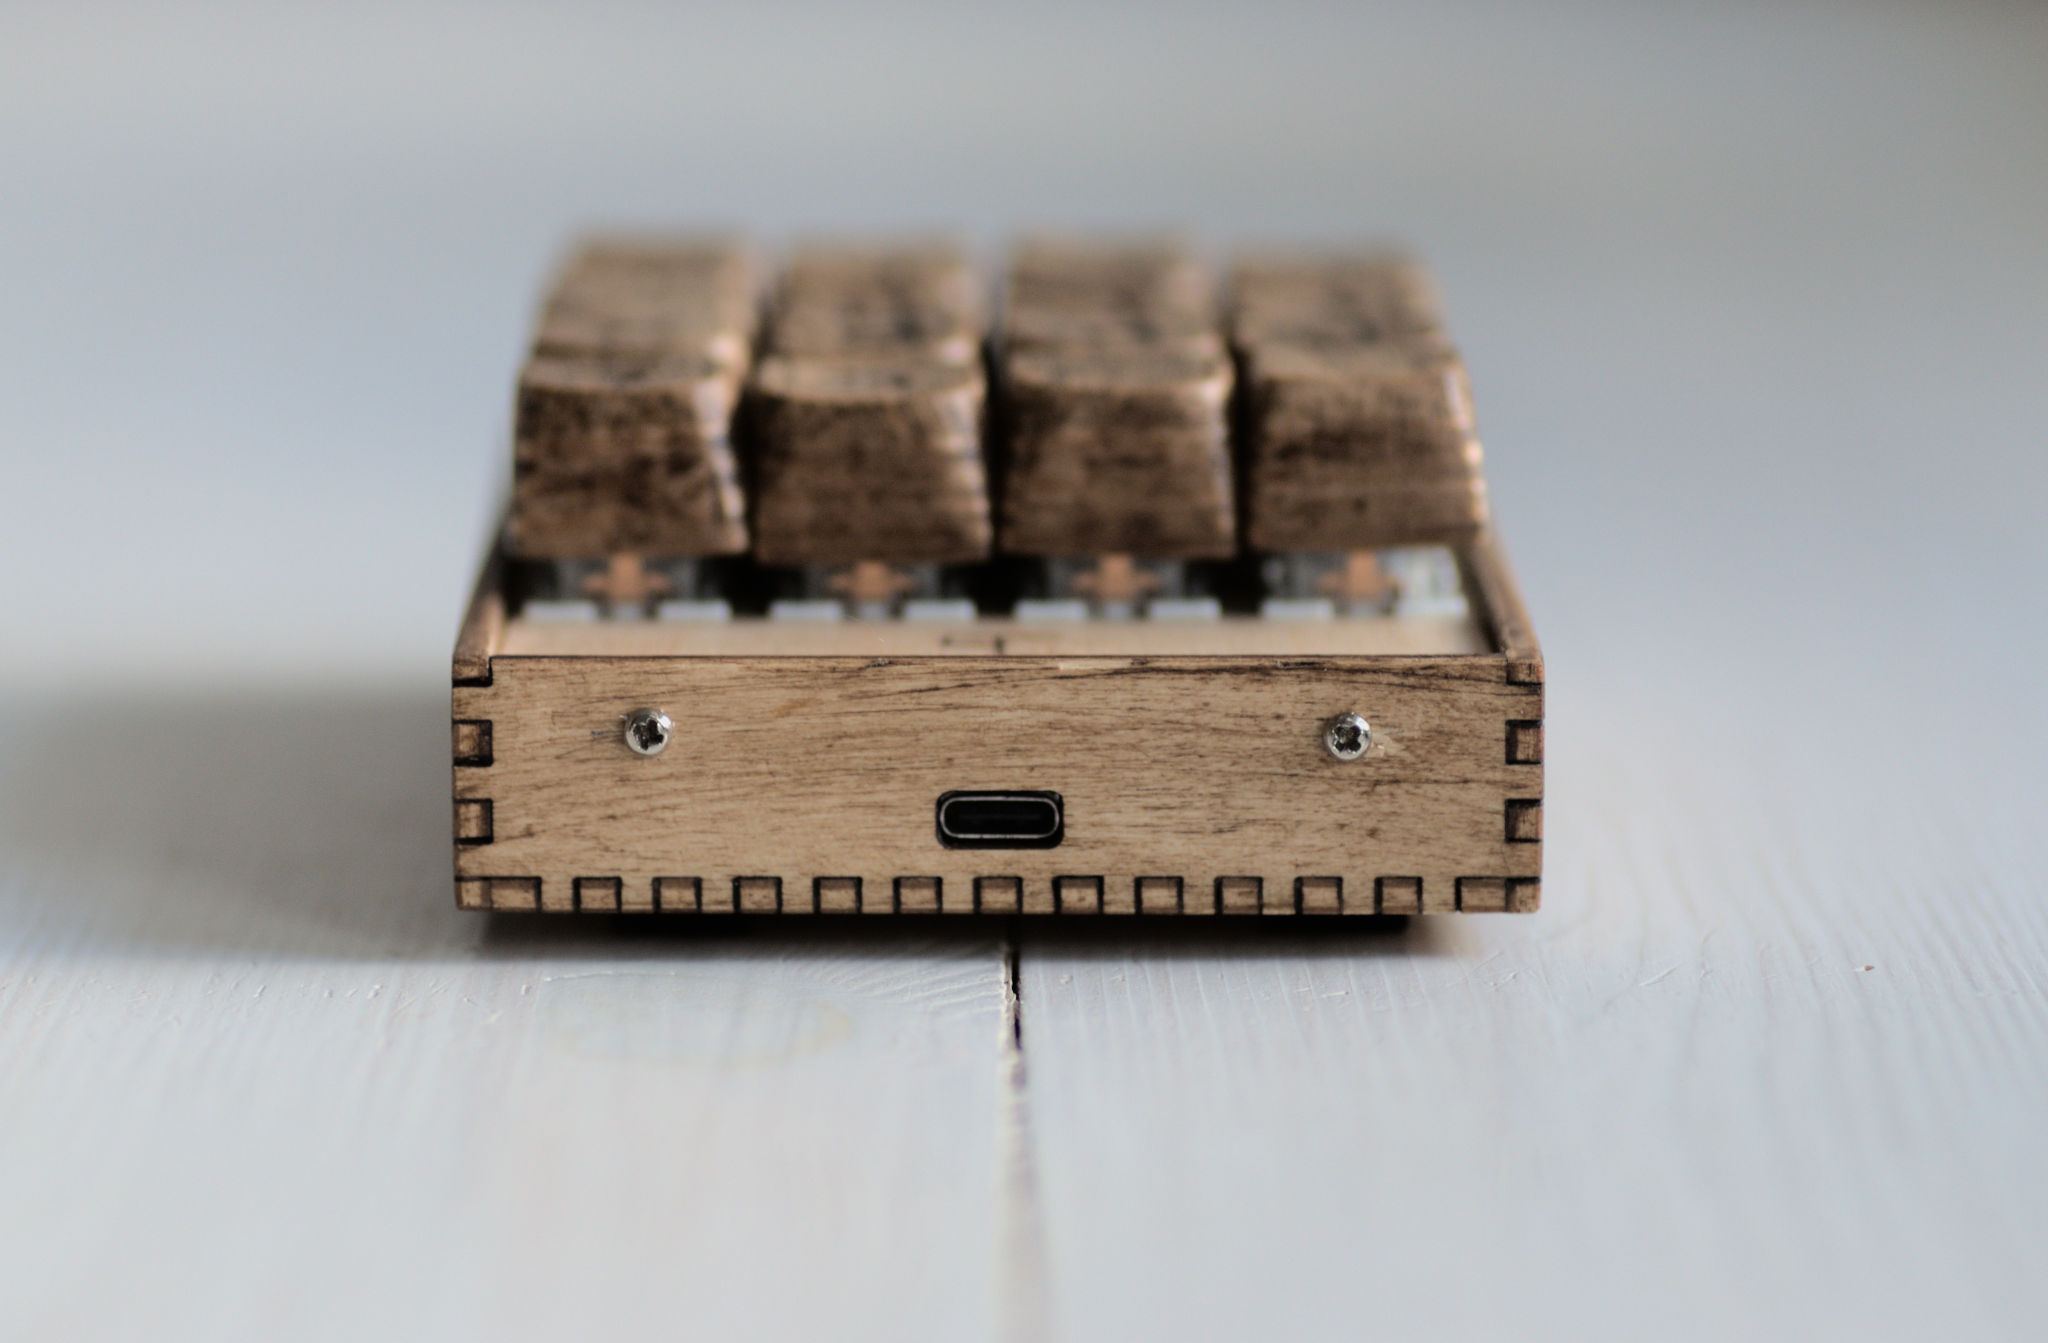
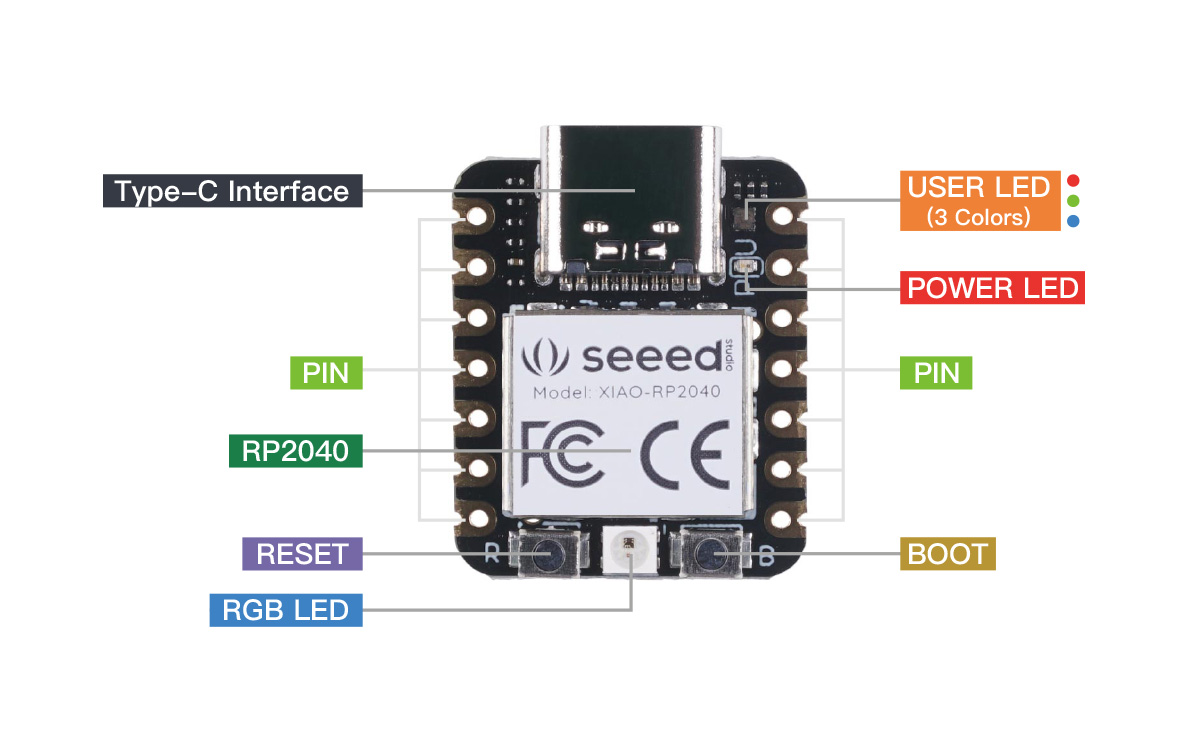
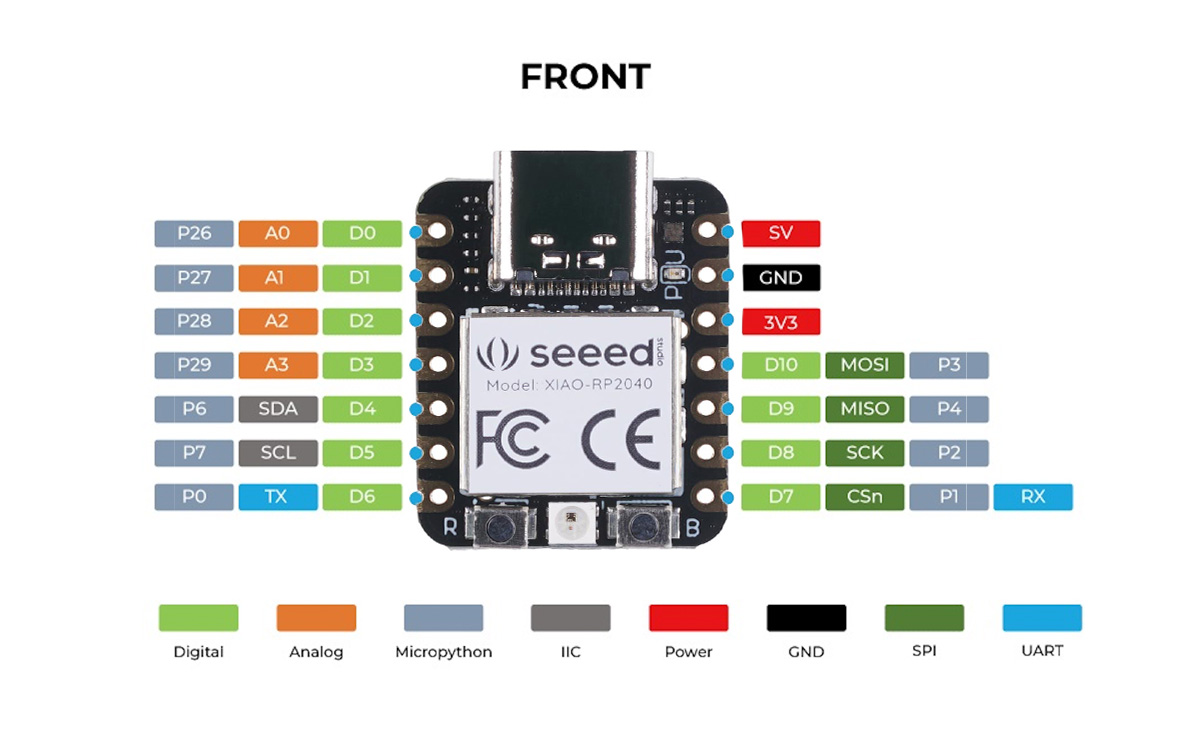
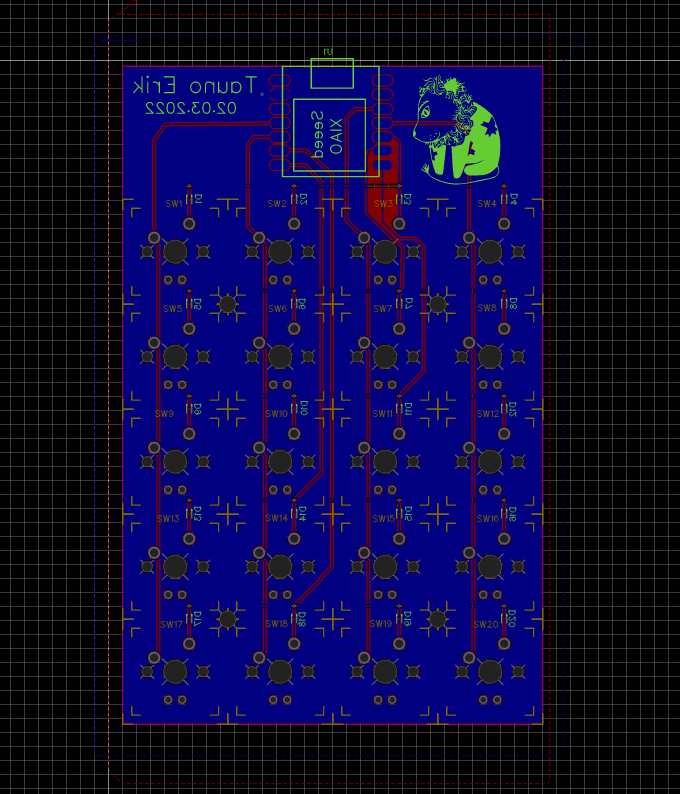
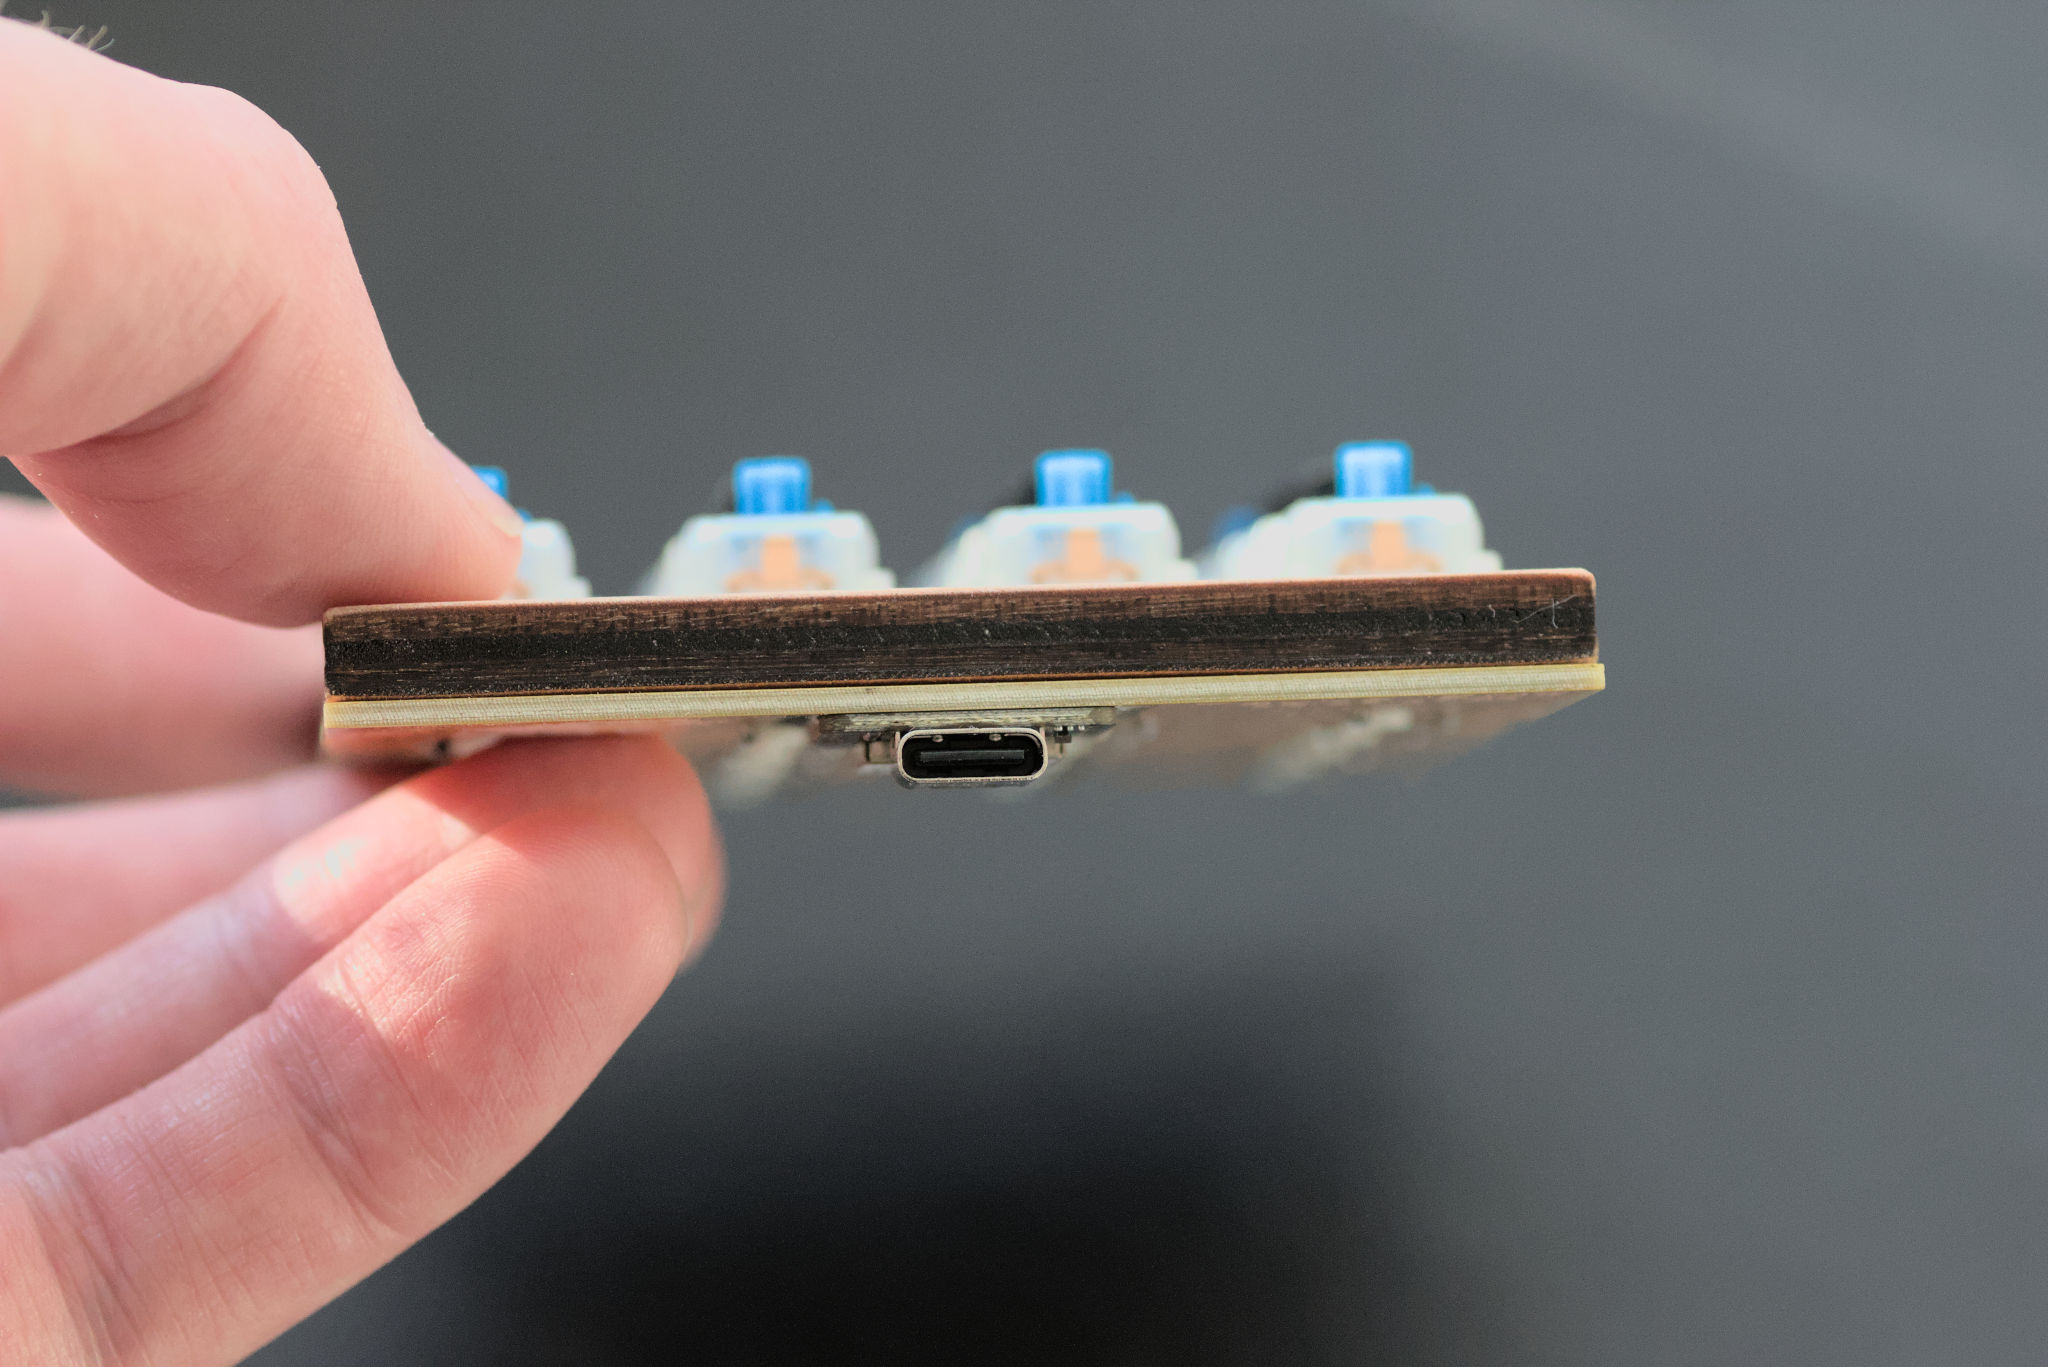
It uses a Raspberry Pi RP2040 chip like Pico.
XIAO RP2040 has:
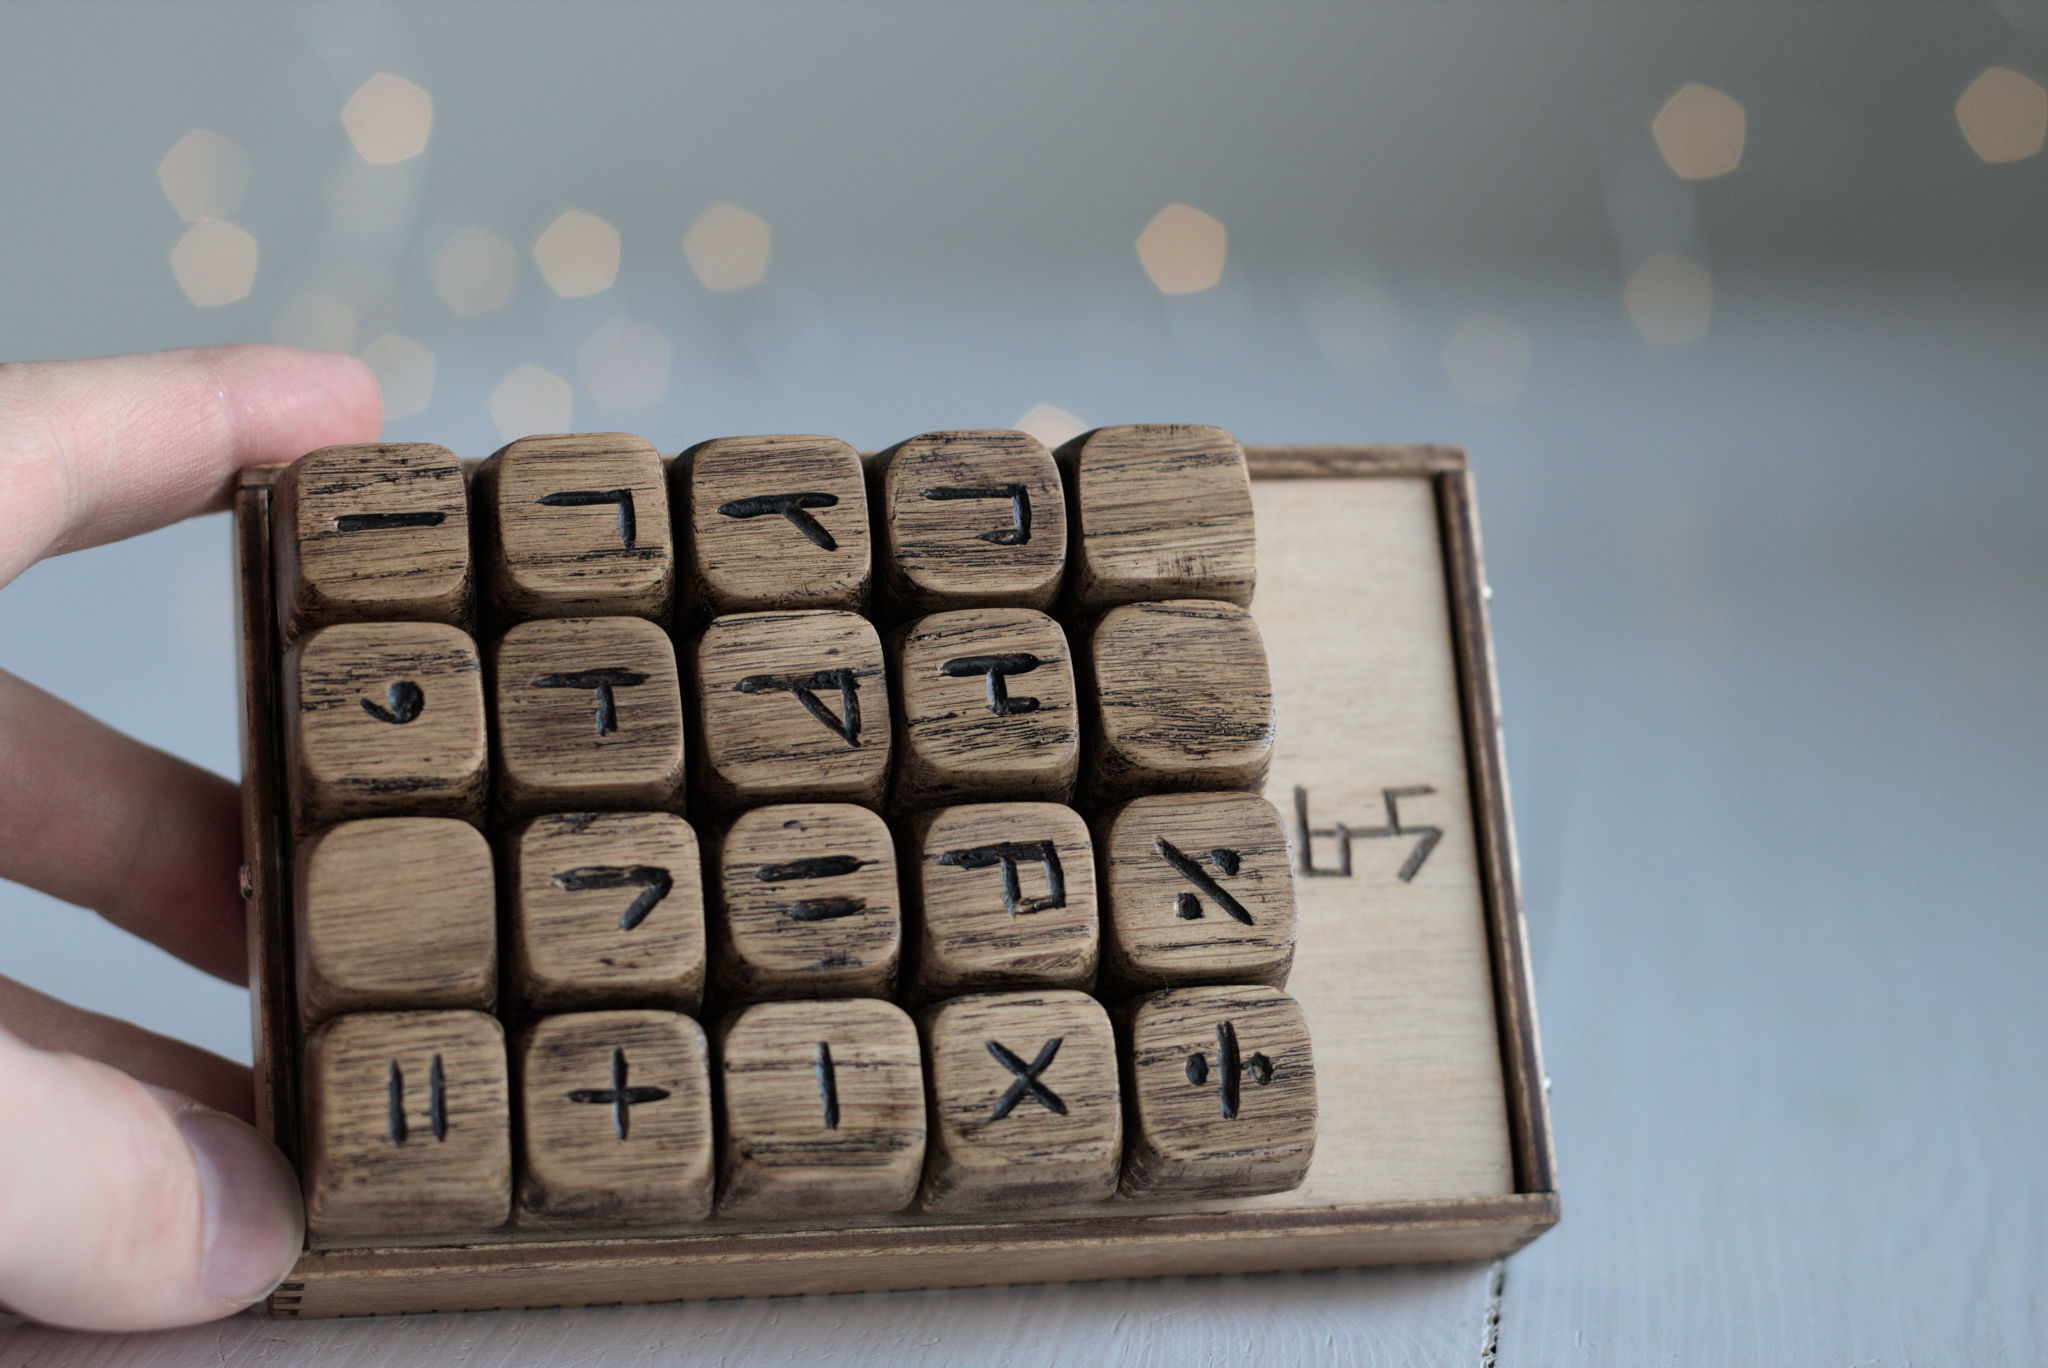
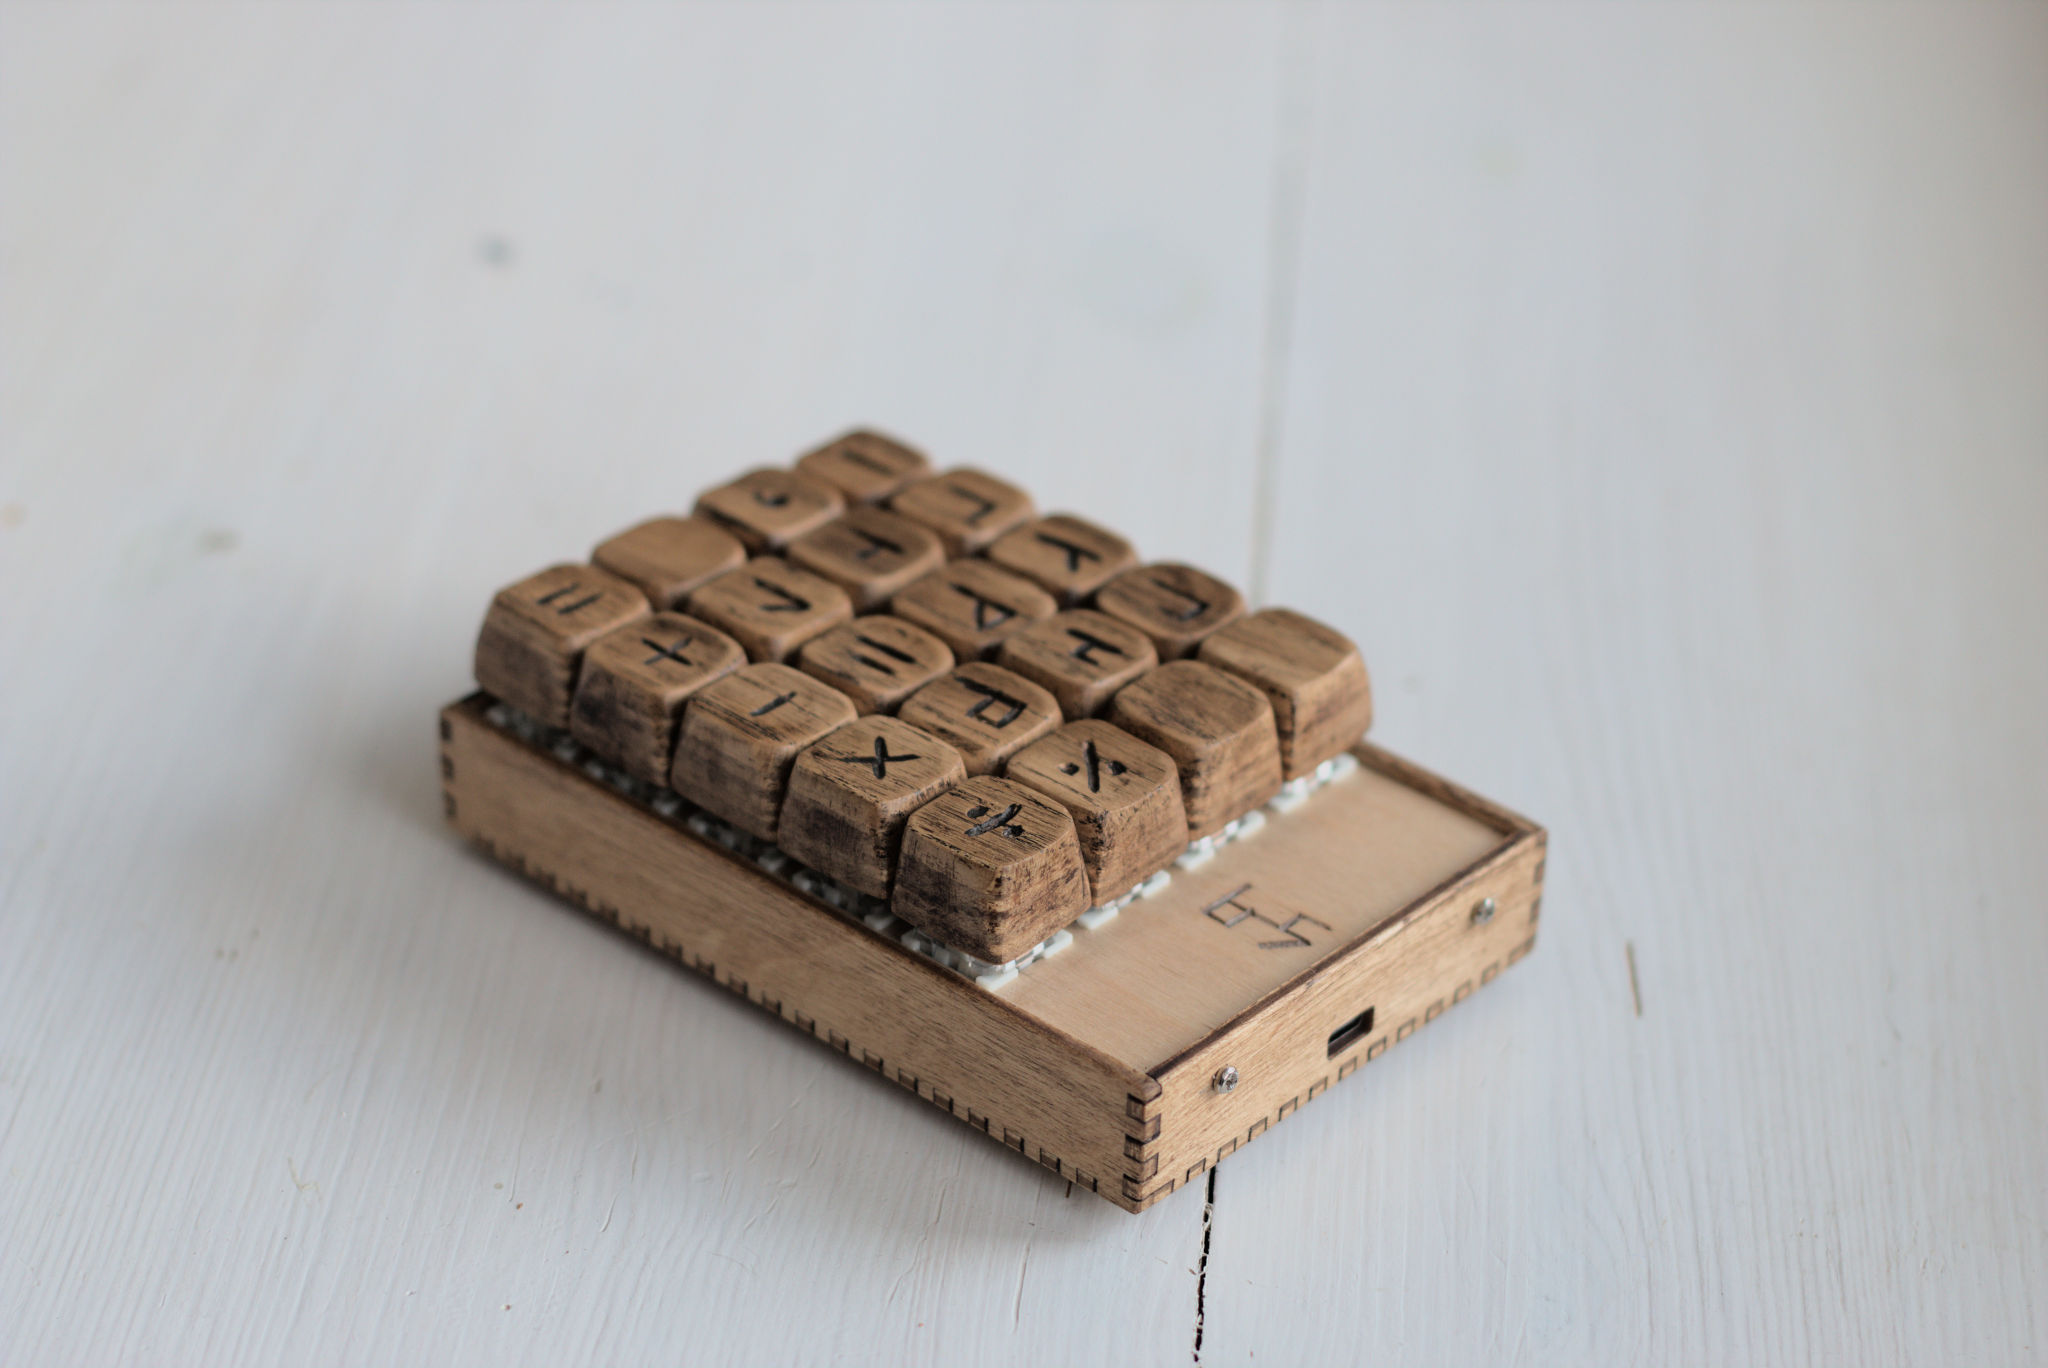
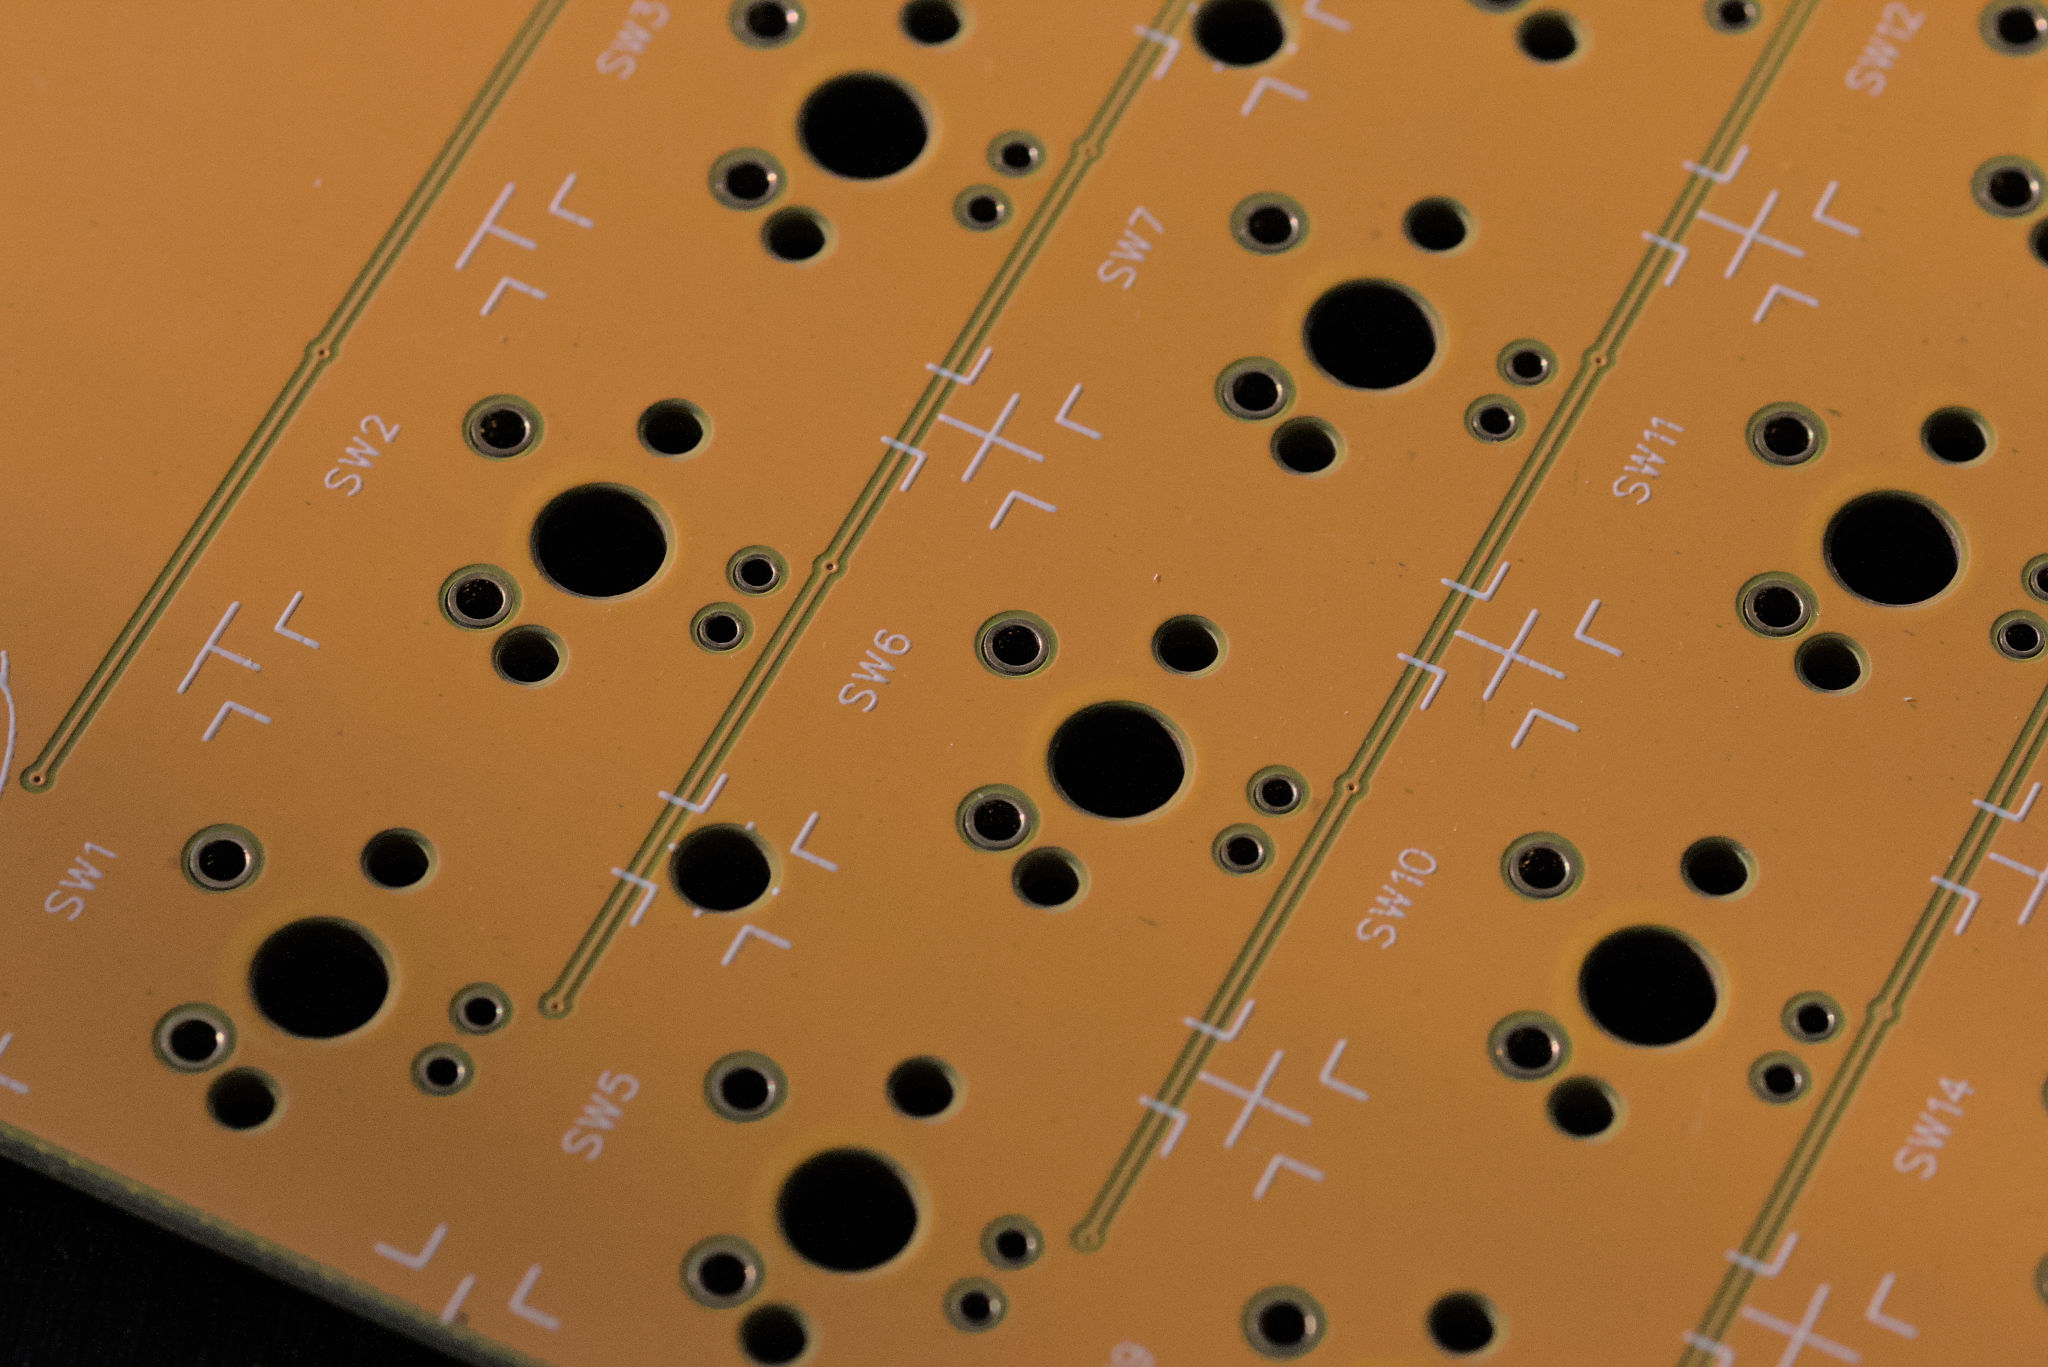
My design contains four columns and five rows of switches.
Next time, I’d leave more space between the switches. Right now they are quite tight.
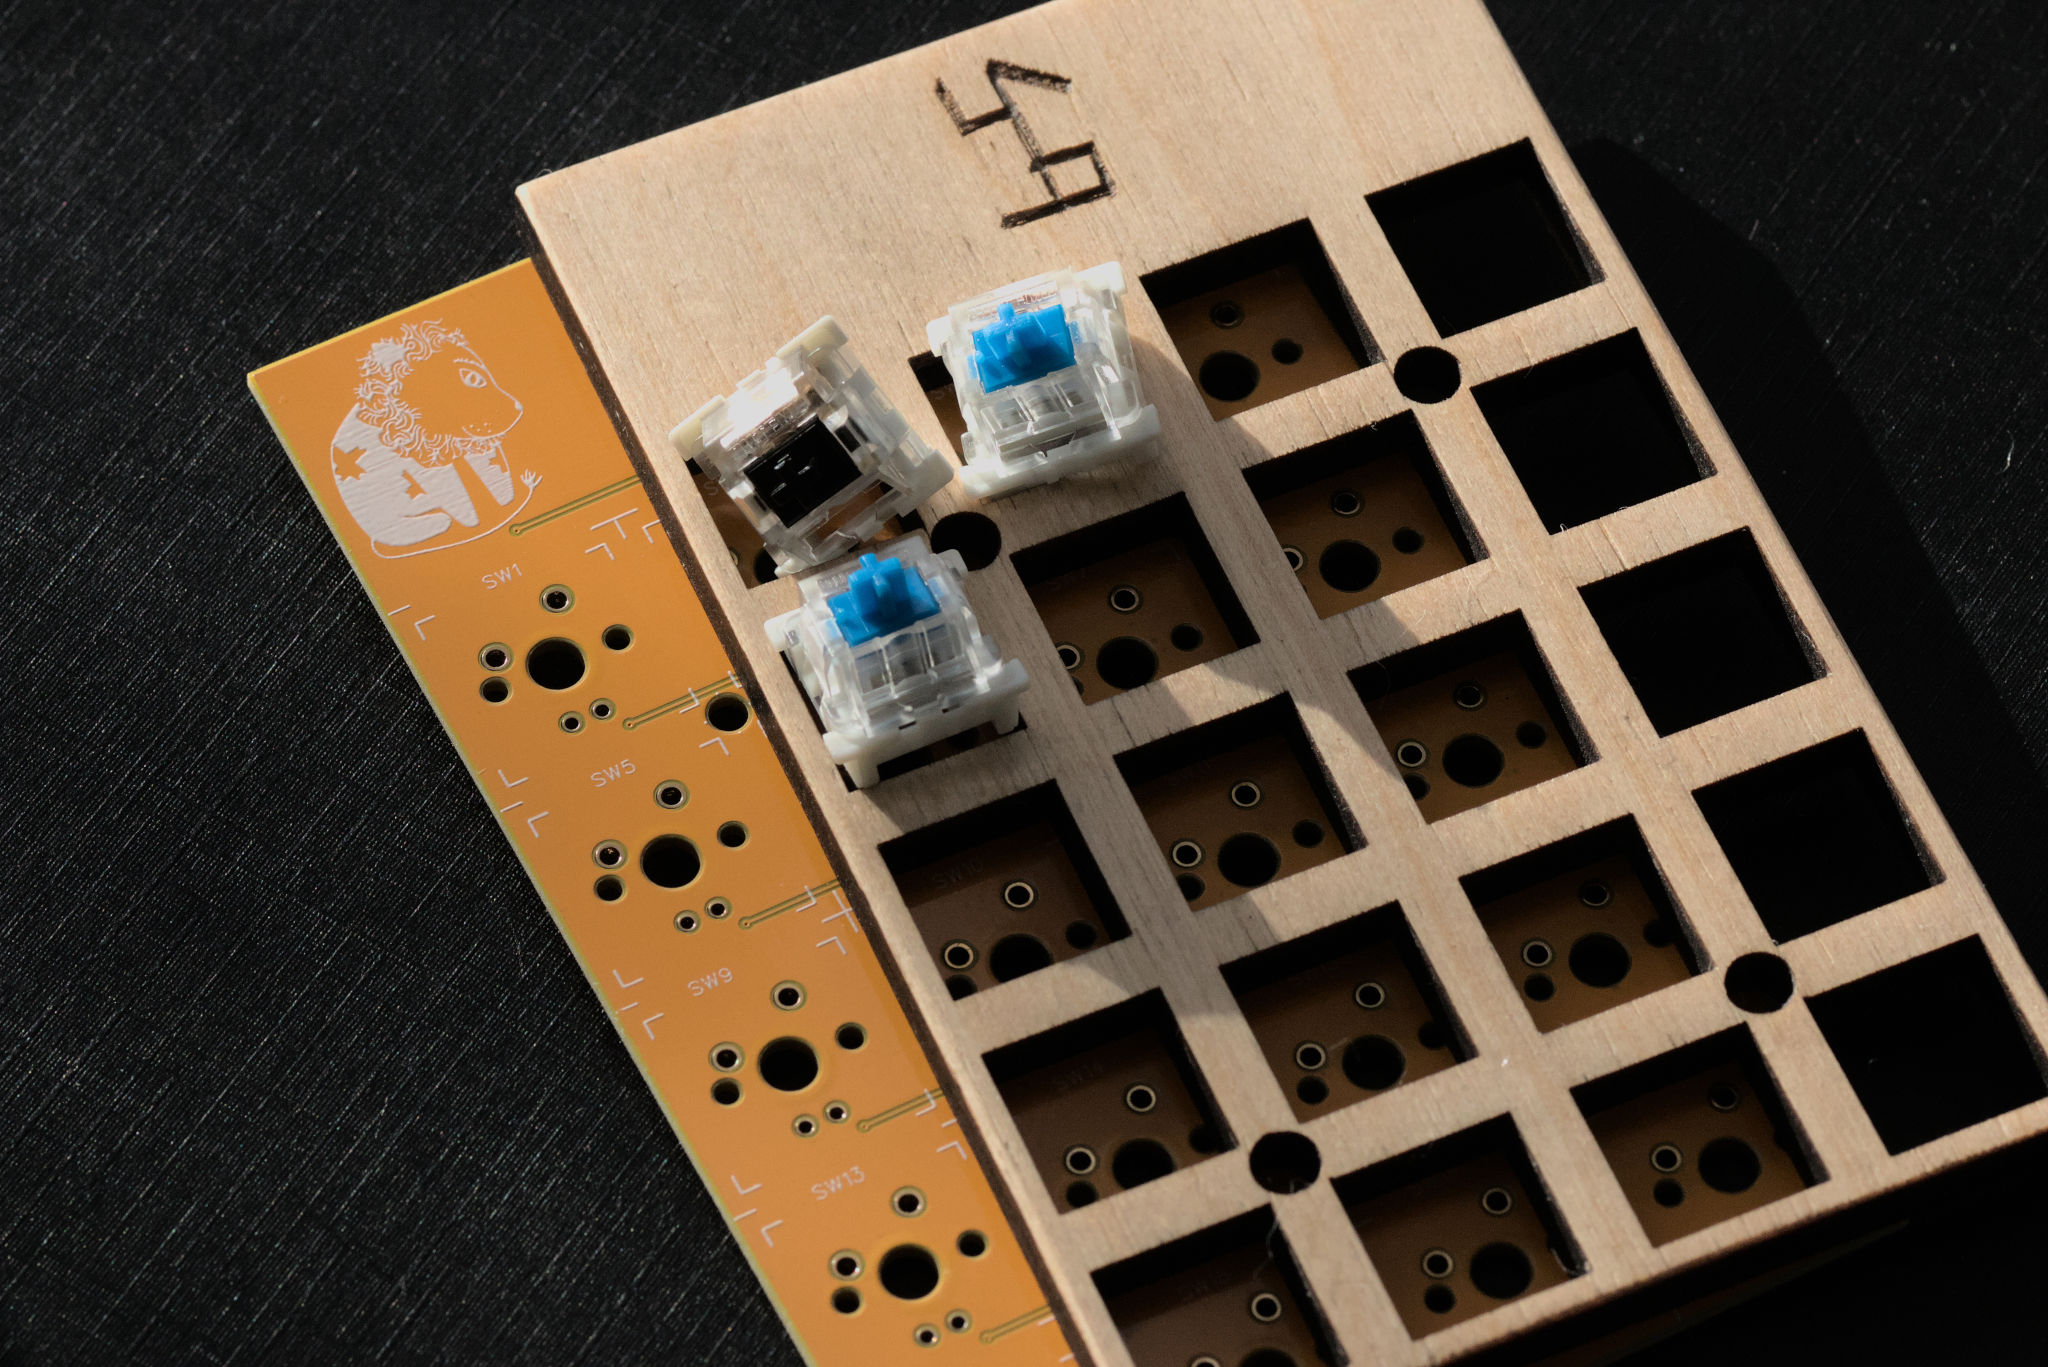
It’s the first time when I ordered yellow PCBs. I think it’s a good fit with my wooden mechanical keycaps and housing.
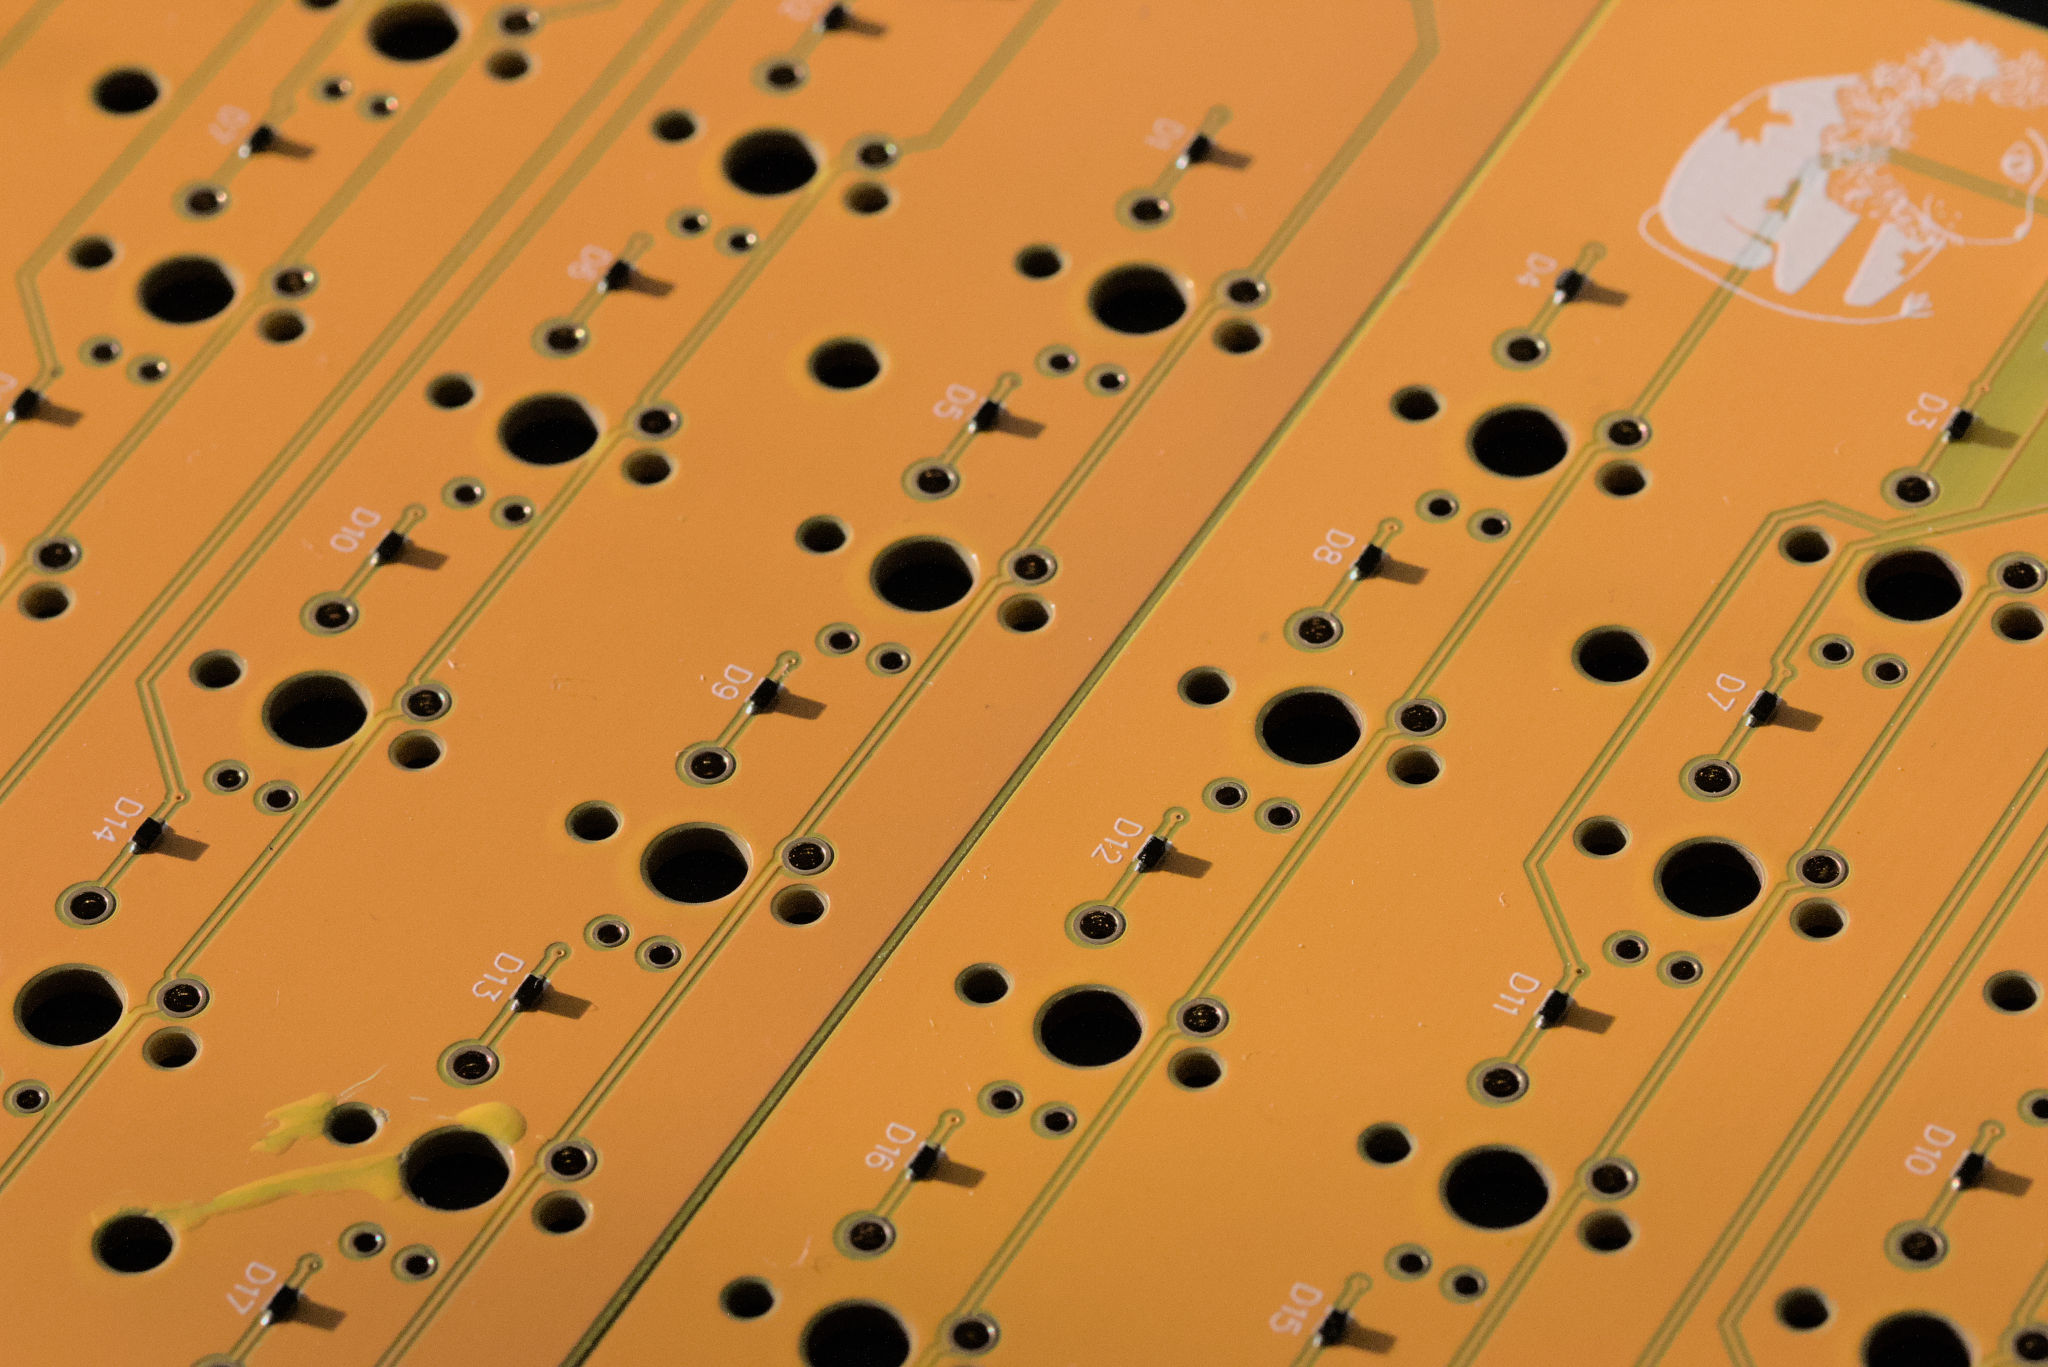
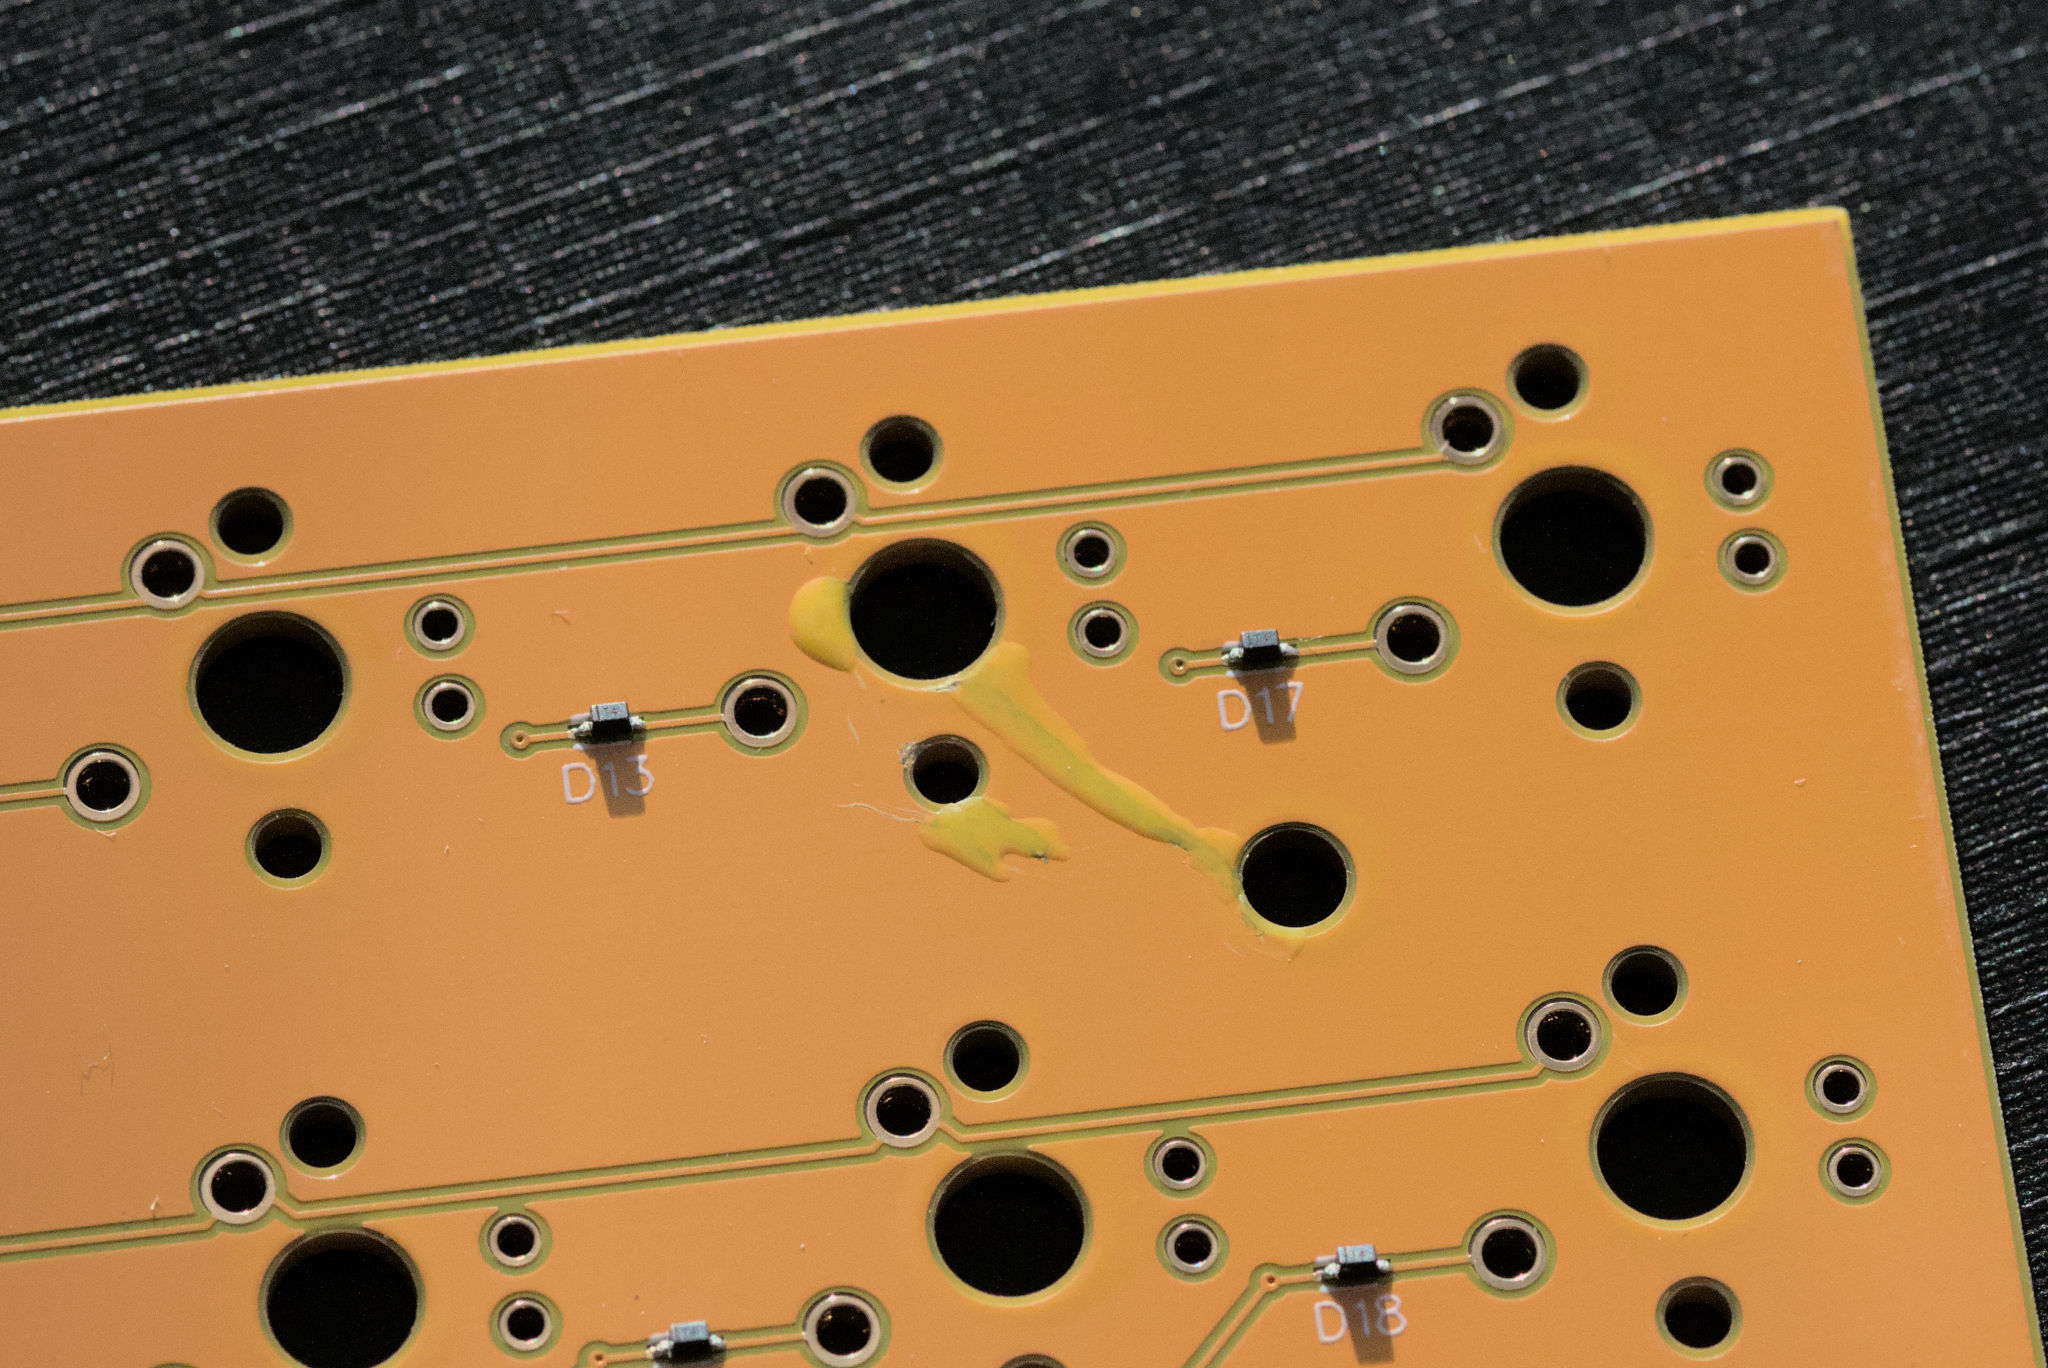
PCBs are made by Seeed Fusion. I ordered five and two assembled. I think they look nice. Pads are gold plated. Only one PCB has some kind of colour drip. Otherwise, they look and feel good.
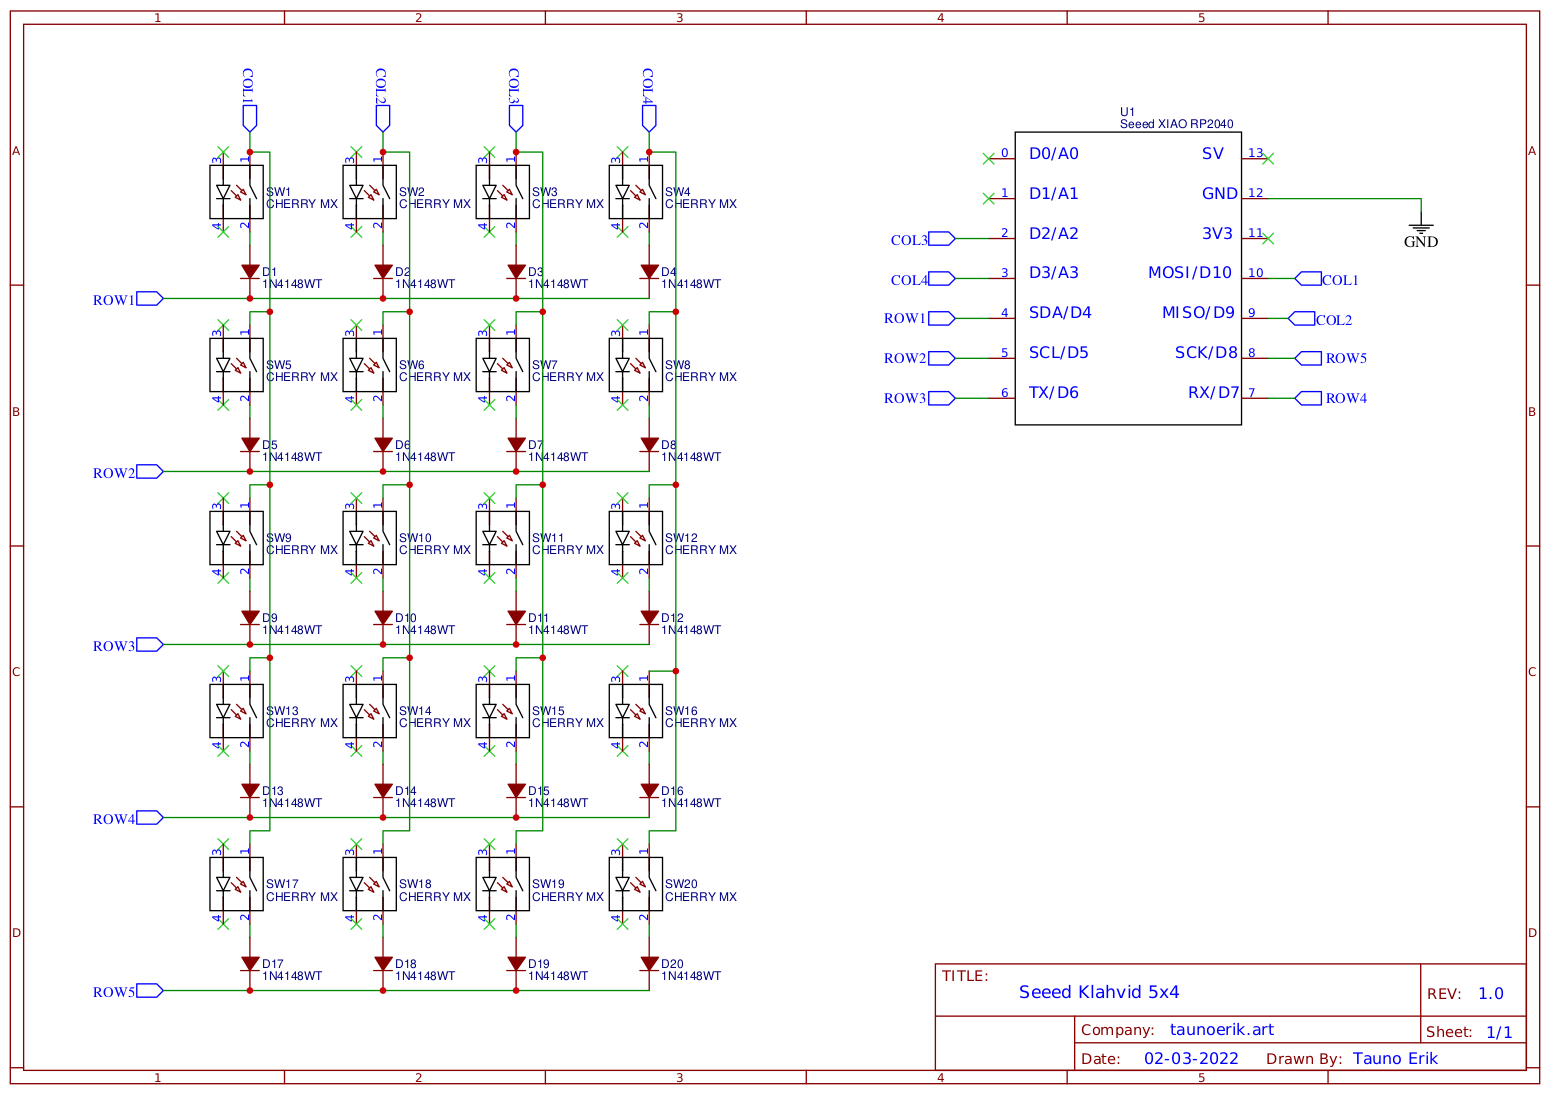


When the board was assembled and I started to program I discovered that there is an anomaly: when I pressed the [ 0 ] key the third row will be stopped to work completely. It works physically but no signal will be registered in the MCU. The same thing happened when I pressed the [ , ] key and the fourth row goes to silent.
This is maybe the most interesting part of this kind of project to me, to discover why things do not work as expected. Is it a software error or hardware fault? Thankfully I had a second similar board to do experiments. The same anomaly was repeated on another board.
First I looked into the software. What really happens when I press the key? To read keys we turn row pin LOW and read column pins one by one. When the column pin is LOW then this key is pressed down. Otherwise, it stays a HIGH. I discovered that after I pressed the bad key some rows stayed LOW all the time.
| x | Col 1 | Col 2 | Col 3 | Col 4 |
|---|---|---|---|---|
| Row 1 | % | / | ||
| Row 2 | 7 | 8 | 9 | * |
| Row 3 | 4 | 5 | 6 | – |
| Row 4 | 1 | 2 | 3 | + |
| Row 5 | 0 | . | = |
I was checking all the hardware connections and there were no errors. Maybe this anomaly happens because these pins are also RX and TX pins? Anyway. Since the board had two unused pins I decided to rewire these rows. And it is not an easy task, thanks to these all thin traces on the PCB. This hack fixes the anomaly.

Keycaps are made the same way as on my previous keyboard. Which can be found here. Only that this time engraving them by hand. Not with a laser.

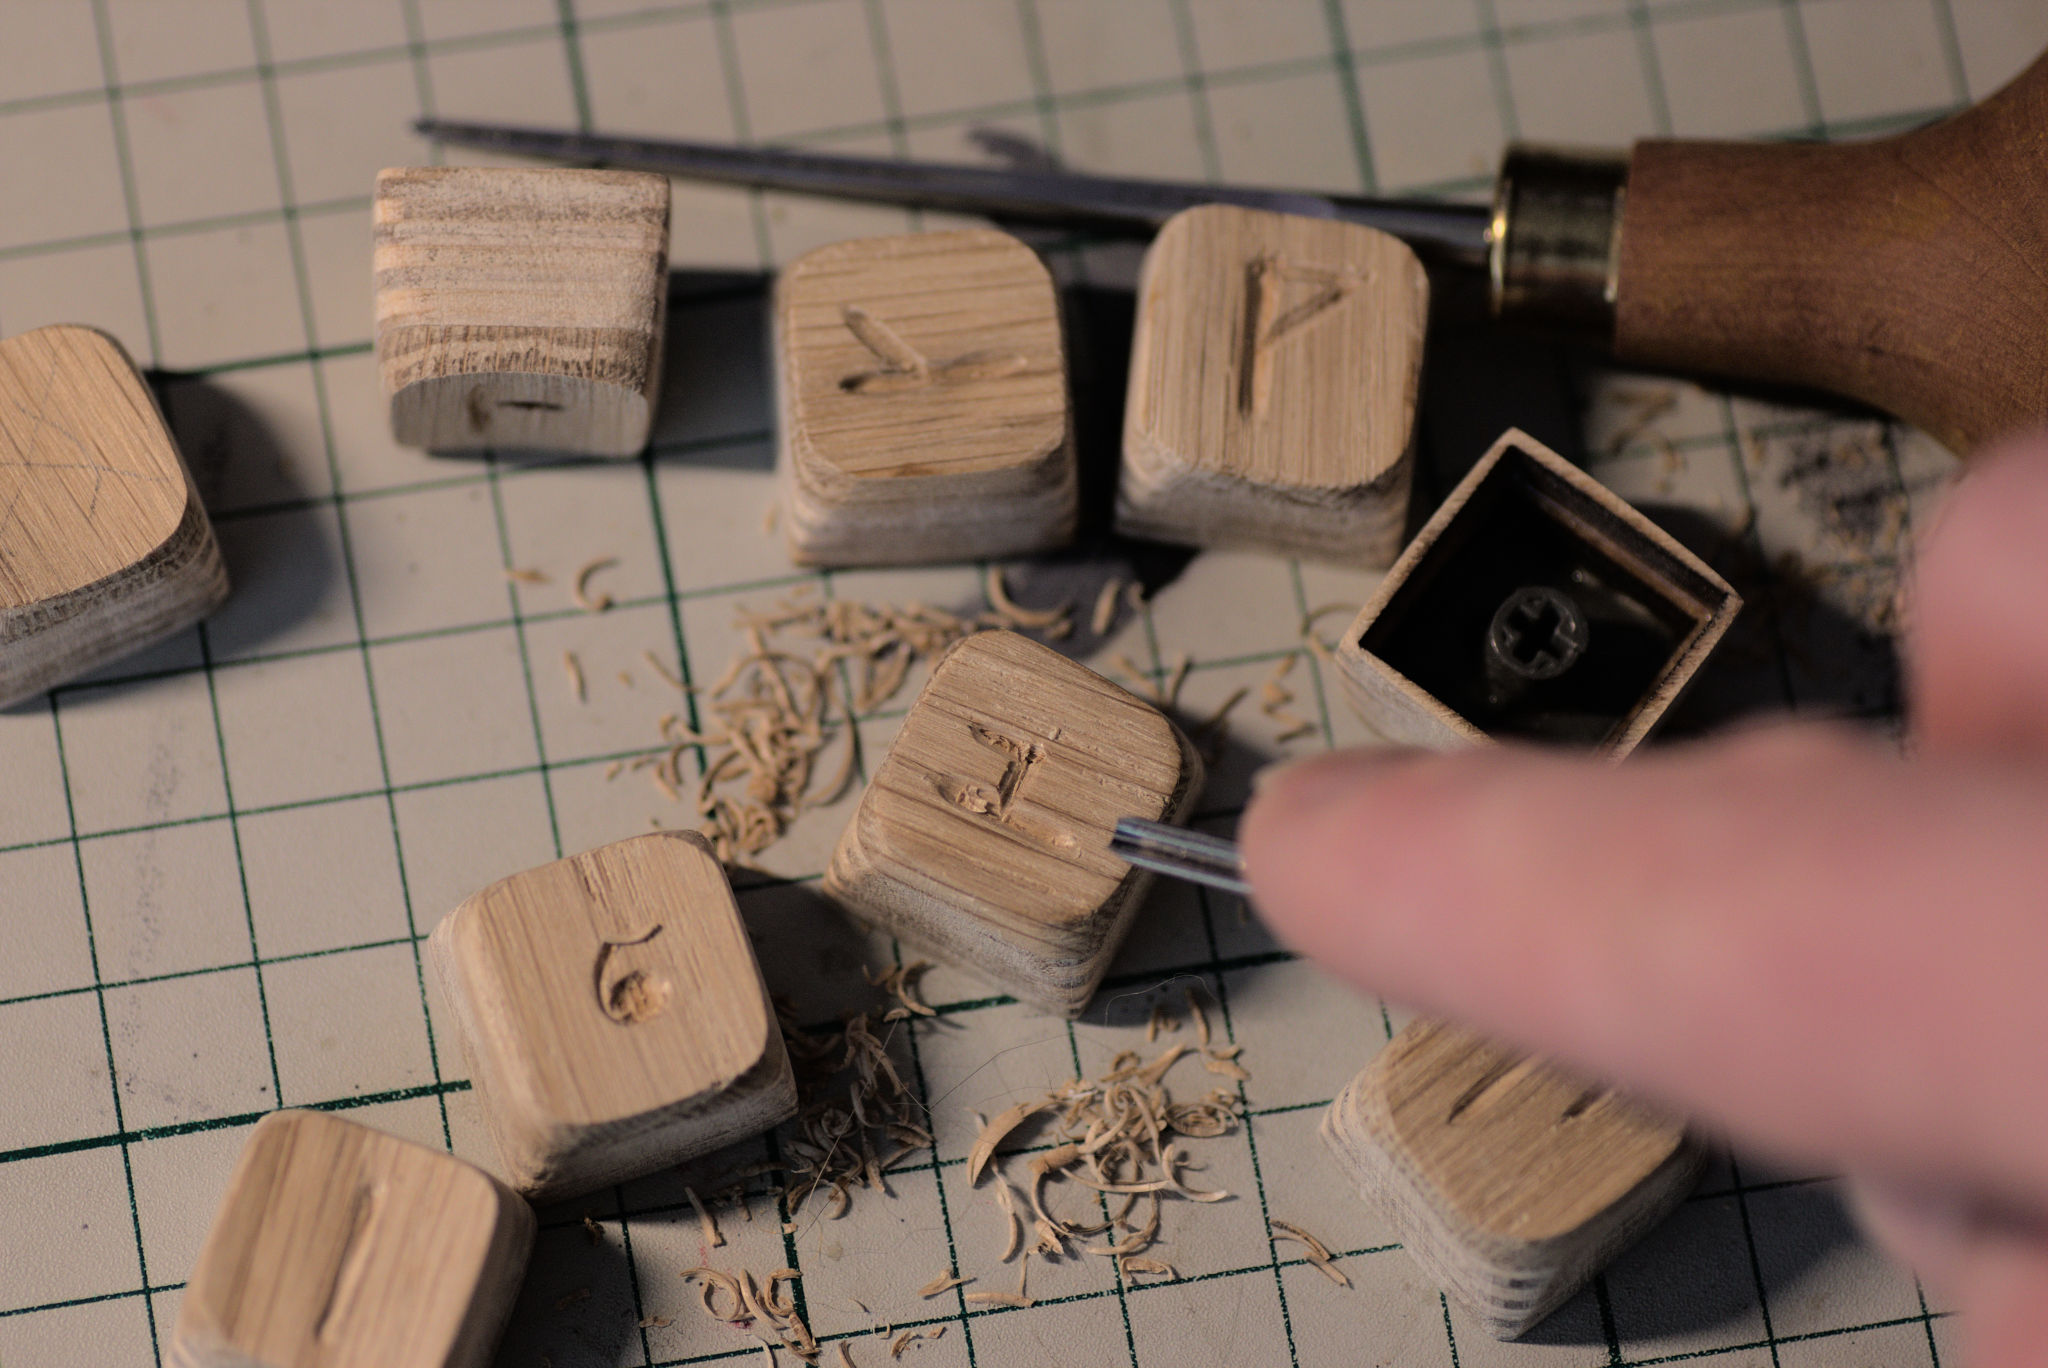
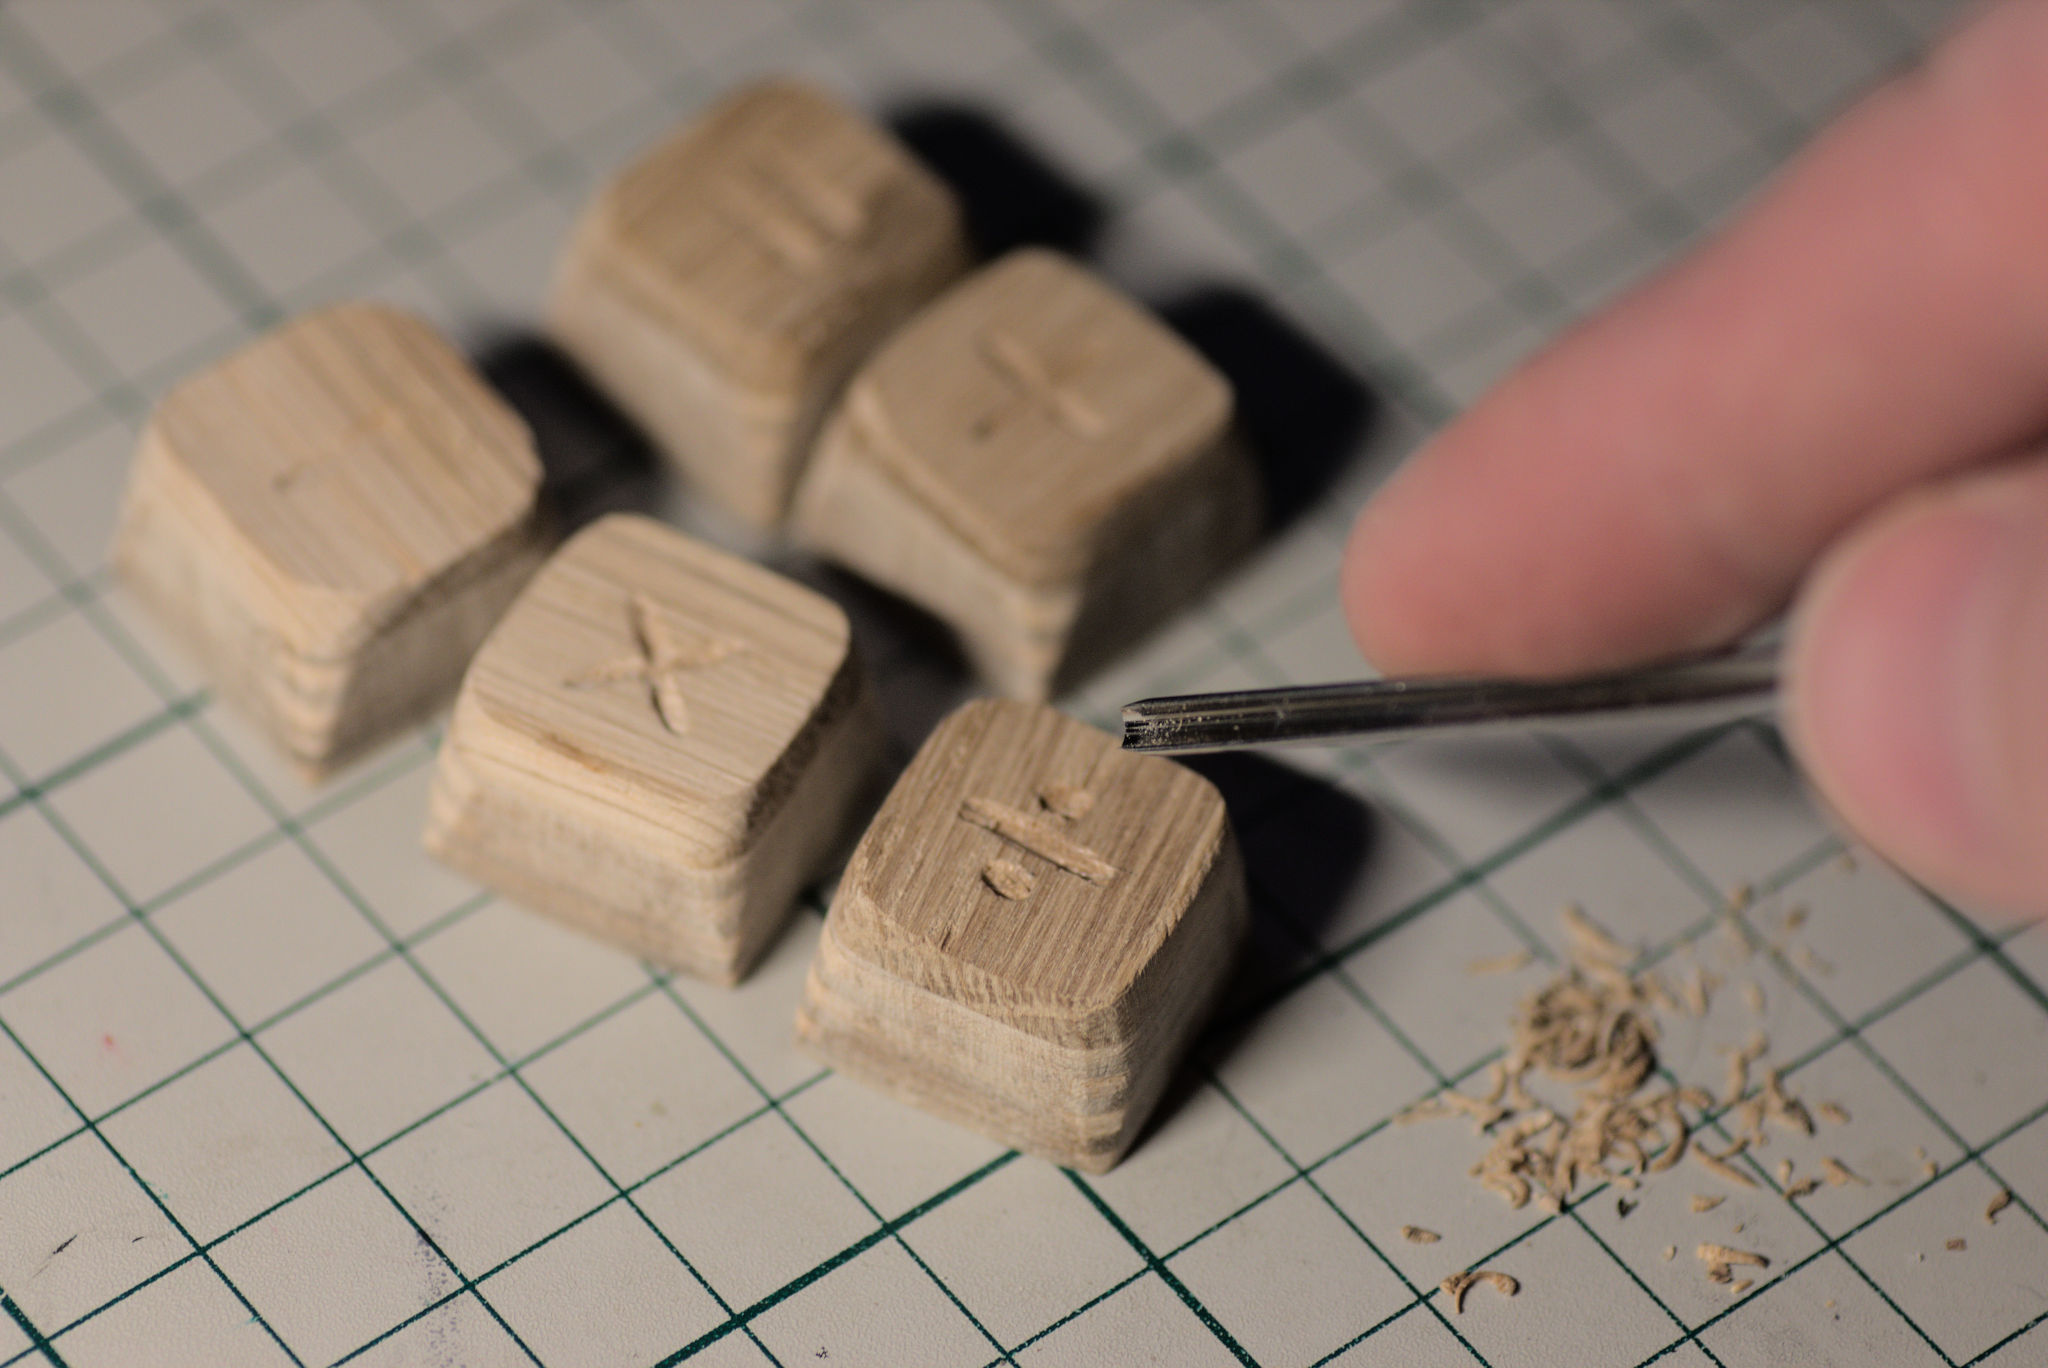
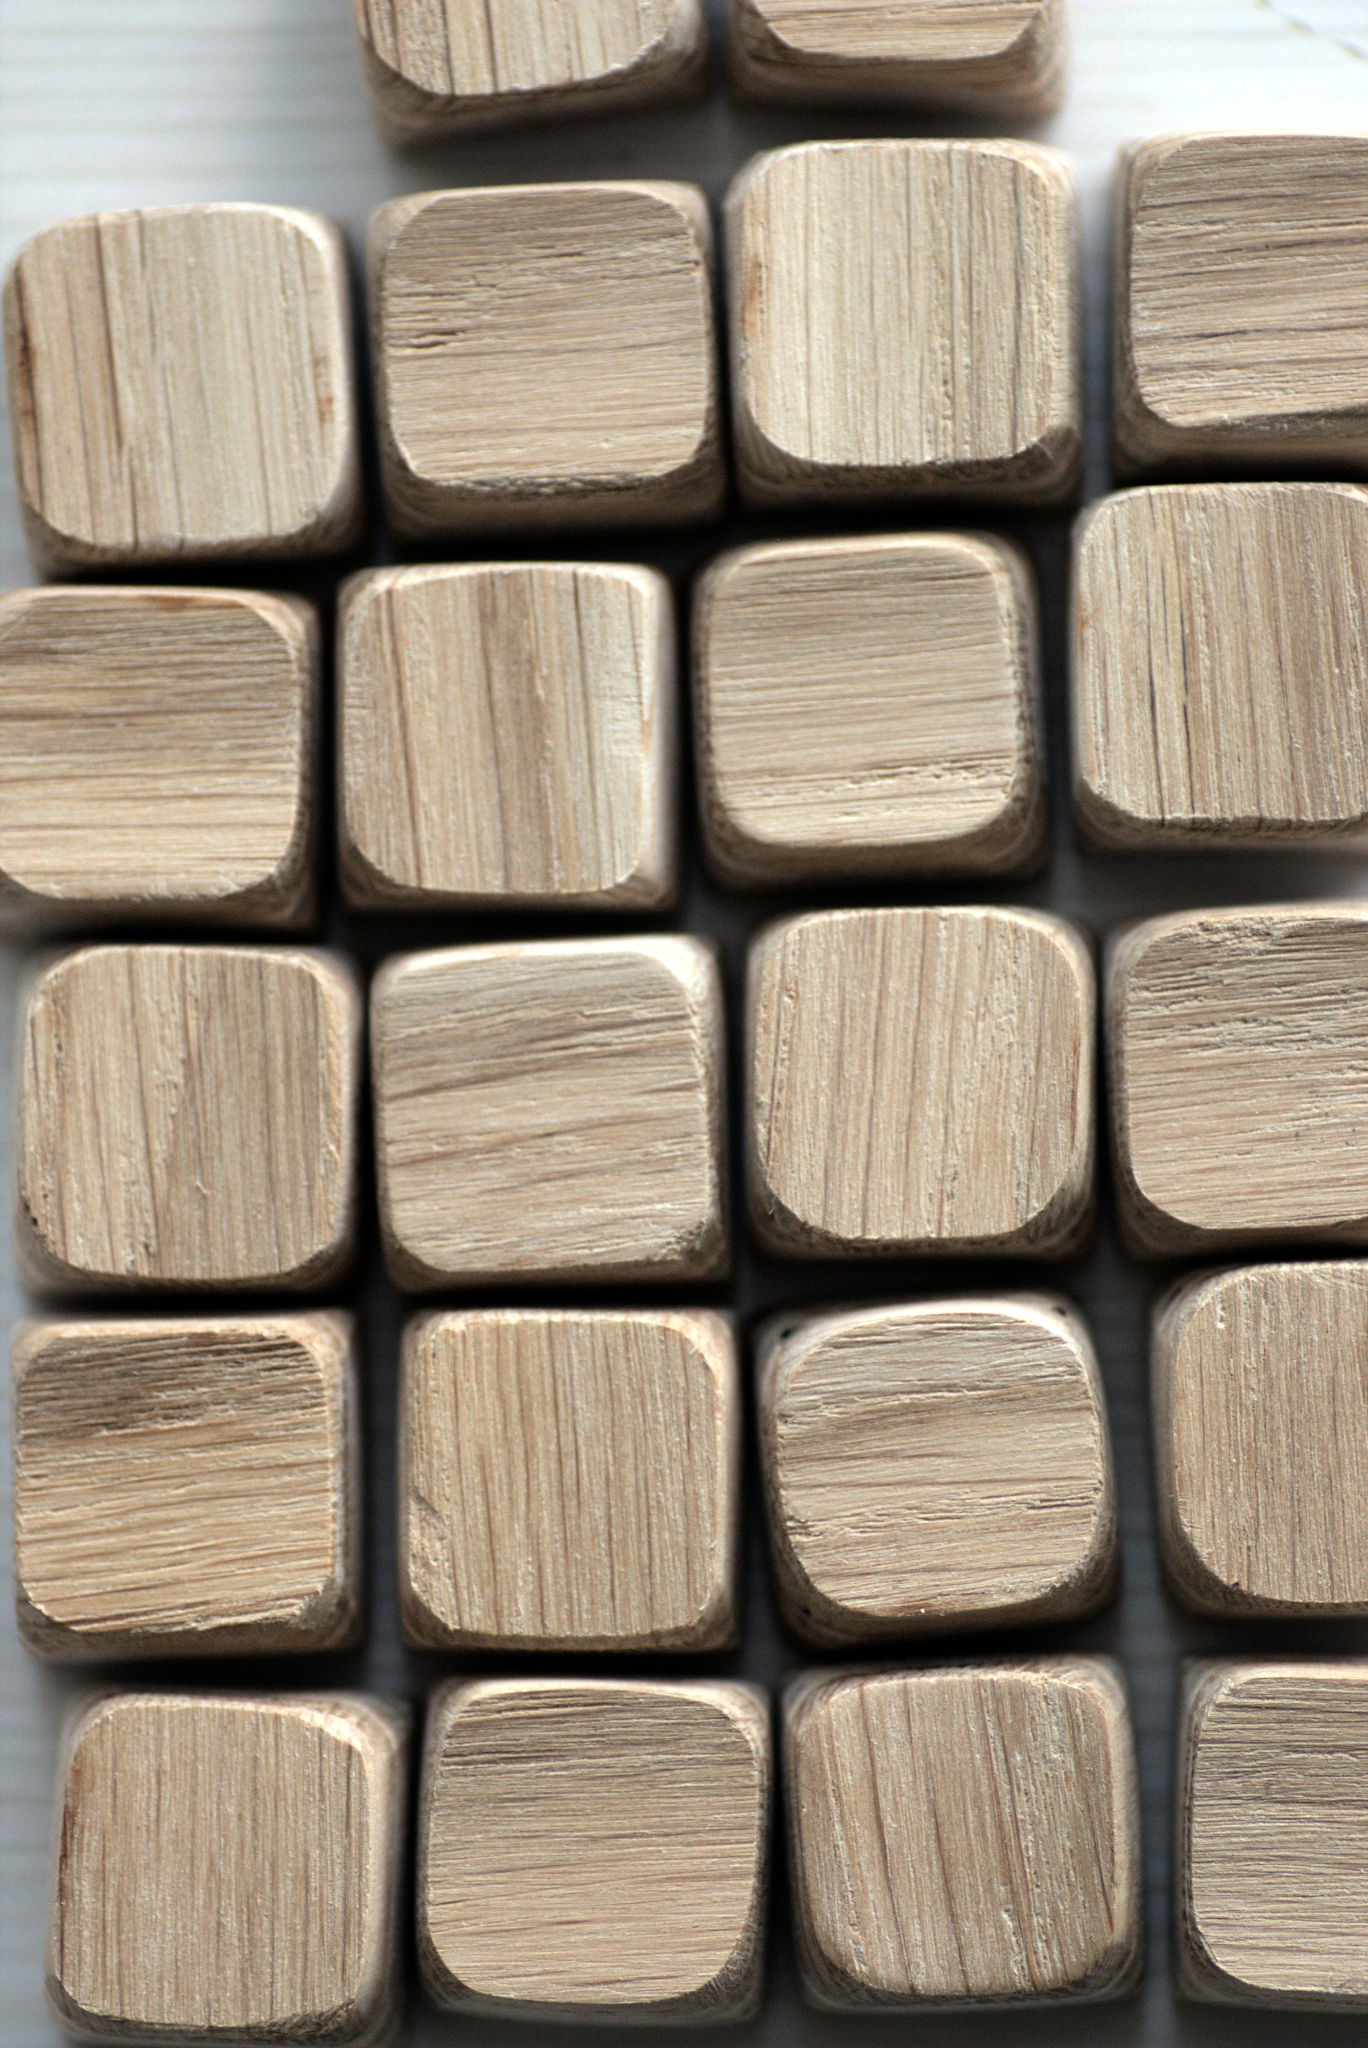
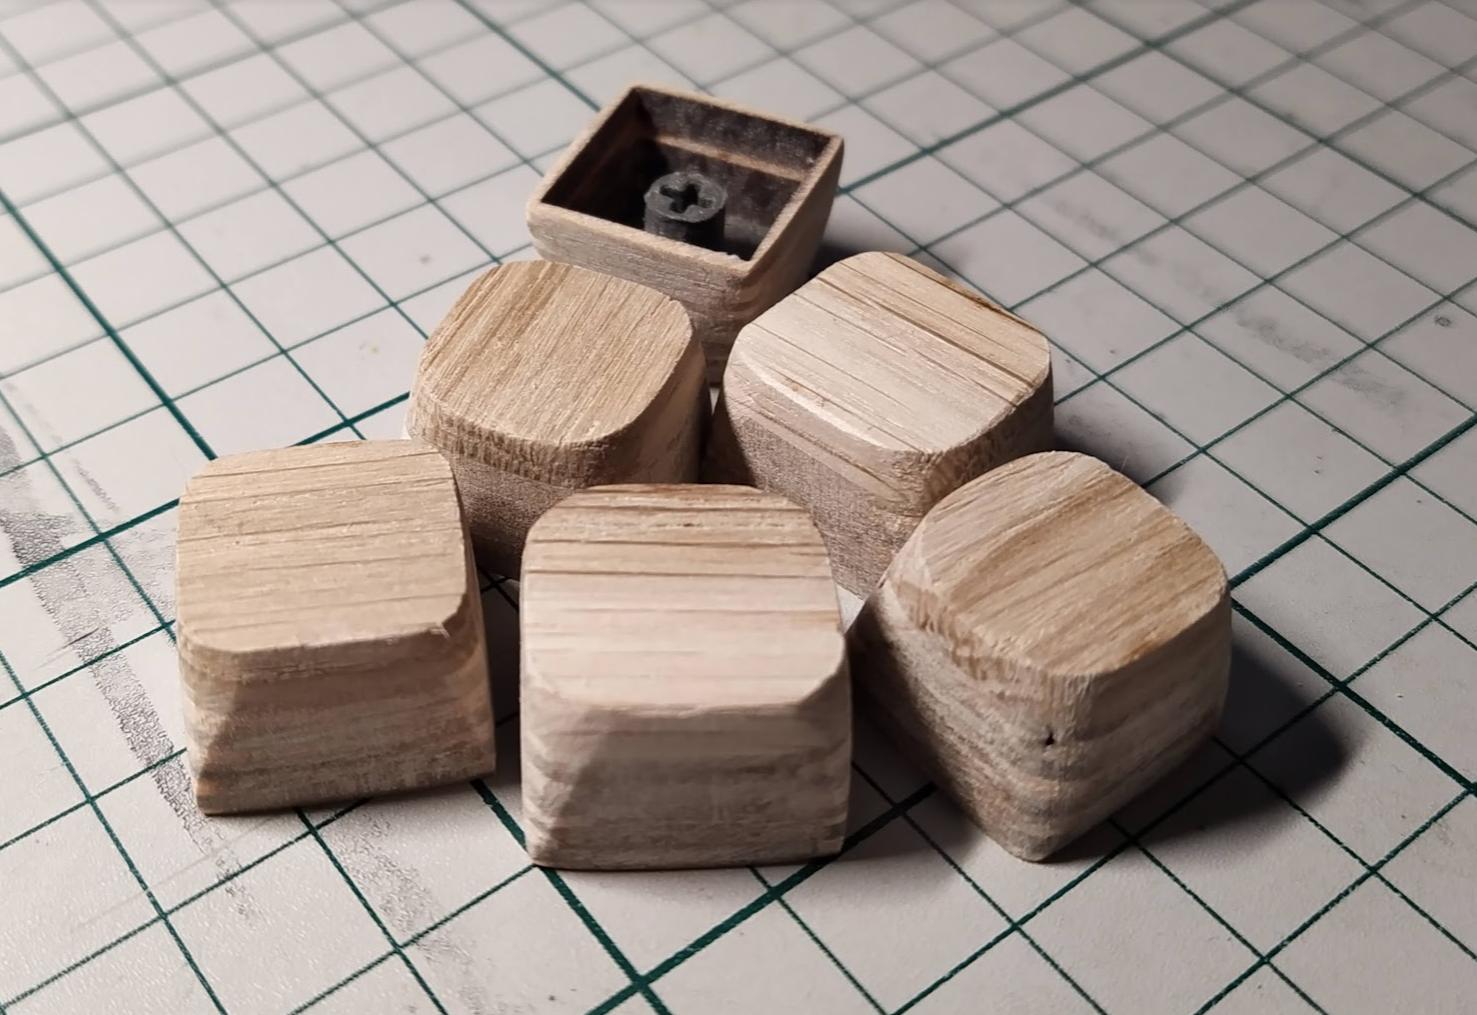


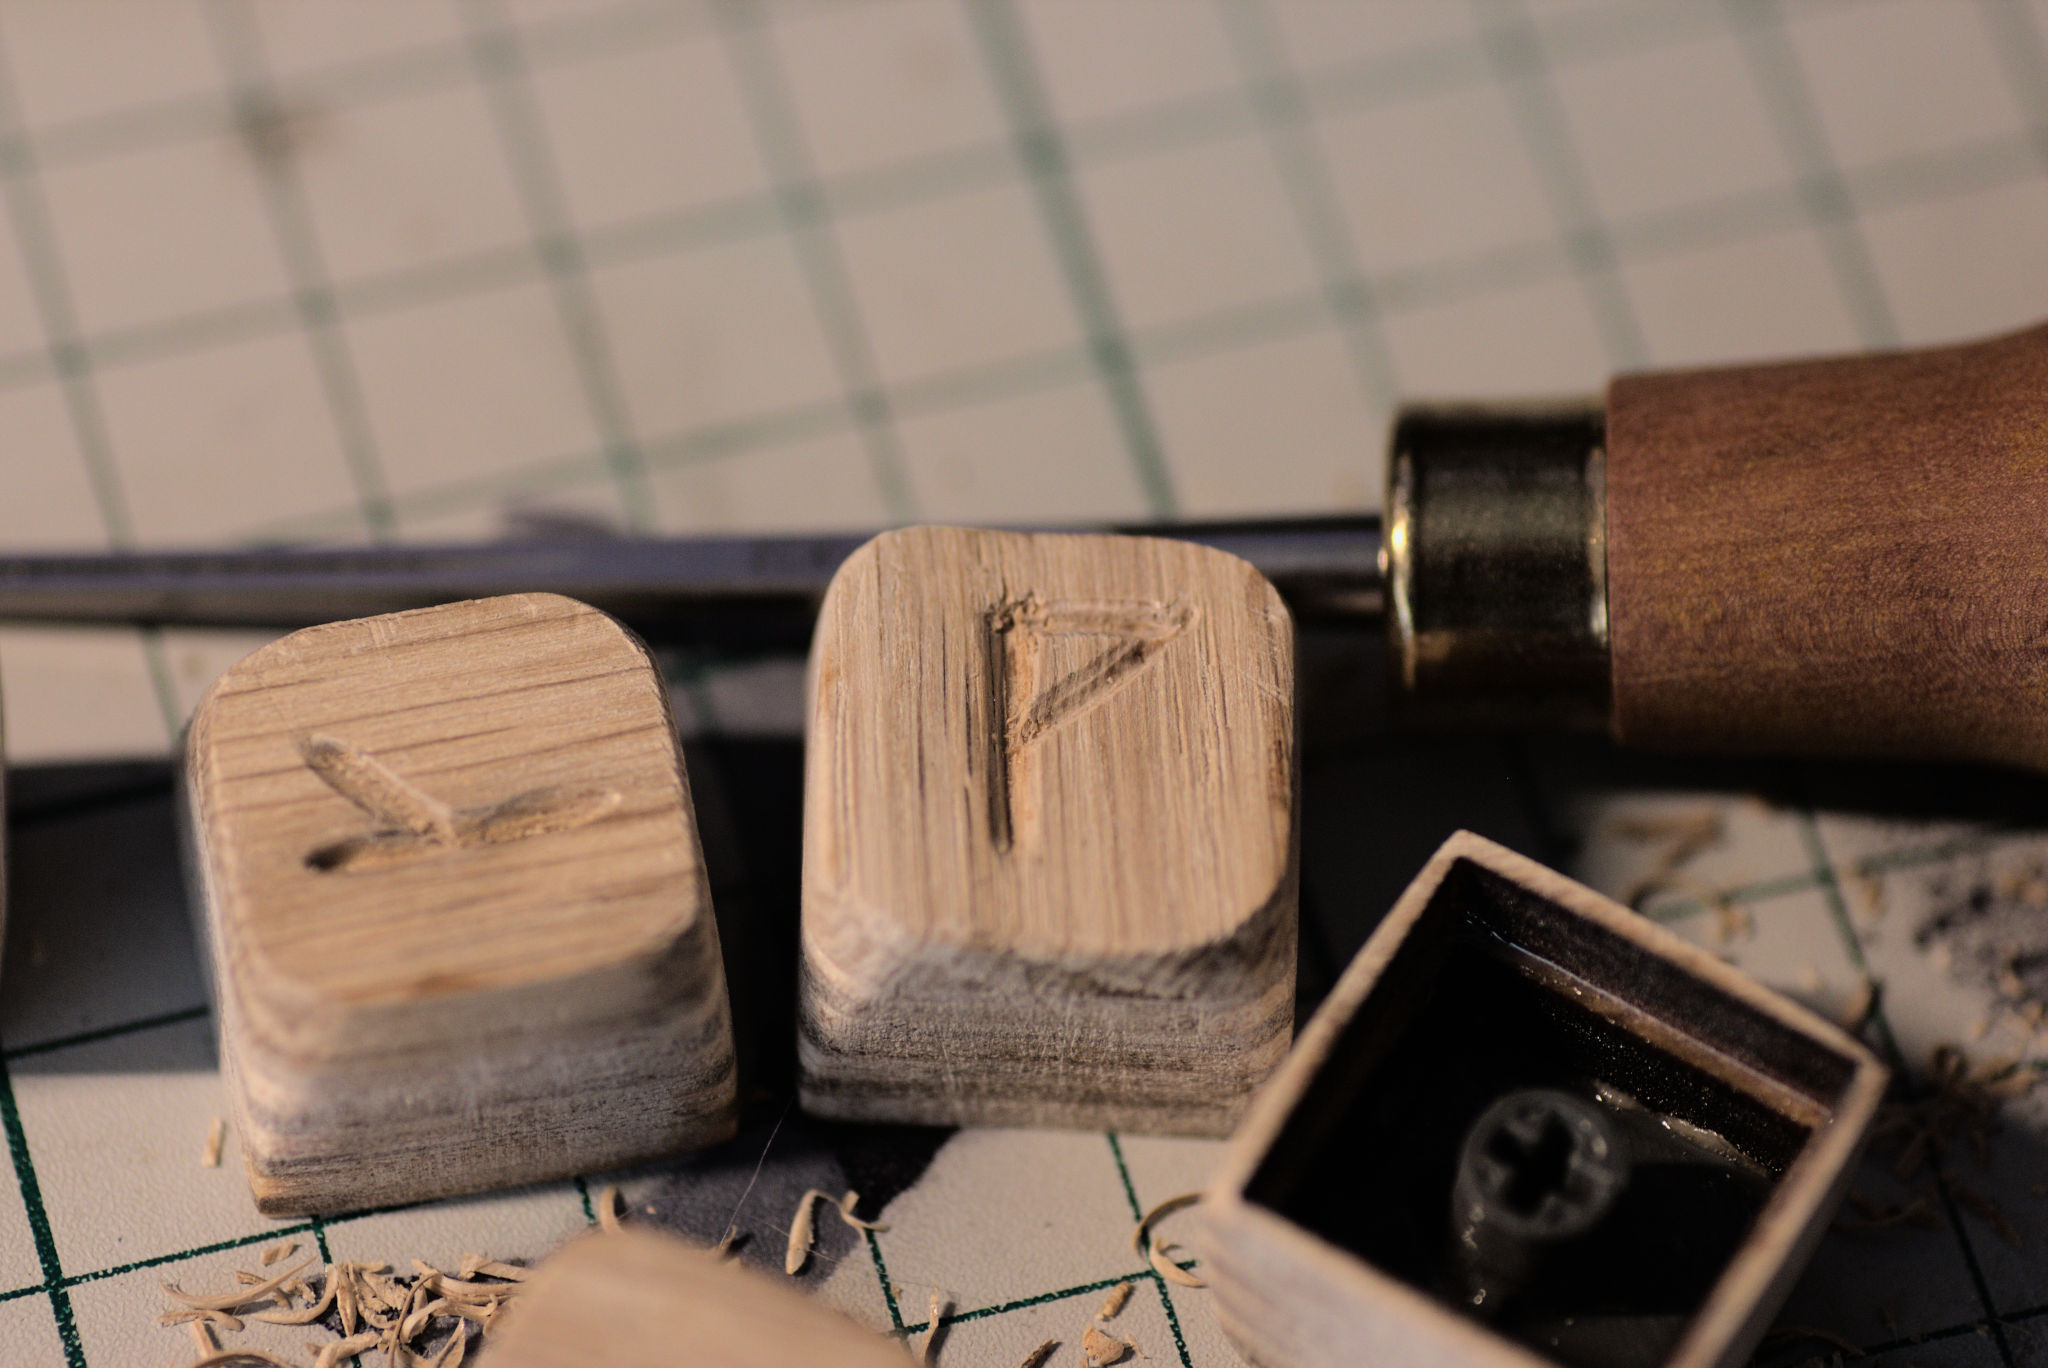

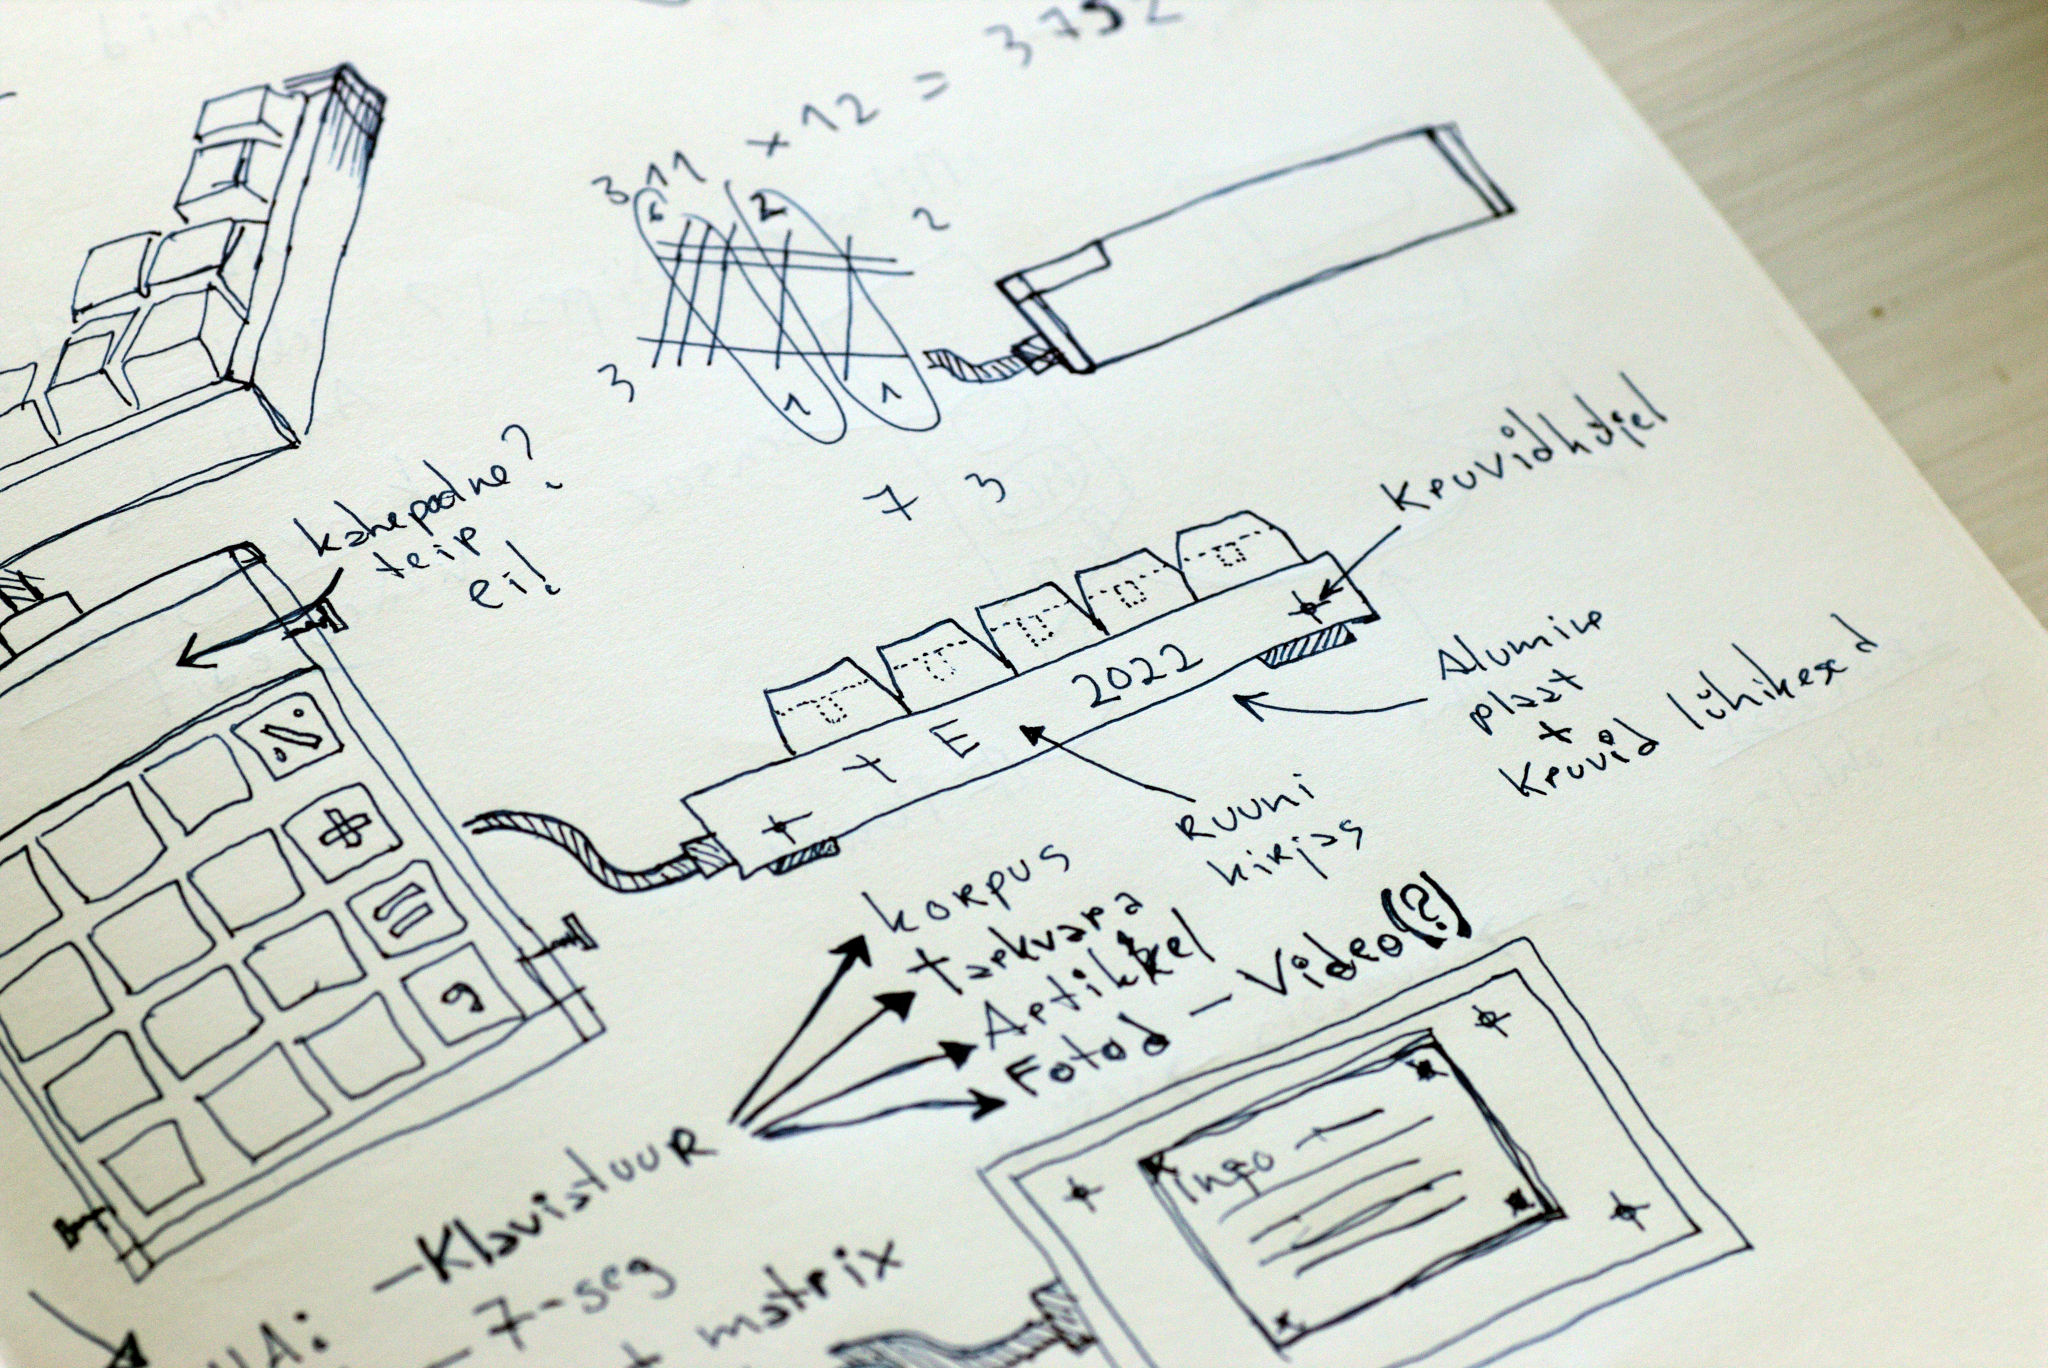
The main components are the keycaps. And everything else is as minimum as possible.

First I planned to use PlatformIO with the Arduino framework, but this board (XIAO-RP2040) is not yet supported on PlatformIO. So I used Arduino IDE.
There have multiple choices to program it:
There is also a second anomaly. In keyboard mode, some keys give a different result than they should. When I Serial print them they all look good and the hex codes are correct. But in keyboard mode, I see different key presses.
| Key | hex | On screen | hex |
|---|---|---|---|
| / | 0x2F | – | 0x2D |
| * | 0x2A | ( | 0x28 |
| – | 0x2D | + | 0x2B |
| + | 0x2B | ` | 0x60 |
| = | 0x3D | ´ | 0xB4 |
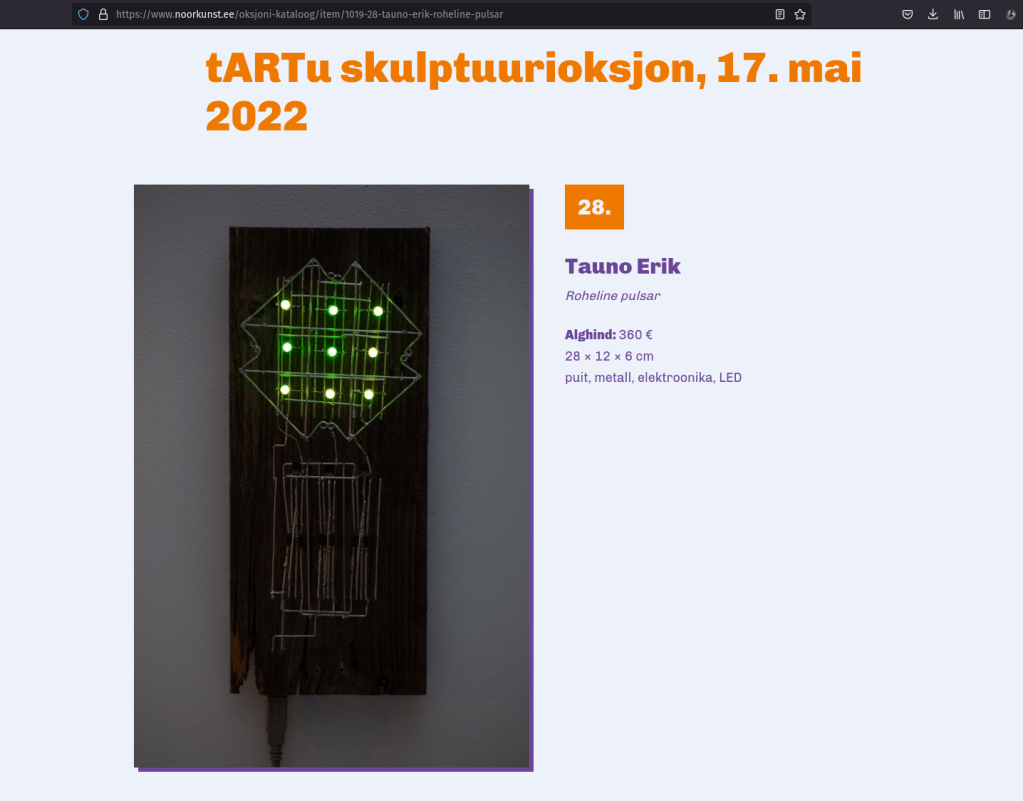
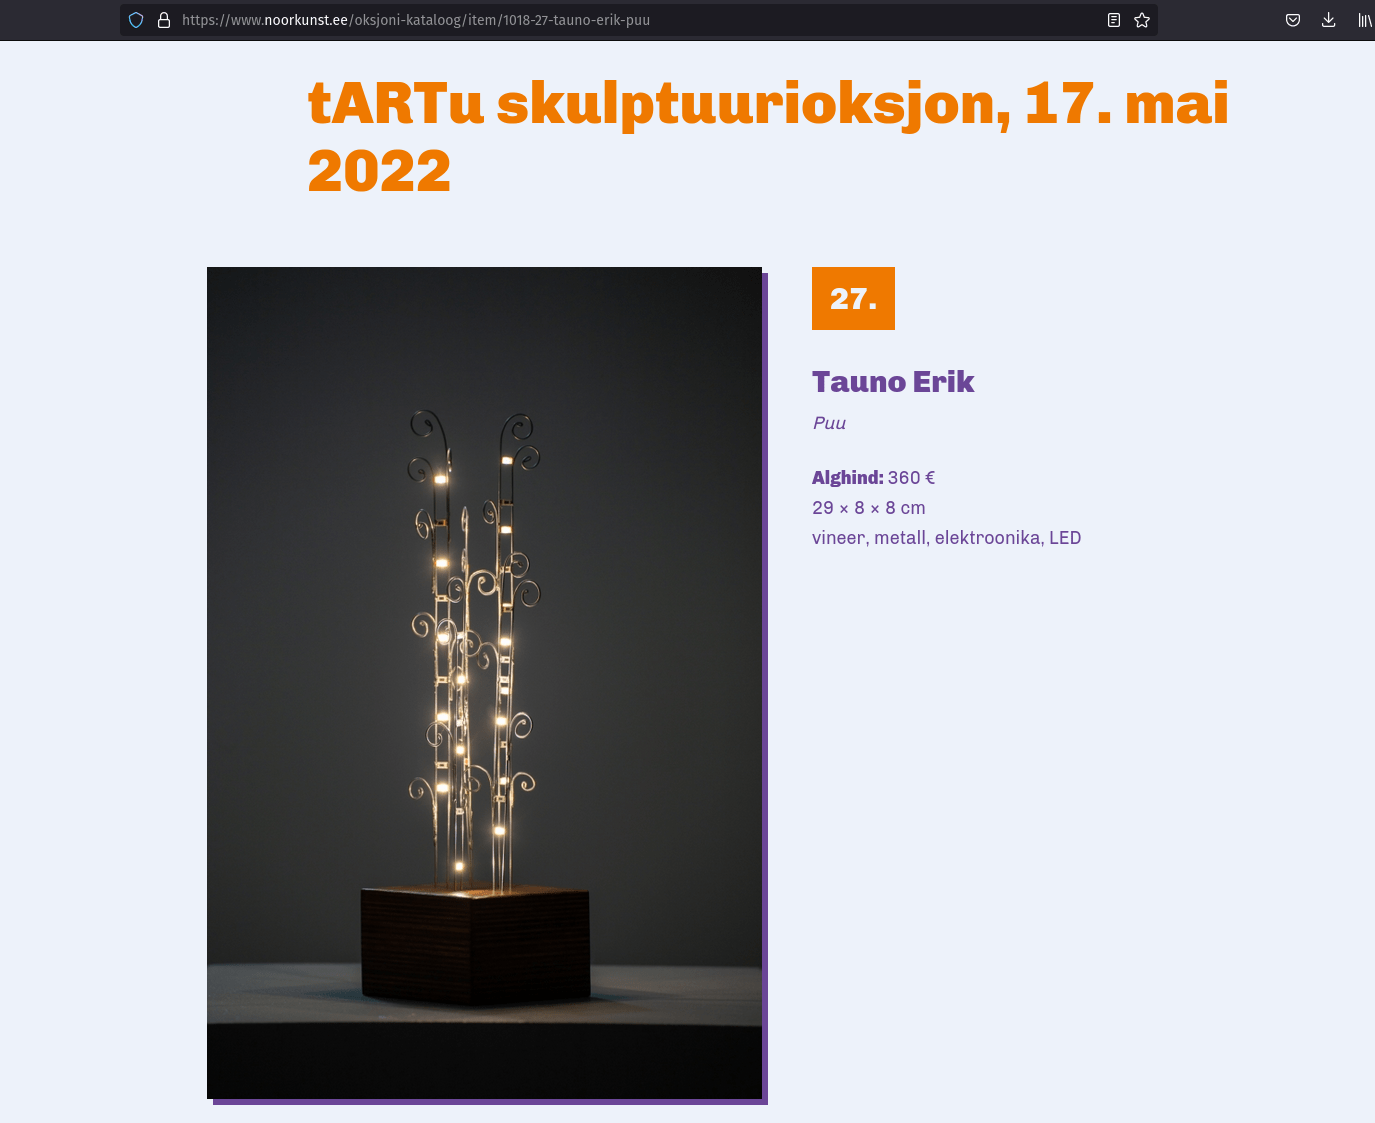
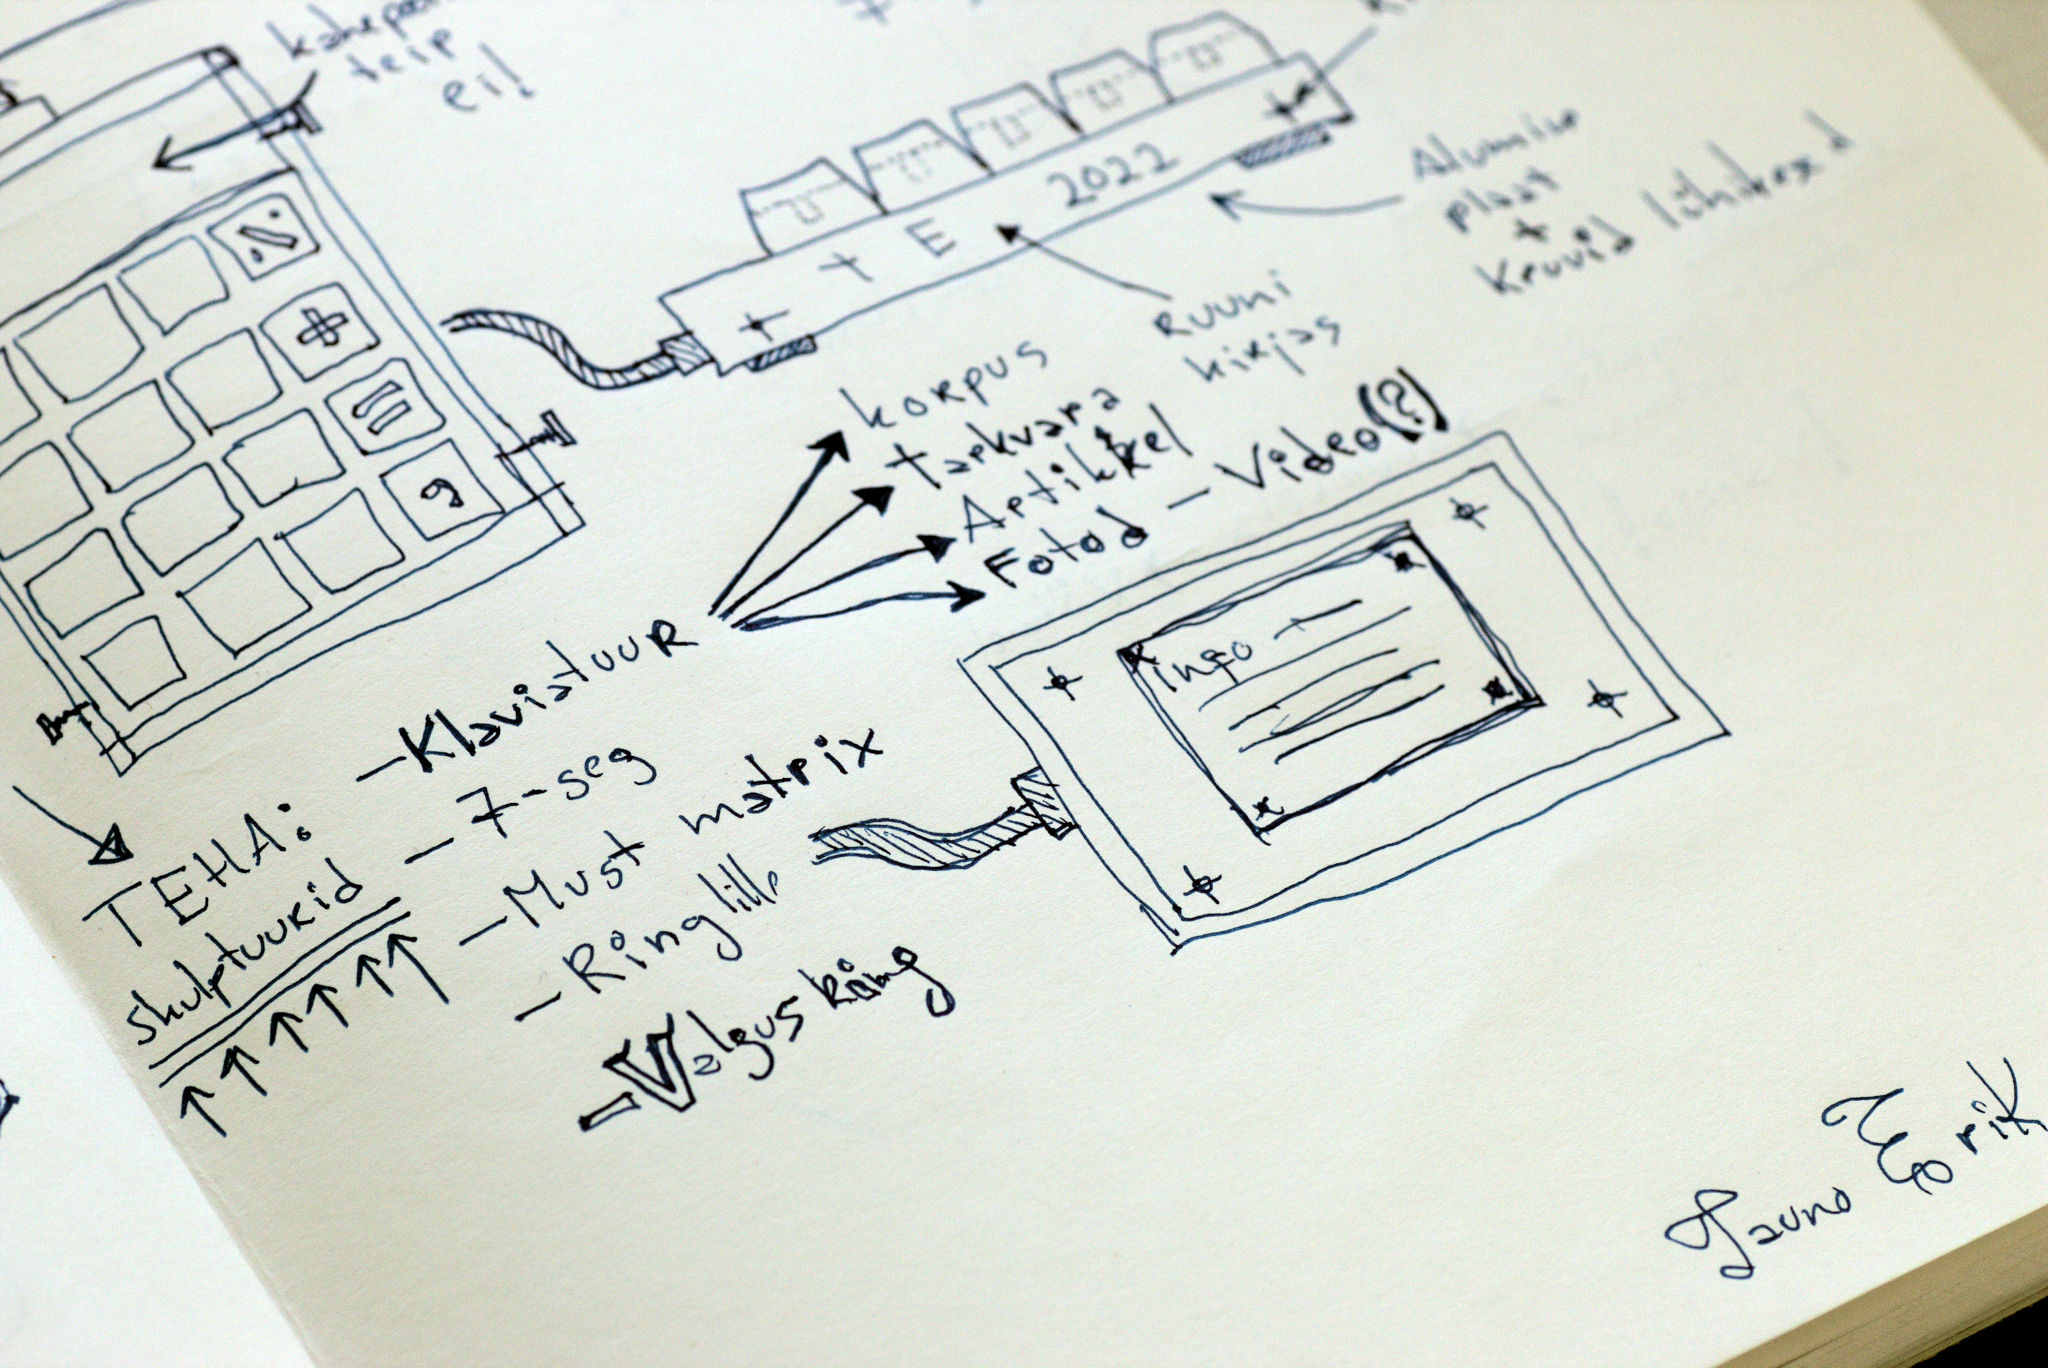
Two of my works will be in the tARTu first sculpture auction on 17. May 2022.
Link to the auction catalogue: noorkunst.ee/oksjoni-kataloog/item/1018-27-tauno-erik-puu
More information about the sculpture is on my page: Puu.

Link to the auction catalogue: noorkunst.ee/oksjoni-kataloog/item/1019-28-tauno-erik-roheline-pulsar
More information about the sculpture is on my page: Roheline pulsar.